Choose a template below and:
1. Select Download Free Template to save it to your device.
2. Open it in Microsoft Excel, Google Sheets, Apple Numbers, or LibreOffice.
For Google Sheets, import the file then convert it to Sheets format to start editing.
Professional Excel invoice templates with modern designs and automatic calculations for any business type. Compatible with Microsoft Excel, Google Sheets, and LibreOffice Calc on Windows, Mac, Linux, iOS, and Android.
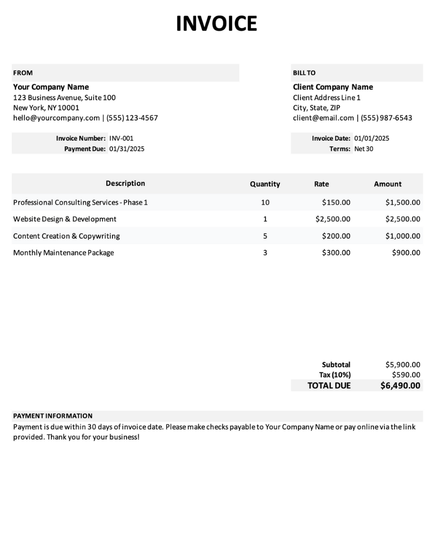
Minimalist design with a clean white background and subtle grey accents. Suits consultants, freelancers, and professional service firms.
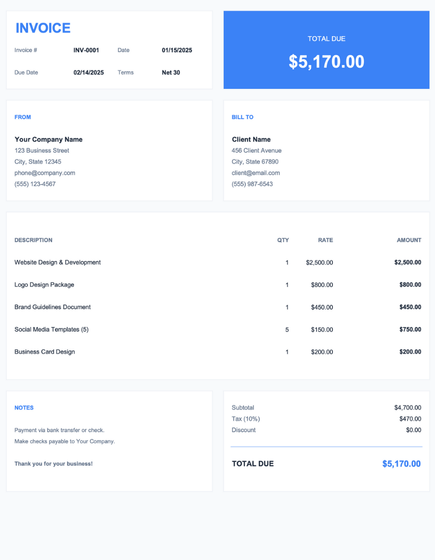
Clean, structured layout featuring a prominent blue total banner in the top and organized card sections. Works well if you like a nice clean layout.
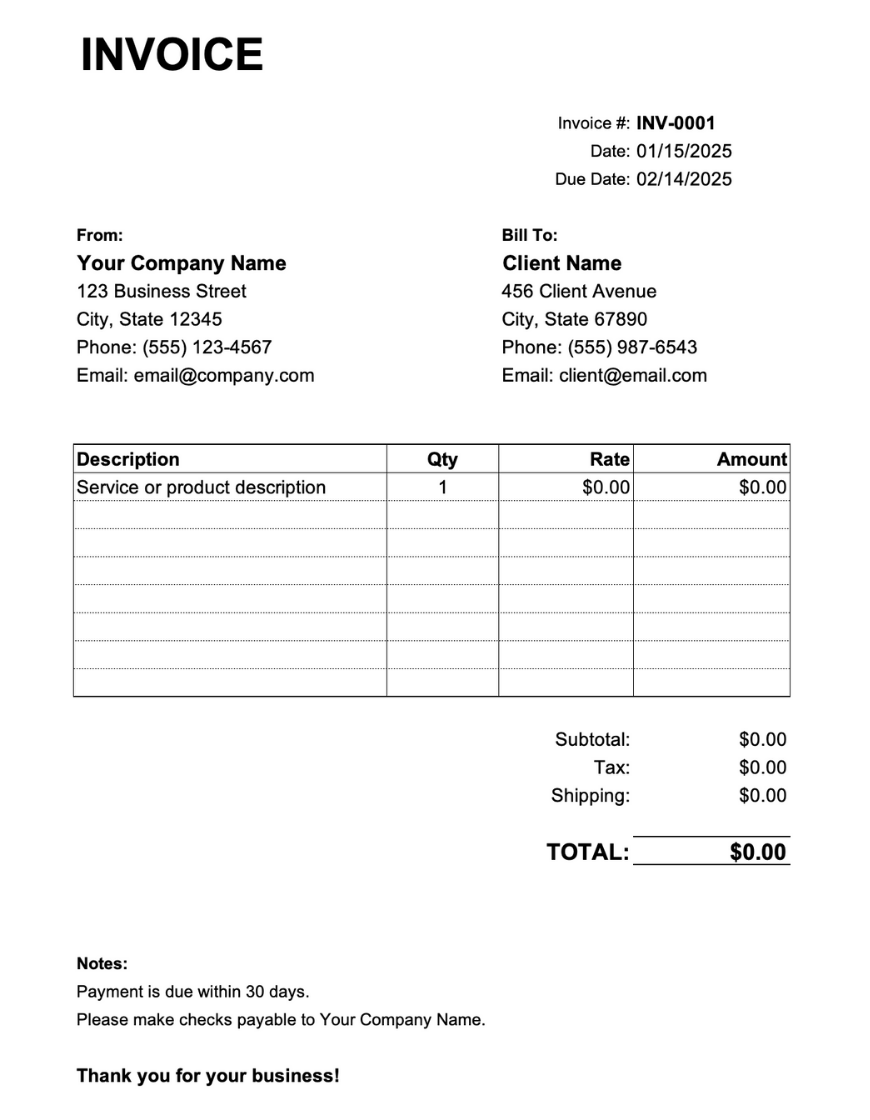
No-frills template designed for easy printing. Perfect for contractors, trades, and small businesses who need straightforward paper invoices.
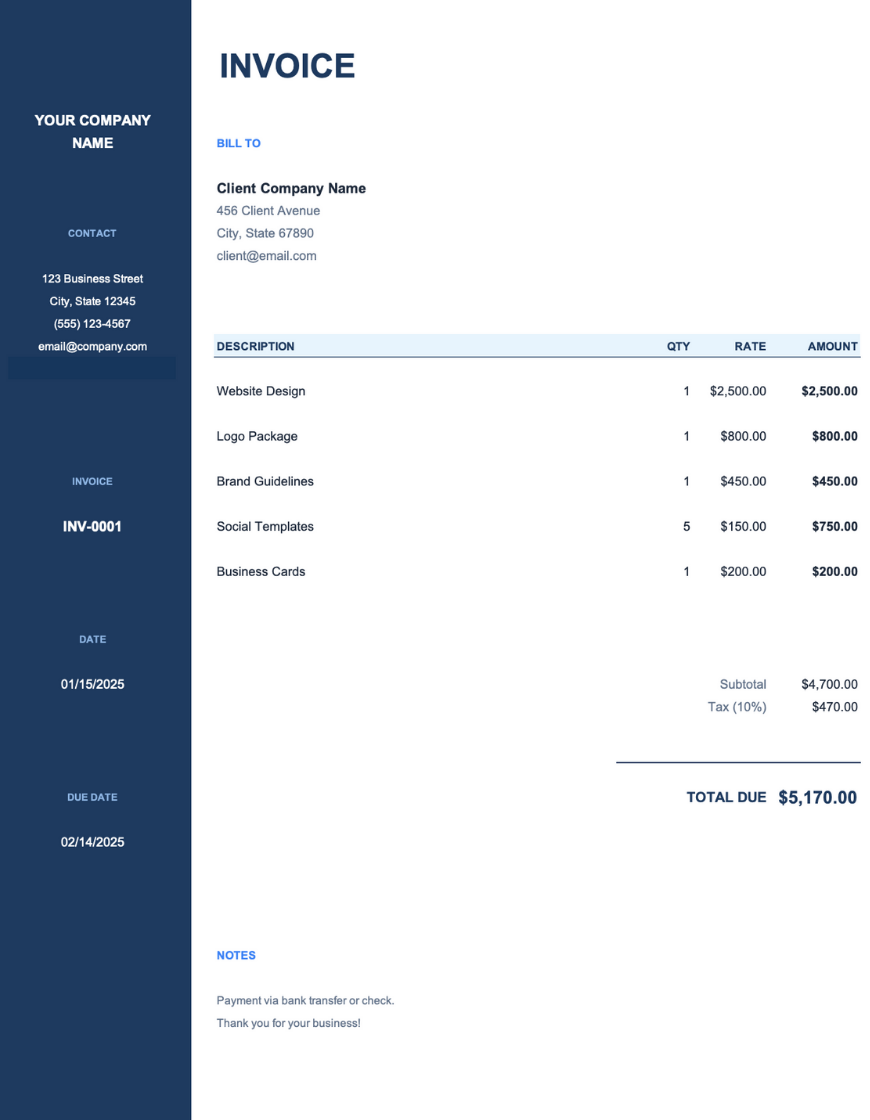
Modern two-column design with a dark navy sidebar and white main panel. Ideal for creative agencies, designers, and consultants.
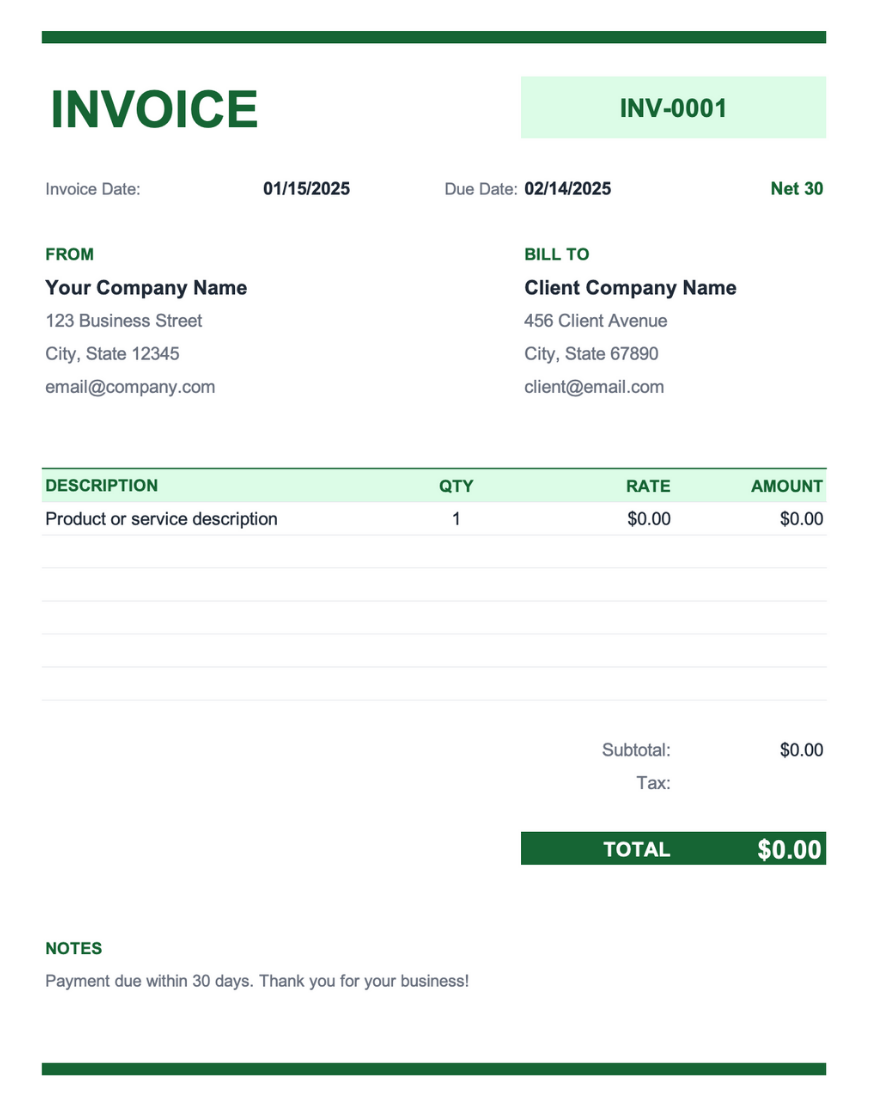
Bold green header with invoice number badge and highlighted date fields. Clean layout with a green-accented line item table and totals section.
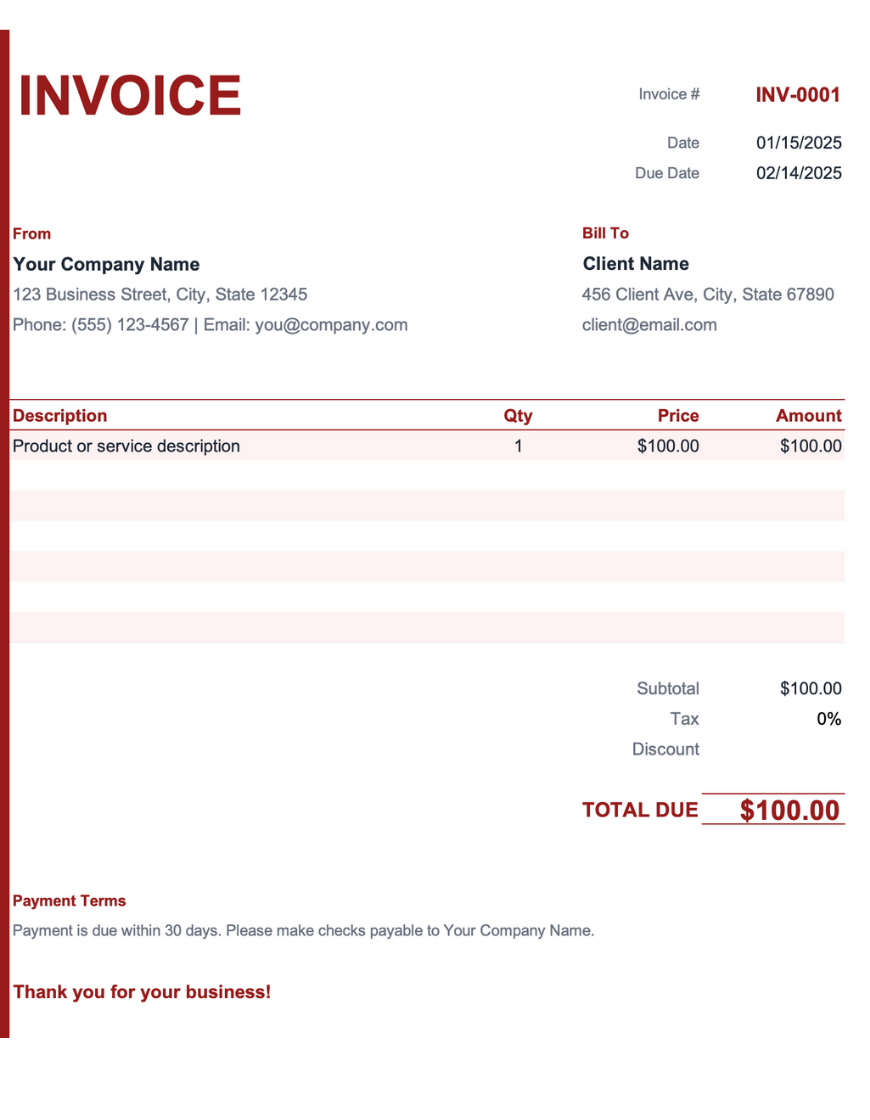
Professional design with red accents on the invoice number, dates, and totals banner. Includes discount field and payment terms section.

Teal-accented template with detailed unit pricing columns. Suited for product-based businesses needing clear quantity and unit price breakdowns.

Straightforward blue-themed template with clean tables and professional formatting. Versatile design suitable for any business type.

Minimalist black and white design with automatic total calculations. No-frills layout for quick, straightforward invoicing.
Skip the spreadsheet. Create, send, and get paid fast with Invoicer.
Create Your InvoiceSpecialized Excel templates for hourly services, consulting, and professional services with automatic time tracking and rate calculations. Perfect for freelancers and consultants who need mobile invoicing on iOS and Android devices.
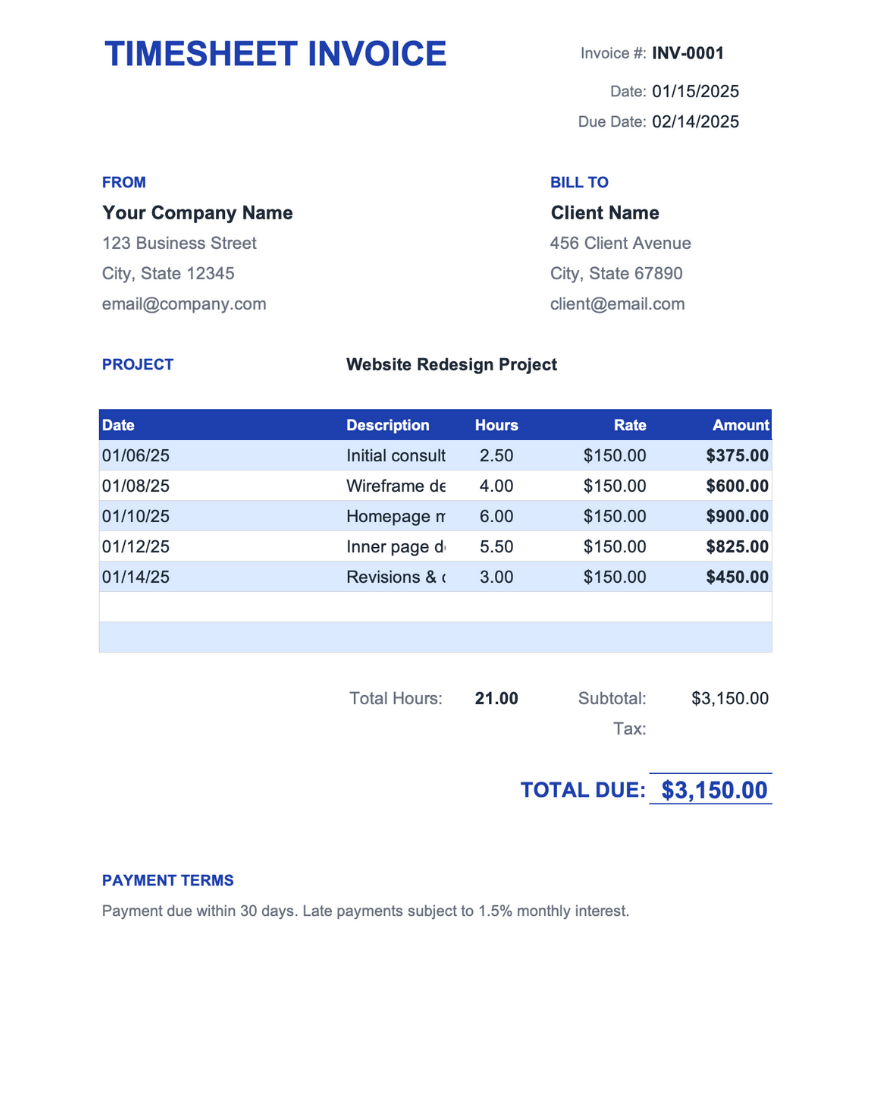
Blue header design built for hourly billing with date-based line items and project tracking. Ideal for consultants and service providers who bill by the hour.
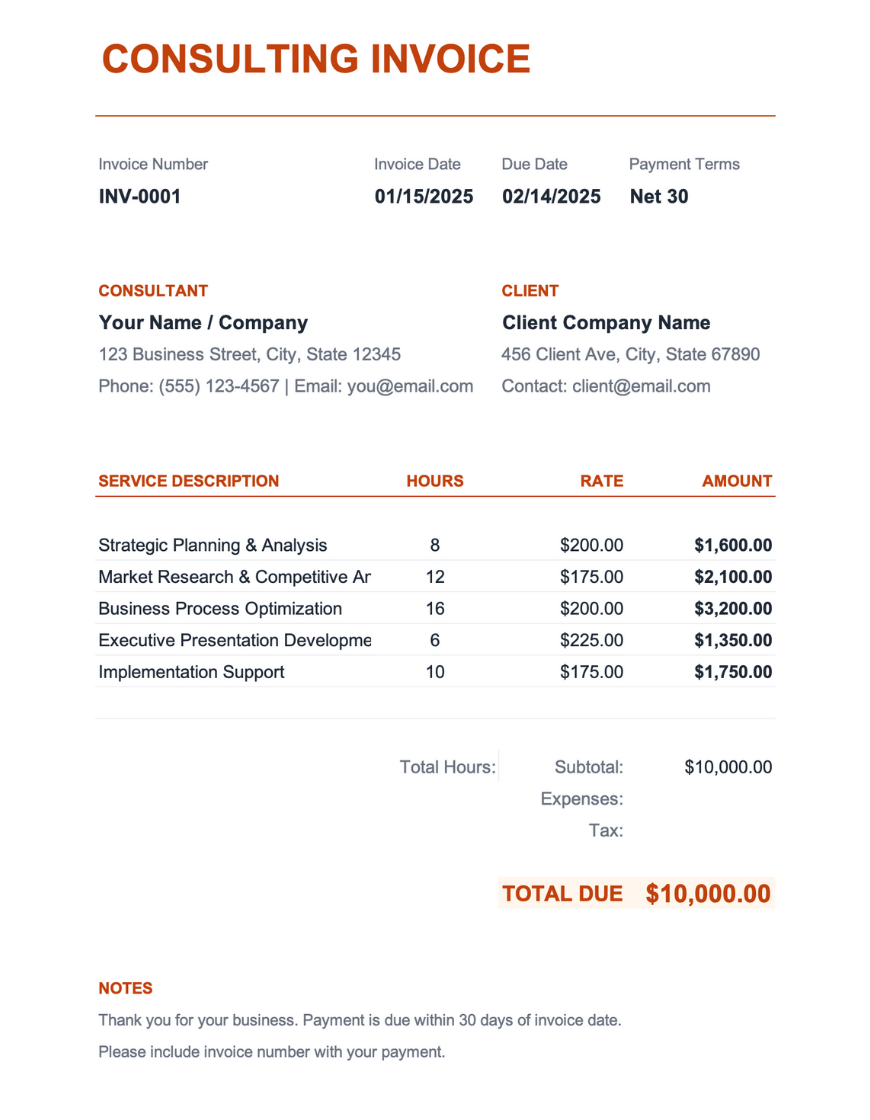
Professional green-accented template designed for consulting engagements. Features service descriptions with hours and rate columns for detailed project billing.
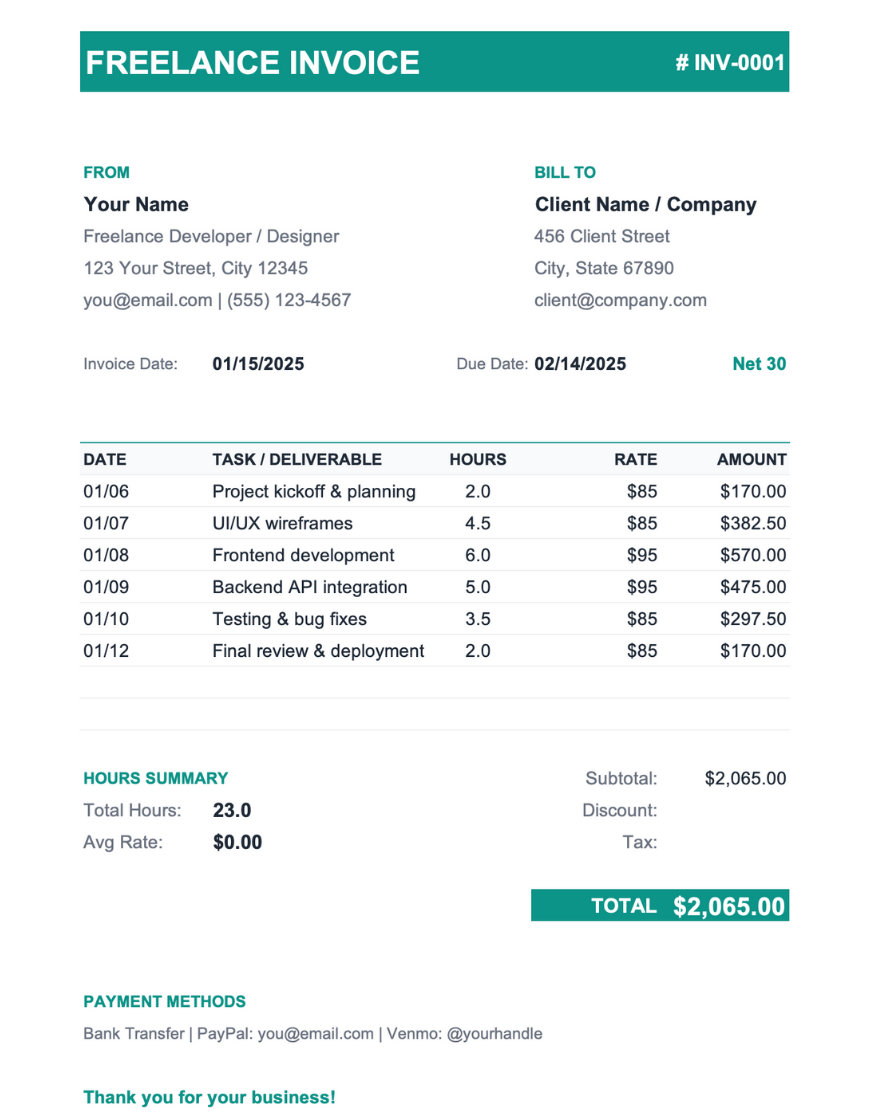
Modern template with teal header and task-based line items. Includes hours summary and multiple payment method options for flexible client payments.

Clean block-style design with a dark header and structured sections. Professional layout with automatic calculations for service-based businesses.

Clean teal-accented design for consultants and service providers. Modern, minimal layout with clear section organization.
Skip the spreadsheet. Create, send, and get paid fast with Invoicer.
Create Your InvoiceExcel templates perfect for selling physical products with SKU tracking, inventory management, and shipping costs. Ideal for retail, e-commerce, and wholesale businesses. Works on desktop and mobile devices.
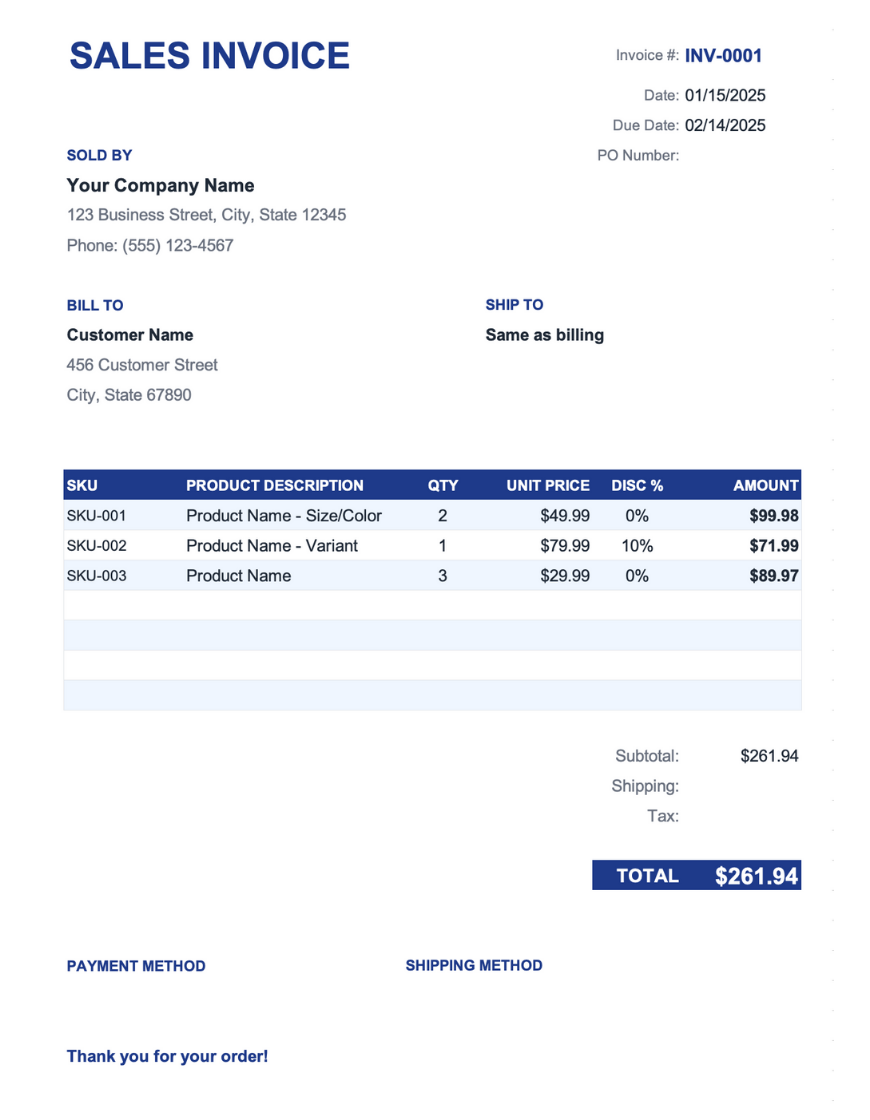
Blue-accented template designed for online sellers with SKU tracking and per-item discounts. Includes separate billing and shipping addresses for order fulfillment.

Slate and amber template built for bulk and B2B transactions. Features unit type tracking, customer account numbers, and shipping logistics fields.
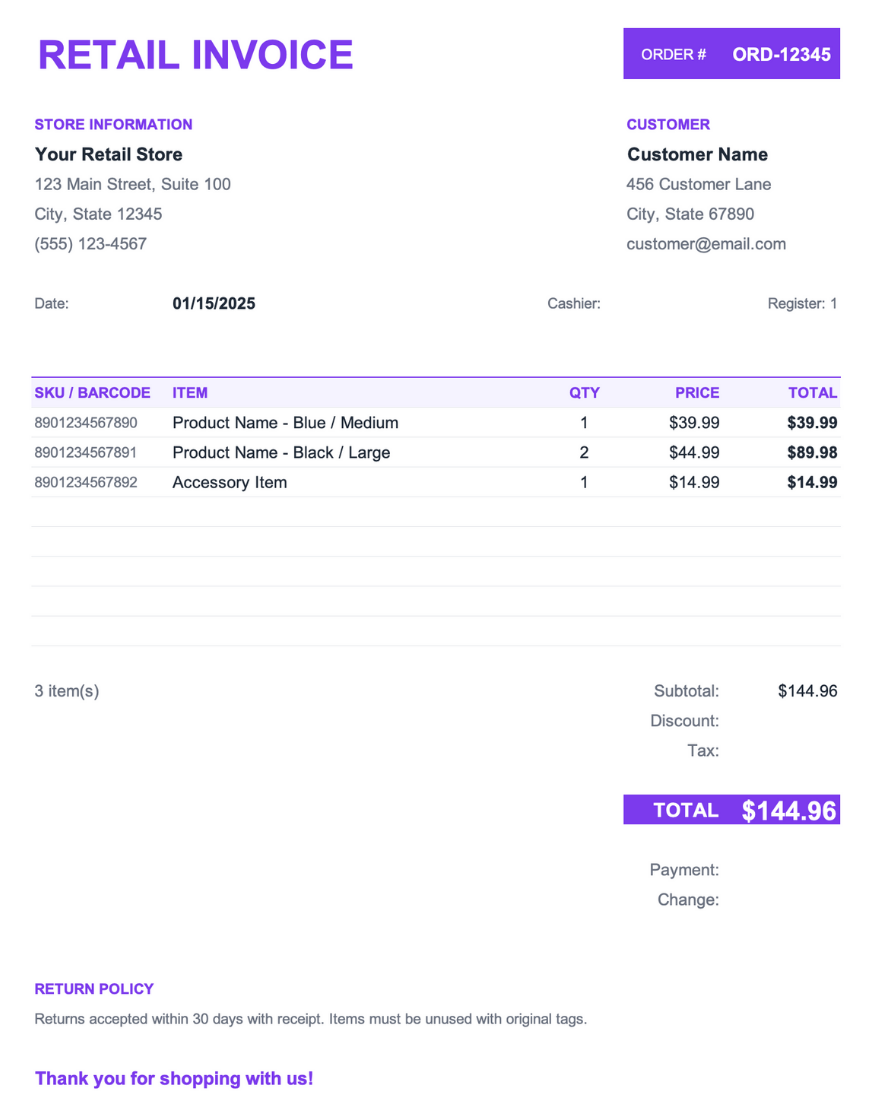
Purple-themed point-of-sale template with barcode/SKU support and payment processing fields. Includes item count, change calculation, and return policy.

Vibrant burgundy design with bold header and eye-catching color blocks. Professional yet distinctive look for retail and sales businesses.
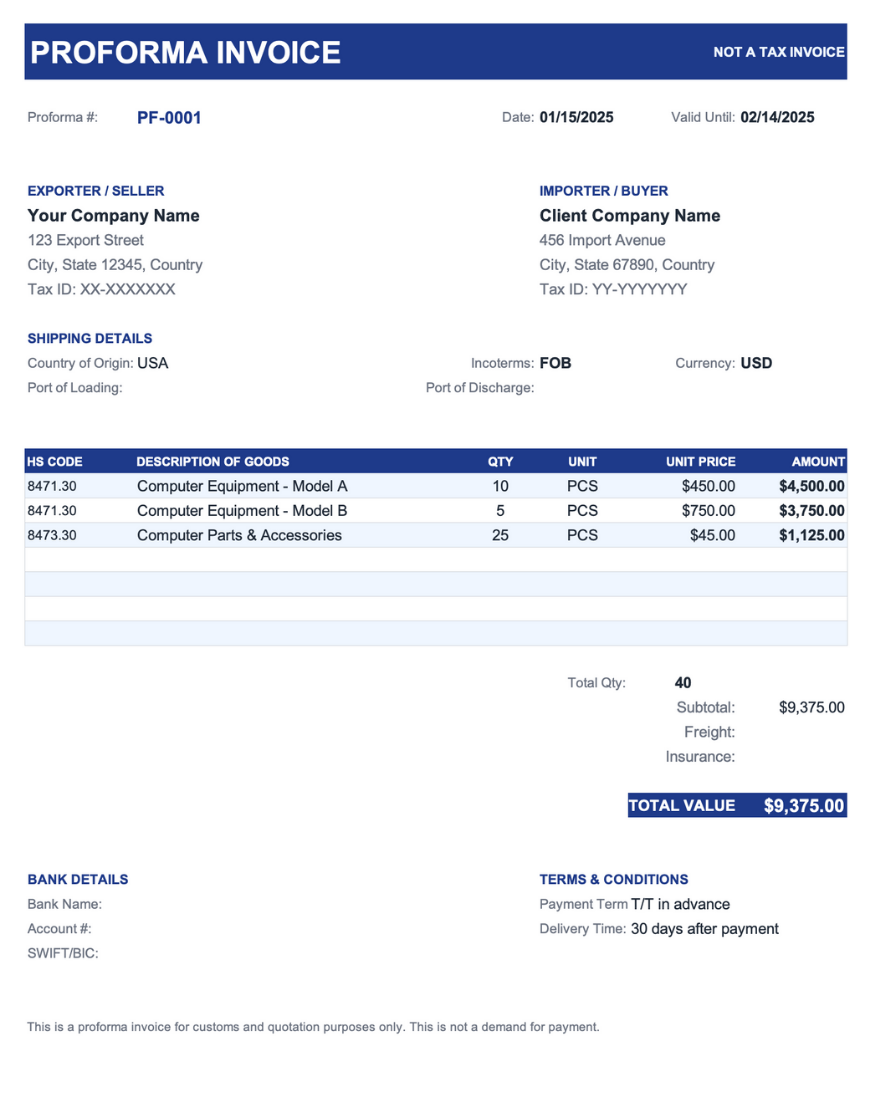
Professional blue template designed for international trade and customs documentation. Includes HS codes, shipping terms, and bank details for export transactions.

Coral and orange themed template for retail and e-commerce with per-line tax calculations. Features product codes for inventory tracking and automatic tax totals.
Skip the spreadsheet. Create, send, and get paid fast with Invoicer.
Create Your InvoiceUnique Excel invoice designs for different business needs, industries, and aesthetic preferences with specialized layouts and color schemes.
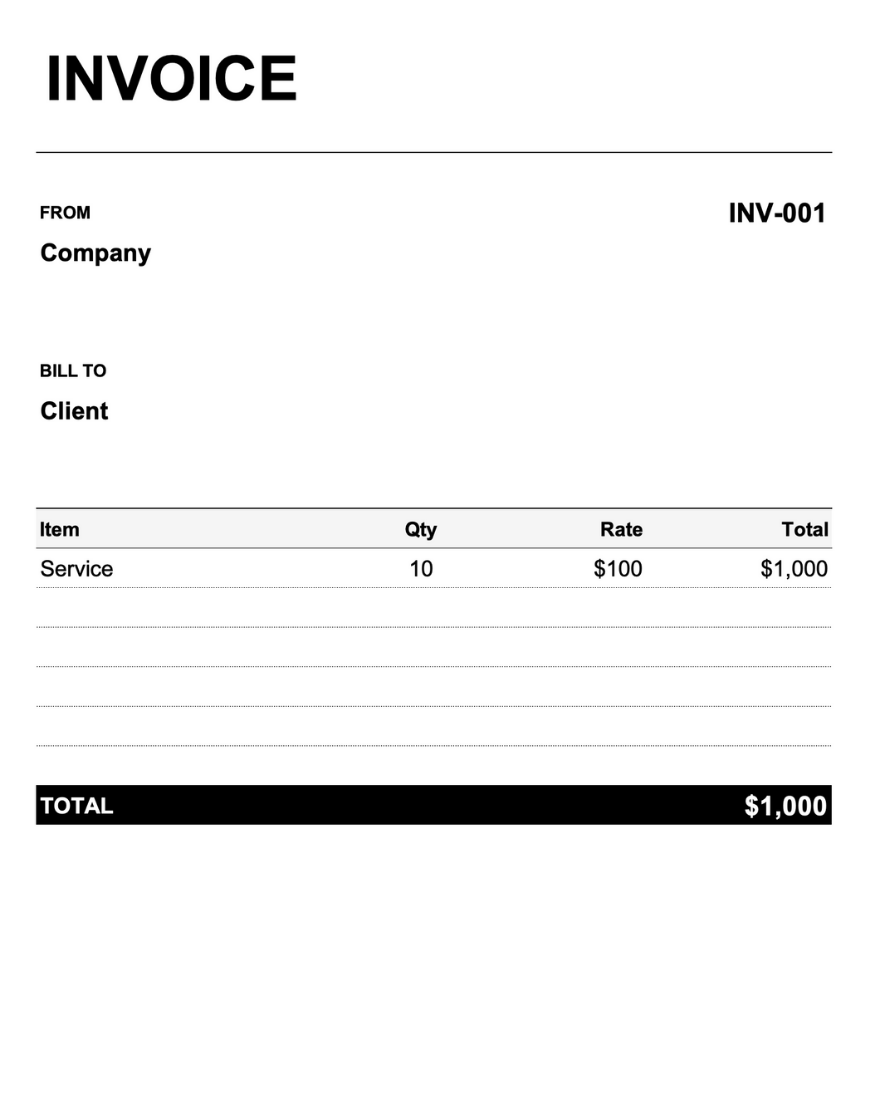
Ultra-clean black and white design with minimal elements. Simple layout focused on essential invoice information with a bold total bar at the bottom.
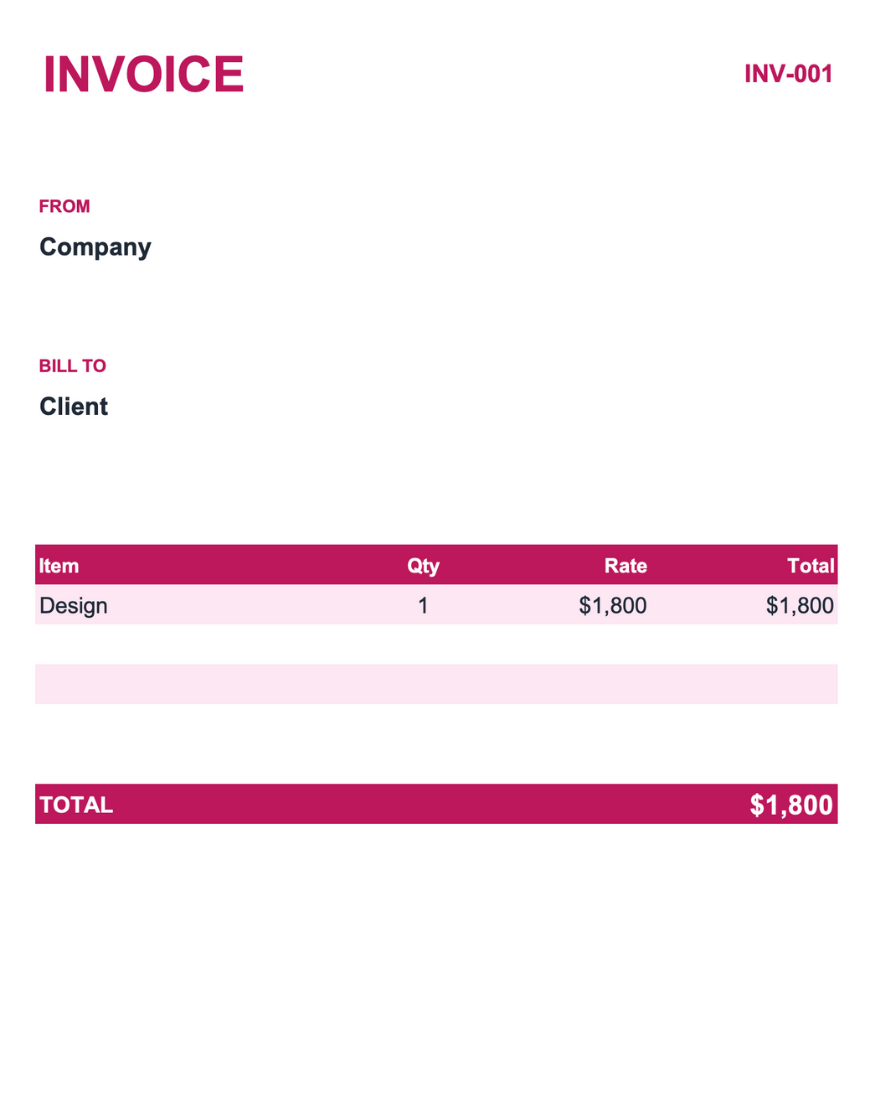
Eye-catching magenta header with a clean, modern layout. Simple structure suited for creative businesses, beauty services, and bold brands.
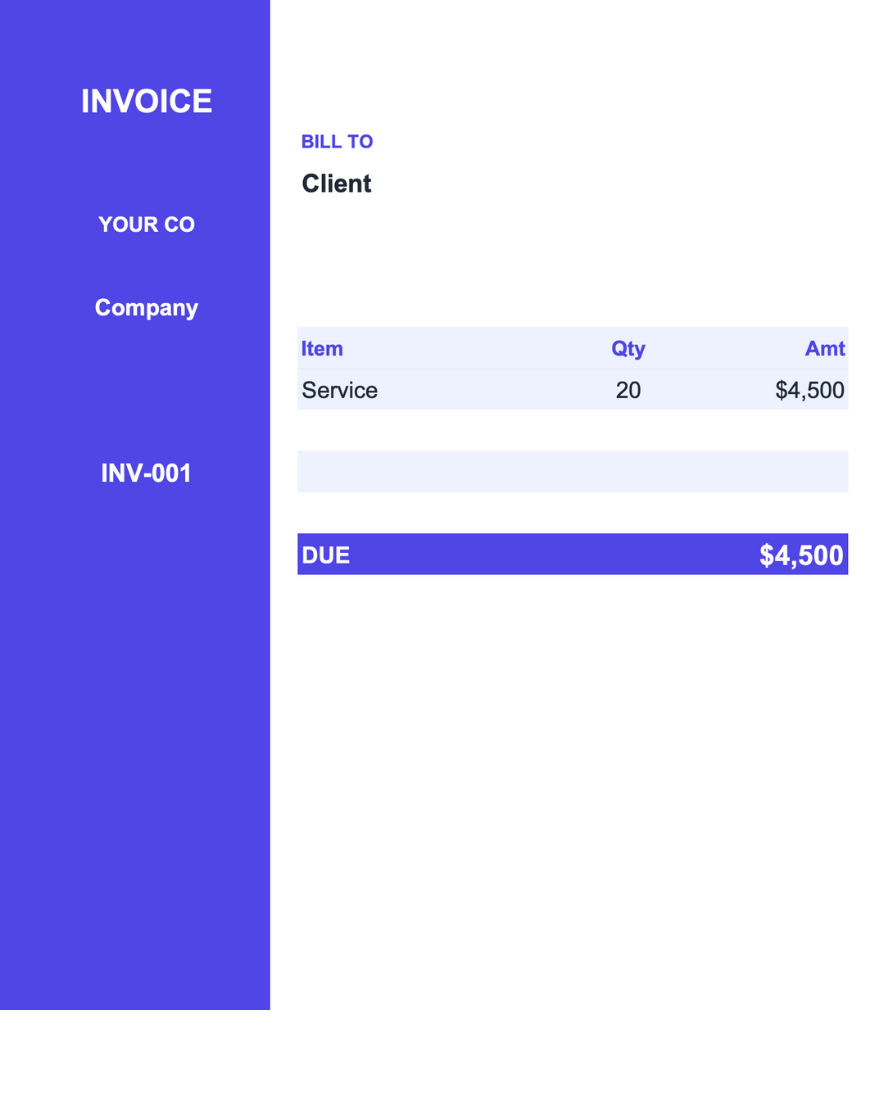
Modern split-panel design with a deep indigo sidebar containing company details and invoice number. Clean white main area for client info and line items.
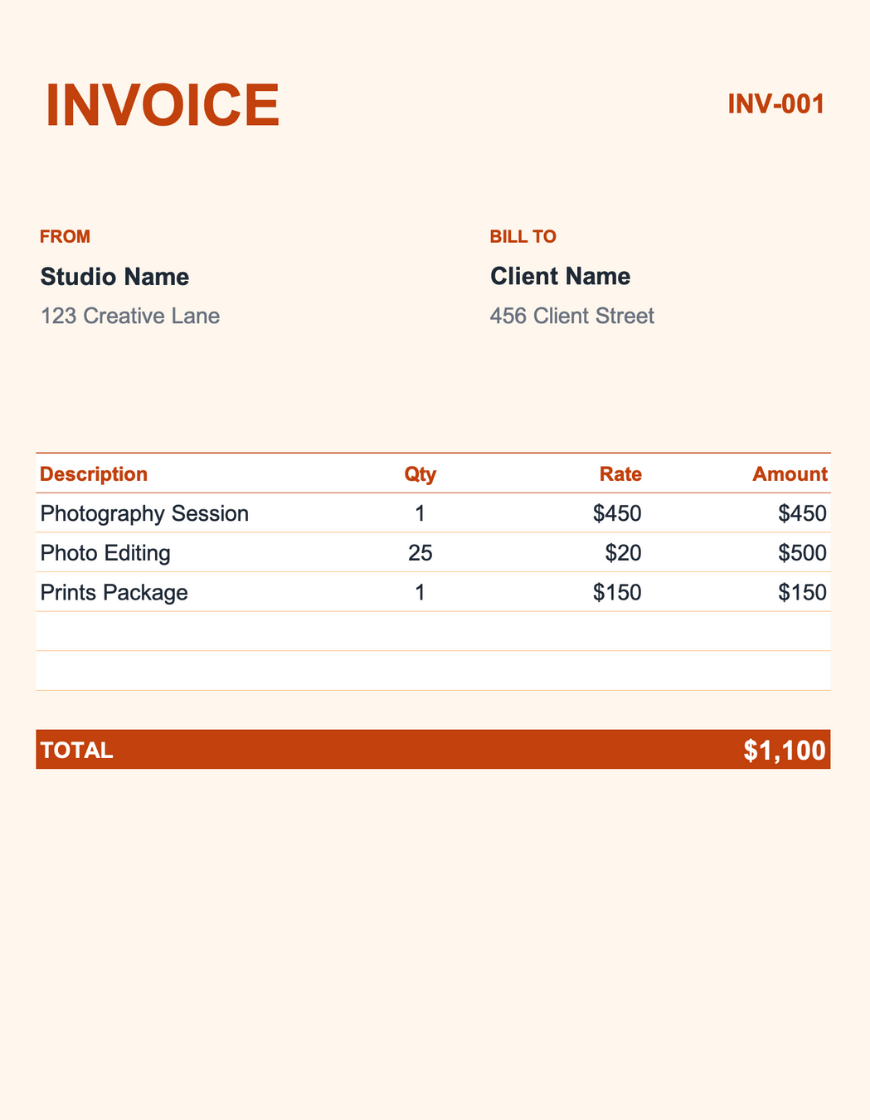
Warm coral/terracotta header design with a clean, creative aesthetic. Simple layout ideal for studios, photographers, and creative professionals.
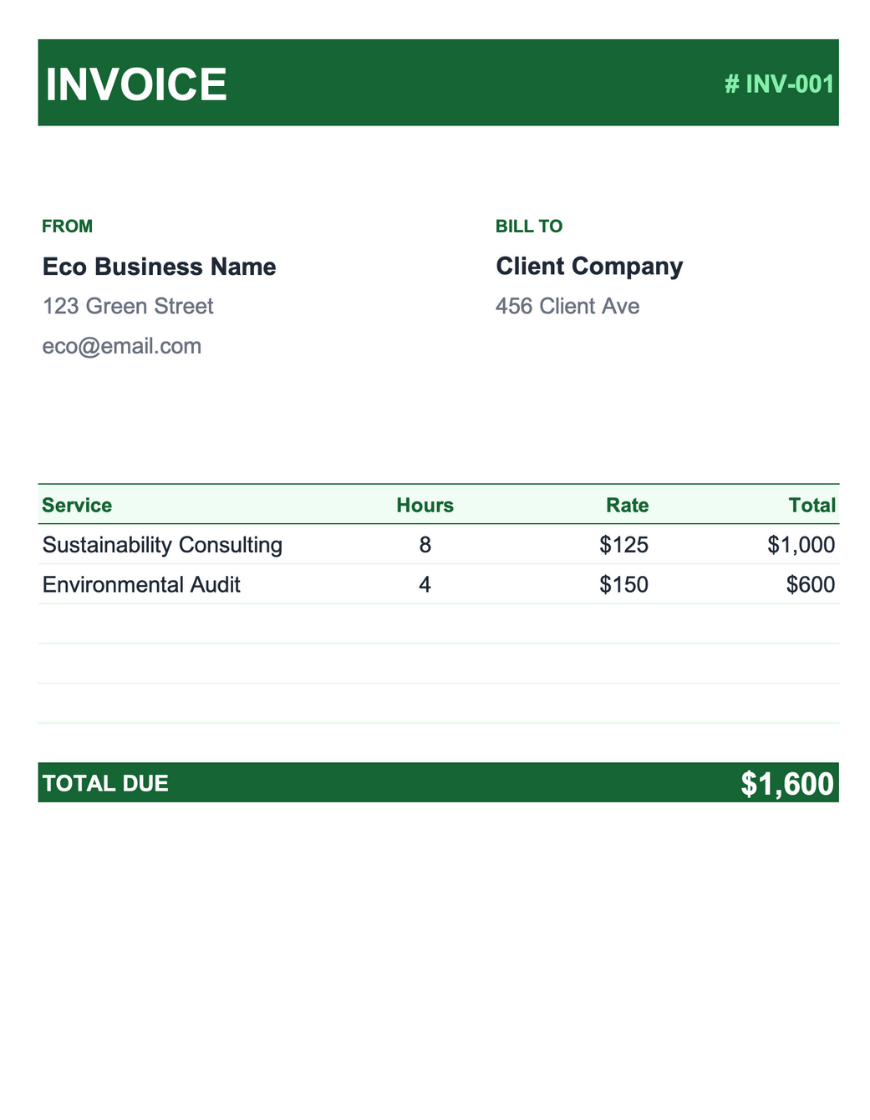
Fresh green header with eco-friendly aesthetic. Features hours column for service-based billing with a clean, professional look.
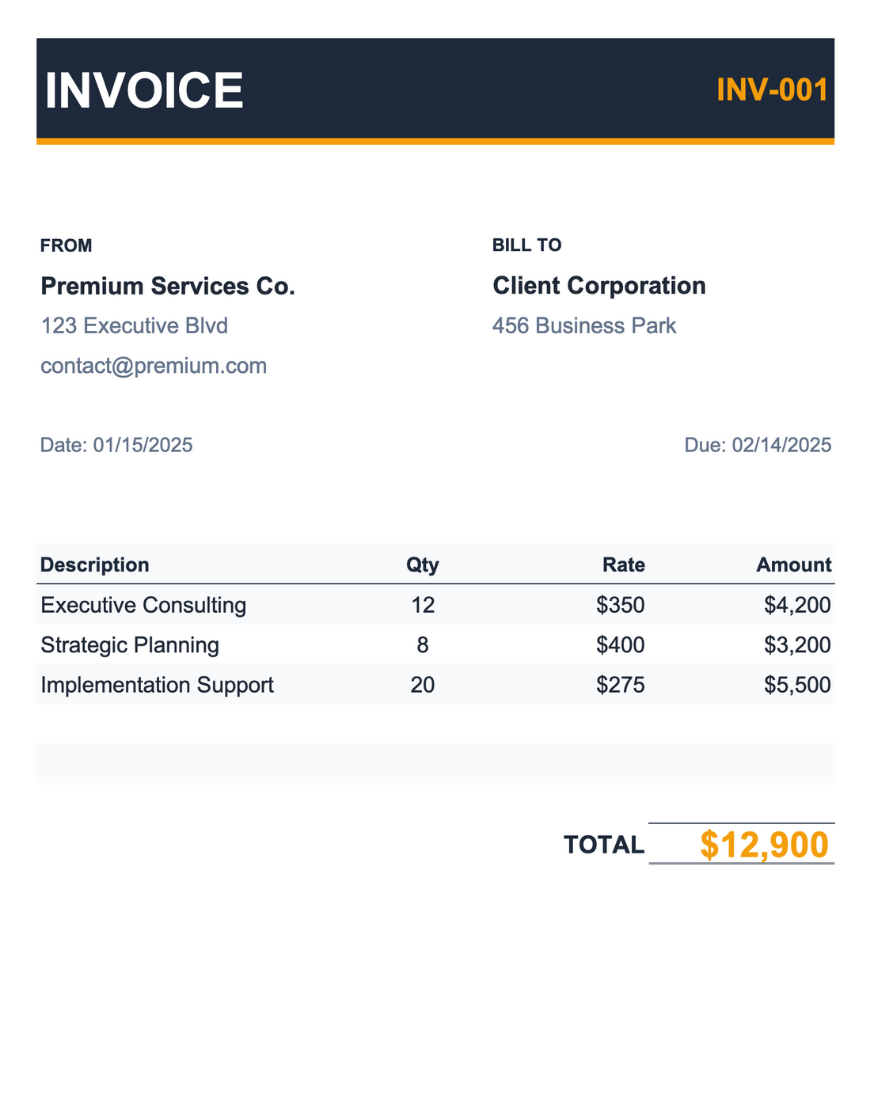
Professional navy blue header with gold accents for a premium, corporate feel. Clean layout with date fields and right-aligned total.
Skip the spreadsheet. Create, send, and get paid fast with Invoicer.
Create Your InvoiceProfessional Excel payment receipt templates for documenting completed transactions and customer purchases with payment method tracking.
Need to generate a receipt? Use our free receipt generator, or use Invoicer to create an invoice and automatically send a receipt when a payment is entered.
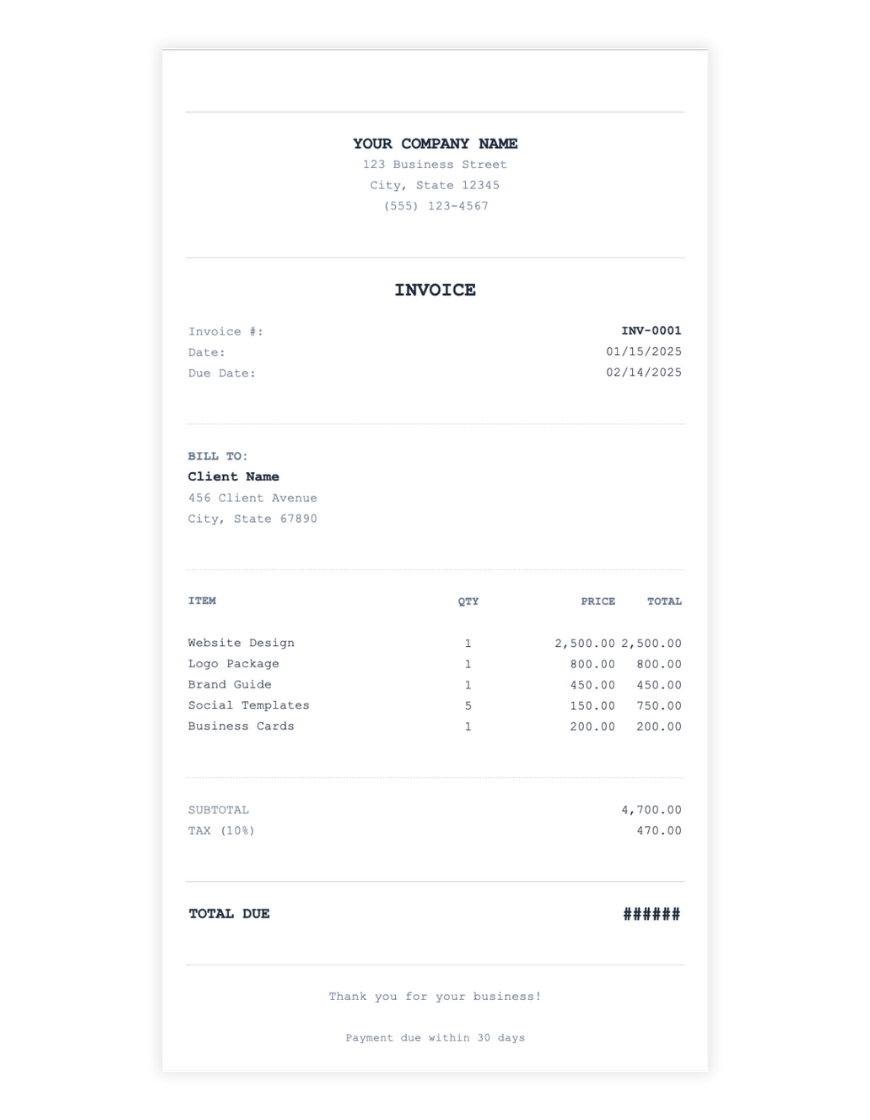
Clean, monospaced receipt-inspired design with dotted line separators. Minimal aesthetic with centered company header and straightforward sections for a familiar, easy-to-read format.

Narrow format mimicking a POS thermal printer output. Includes timestamp, cashier ID, and payment details for retail and point-of-sale transactions.
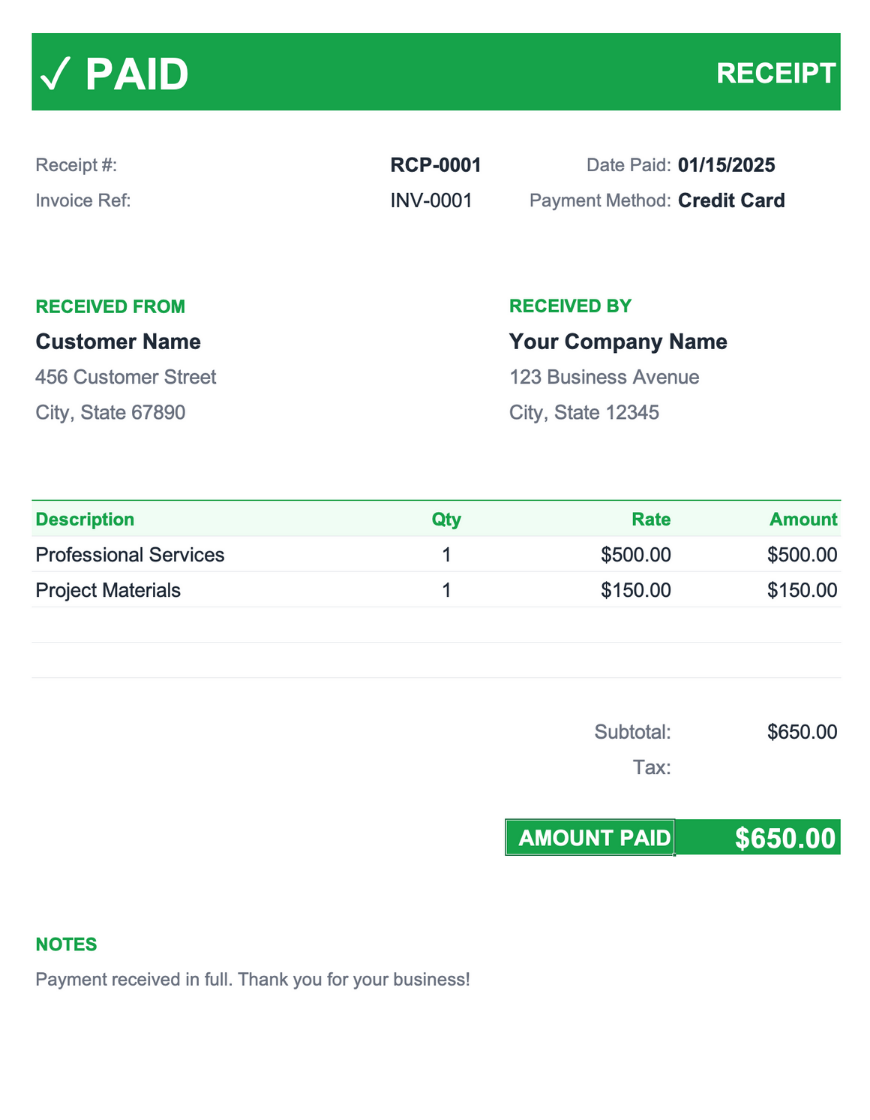
Clean receipt design with a bold green "PAID" badge confirming payment. Professional format with payment method tracking and received from/by sections.
Professional Excel billing statement templates for documenting completed transactions and customer purchases with payment method tracking.

Simple billing statement format for tracking client payments and balances. Designed for recurring billing with payment history and balance calculations.

Detailed statement of account for tracking multiple transactions over time. Shows transaction history with running balance for accounts receivable management.
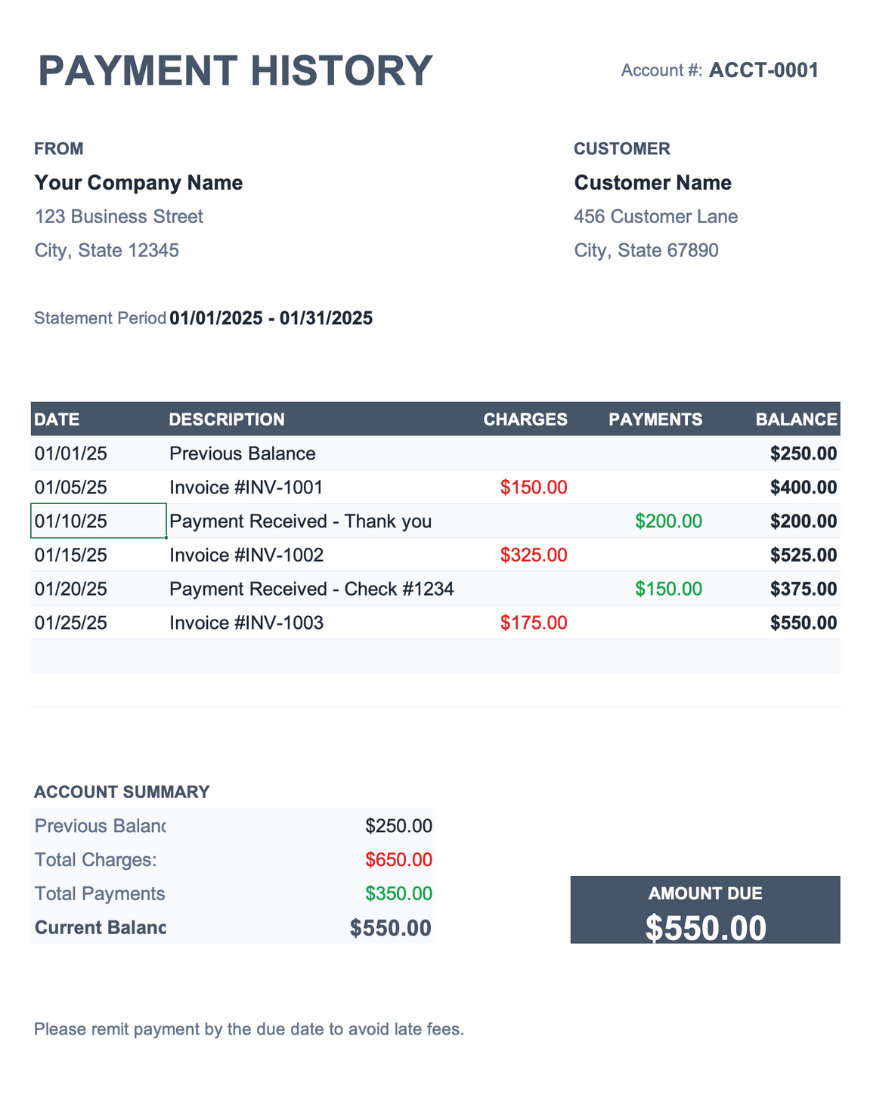
Slate gray statement template for tracking client payment history and account balances. Features color-coded transactions and running balance calculations for accounts receivable management.
Skip the spreadsheet. Create, send, and get paid fast with Invoicer.
Create Your Invoice
Easy and intuitive AI-powered invoice generator.

Clear and simple process for your clients to pay.

Easily customize with your brand and colors.
Here is everything you need to know about Excel invoice templates. Who they are for, how they work, what to put in them, and most importantly, how to create an Excel invoice template.
Excel invoice templates are for people or businesses who need to invoice a client for goods or services and only need a basic invoice to send.
An Excel invoice template works by providing an official document of goods and services purchased from one party to another. The sending party fills in the Excel invoice template with all of the details regarding the transaction: including their contact info and their client's contact info, good and services provided, cost of items, taxes, discounts, deposits, terms, due date, invoice number, and anything else pertinent.
You can create an Excel invoice template in three ways: From scratch (Hard), Using a template (Easier), and using an invoice generator (Easiest).
The most complicated way to create an Excel invoice template is to create one from scratch using Microsoft Excel.
Include the following sections and information in your Excel invoice template:
Once you have all of that information, create sections in your Microsoft Excel spreadsheet software to enter the data. Pay special attention to the layout and formatting. Do a print preview so you can see how it will look if you or your client prints the invoice.
Triple check your calculations to make sure you are charging them the correct amount and have applied taxes, discounts, and deposits correctly. Style it with your choice of font, colors, and logo, or generate one in minutes with our free Logo Maker.
Once you are satisfied with your Excel invoice template, save it so you can use it again.
We also recommend saving your completed Excel invoice as a PDF file for easy sending.
Now you can send it to your client by email, text message, or print and mail it. We recommend email or text since it is the fastest way to get the invoice to your client. Getting it in their hands faster means you should get paid faster.
When in doubt, you can always pick up the phone and call them to make sure they received the invoice.
ℹ Did you know, you can automatically track your sent invoices and estimates with Invoicer? That way you don't need to ask your client if they received an invoice. Try it now.
Pros: you have complete control of the look and layout, and it doesn't cost you anything.
Cons: time-consuming, you need Microsoft Excel processing or spreadsheet software, harder to stay organized, keep track of invoices, you need to perform calculations manually, you need to format an invoice manually, and it is difficult to know the invoice status.
Enter the following information in your Excel invoice template sections:
Once you are happy with your Excel invoice, save it and send it so you can get paid for your hard work.
By far the easiest way to create an invoice is by using an invoice generator. An invoice generator guides you through the invoice creation process, performs calculations automatically, and makes it very easy to send and manage invoices. You can even track your invoices, send late payment reminders, manage items, and receive online payments!
Create an invoice for free using the Invoicer.ai AI-powered invoice generator
To create an invoice using Invoicer.ai, watch the video above and follow the steps below.
Note, the information you enter is automatically saved for you so you do not need to enter it again. This is useful when you create new invoices for the same client and items.
Done!
If you haven't signed up yet you will need to create a free account to download a PDF and send your invoices. Once you are signed up you can access your invoices from any device.
Once you are happy with your invoice you can click View Stub to see what the stub view looks like. The stub view is a summary of the invoice and it is what the client sees when they view the invoice from email.
You can also click the PDF button to download and view a PDF version of the invoice.
If everything looks good, click the Send button to send your invoice to your client or email or text the PDF version.
Excel invoice templates are a simple way to create clear and professional invoices for your business. They come ready-made with sections for all the important details and can even handle calculations for you.
This FAQ answers common questions about downloading, using, and customizing Excel invoice templates so you can make your invoicing quicker and easier.
An Excel invoice template is a pre-formatted spreadsheet created to help businesses and individuals create professional invoices using Microsoft Excel.
These templates include sections for important details such as sender and recipient information, item descriptions, quantities, prices, taxes, and totals. They often come with built-in formulas to automate calculations as well.
Follow these simple steps below to start using our Excel invoice templates:


Yes, there are many free invoice templates in Excel available online. These templates are suitable for different industries and design preferences. You can pick the one that best fits your business needs.
Absolutely. Excel invoice templates are customizable. You can modify fonts, colors, and layouts to align with your brand identity. You can also add your company logo and any other relevant information to your Excel invoice to give it a professional appearance.
Using Excel invoice templates offers several benefits:
These advantages make Excel invoice templates a popular choice for many businesses.
Yes, Excel invoice templates are versatile and can be adapted for various industries and business types. Freelancers, consultants, retailers, or service providers can all find a suitable Excel invoice template and customize it to suit their invoicing requirements.
To make sure the calculations in your Excel invoice template are accurate, follow the steps below:
By following these steps, you can maintain the accuracy of your Excel invoices.

Yes, you can convert your Excel invoice into a PDF. After completing the invoice in Excel, go to 'File'> 'Save As' and select PDF as the file format. This way, your invoice will be easily shareable and maintain its formatting across different devices and platforms.
Yes, there are alternatives to using Excel for creating invoices, including:
When choosing an Excel invoice template, look for features like built-in formulas for automatic calculations, customizable fields for branding, and sections for essential details such as taxes, payment terms, and contact information.
An Excel invoice template provides built-in formulas for automatic calculations, which is ideal for users who need to handle complex invoicing with tax or discount calculations. Unlike Word or PDF formats, Excel templates allow for dynamic updates and are a better fit for tracking numbers or creating large quantities of invoices efficiently.
Yes, Excel invoice templates are versatile and can be customized to suit international clients. You can update the currency symbol, tax rates, and language fields to meet the requirements of specific countries or regions.
Yes, most Excel invoice templates are compatible with Google Sheets. Just upload the Excel template to your Google Drive and open it using Google Sheets. However, some advanced Excel features or formulas may require adjustments in Google Sheets.
When creating an invoice for services, make sure to include the following details are included:
To make your Excel invoice template professional, follow the steps below:
To prevent unauthorized edits:
Yes, Excel templates can be used for recurring invoices. You can save a copy of the original template with the client's information pre-filled and update it each billing cycle.
Yes, Excel invoice templates can be customized for multi-currency transactions. You can:
Update your Excel invoice template regularly, especially when:
Excel templates can be a good start, but they often come with extra stress. Are you confident your numbers are right? Does the invoice look professional? Are you spending too much time managing it all?
Invoicer.ai takes the hassle out of invoicing by making it easy to create professional, accurate invoices and keep everything organized. With an intuitive AI-powered editor, automatic calculations, and tools to track, sort, and manage your invoices, our invoicing software makes the entire process easier.
With online payments, reminders, and expense management that includes automatic data extraction, you'll save time and get paid faster. Plus, you'll always know when your invoices are delivered, viewed, or paid.
Once the invoice is ready, you can schedule it to send when it makes the most sense for the job or your billing routine.
