Welcome to Invoicer.ai!
This guide will help you get up and running quickly so you can start simplifying your invoicing process.
Step 1: Navigate to the Invoices section.
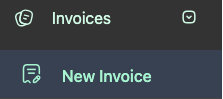
Step 2: Click on New Invoice in the menu or dashboard.
Step 3: Add your company info (name, address, logo, etc.).
Step 4: Add client details (name, address, email).
Step 5: Enter line items (product/service details, price, quantity).

Step 6: Review your invoice.
Step 7: Send or download your invoice
Step 1: Navigate to the estimates section.

Step 2: Click on New Estimate in the menu or dashboard.
Step 3: Add your company info (name, address, logo, etc.).
Step 4: Add client details (name, address, email).
Step 5: Enter line items (product/service details, price, quantity).
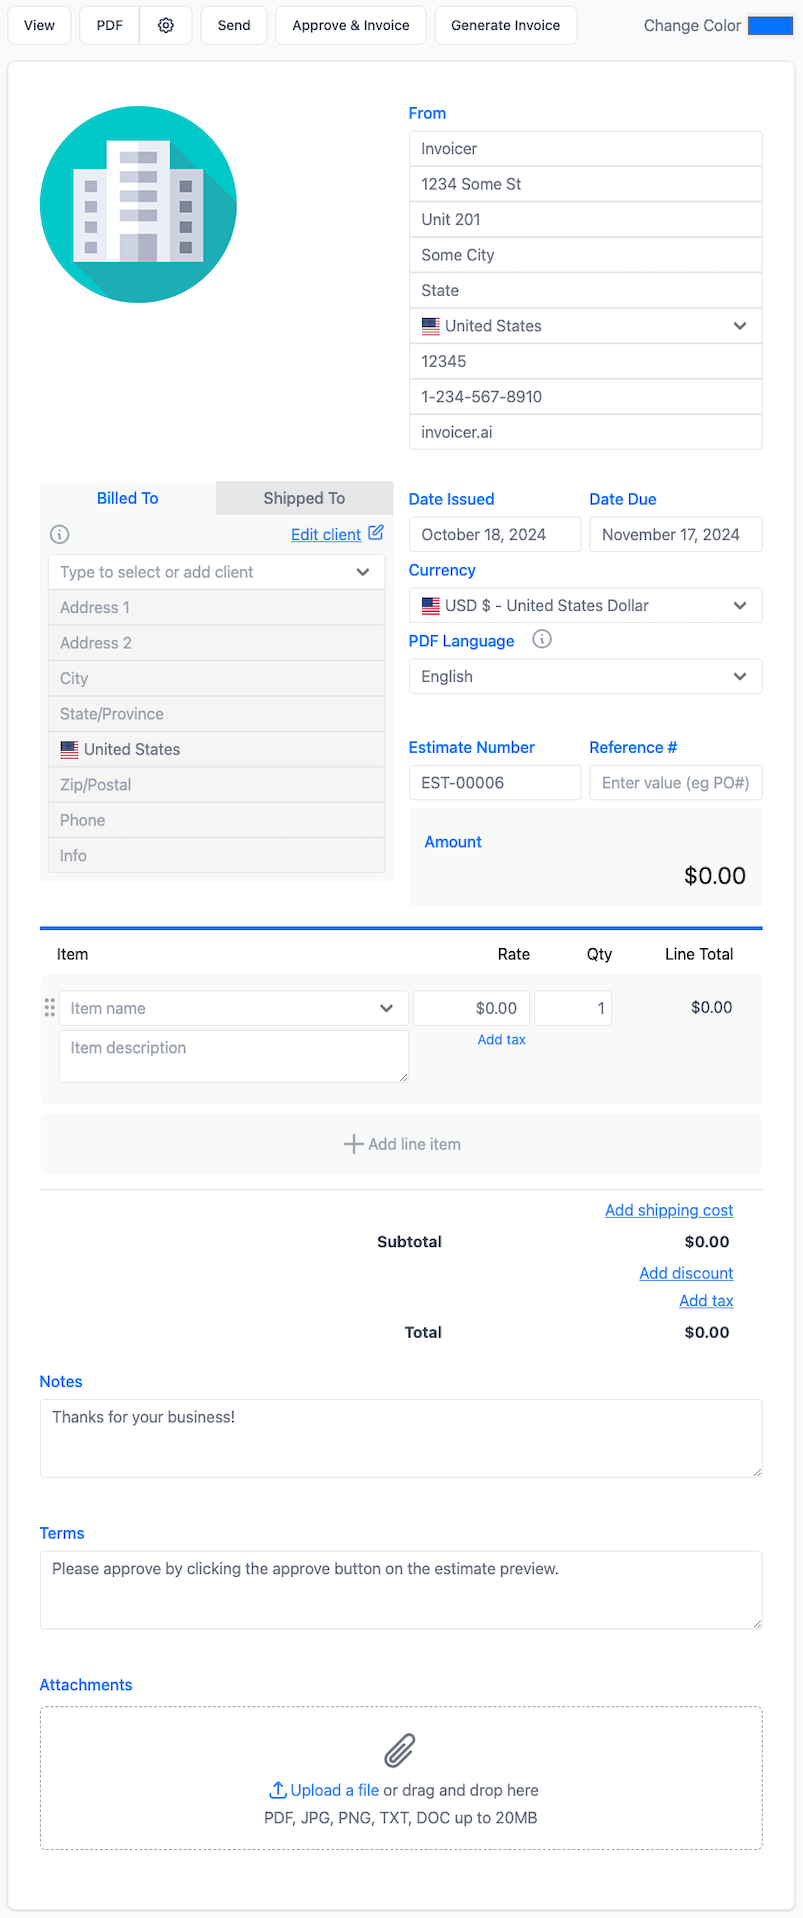
Step 6: Review your estimate.
Step 7: Send, download, or approve your estimate.
Step 8: Select Generate Invoice to create an invoice from the estimate.
Any clients or items you add during invoice creation are automatically saved for future use. You can add more as you create your invoices or add them following these steps:
Step 1: Go to the Clients section.

Step 2: Click Add New Client and fill in the details (name, email, address).
Step 3: Save the client to easily use it for future invoices.
Step 1: Go to the Items section.

Step 2: Click on Add item.
Step 3: Add products or services with descriptions, prices, and other relevant details.
Step 4: Add and assign categories.
Invoicer partners with Stripe to let you accept credit cards, mobile wallets, and bank transfers 135+ currencies.
Follow the steps below to get started:
Step 1: Select Accept Payments in the menu.

Step 2: Following the Stripe onboarding instructions
Step 3: Once approved, the Pay Now button will appear on invoices.
Step 4: You can enable or disable the Pay Now button as needed.
Save time with automatic late payment reminders:
Step 1: In the invoice editor or invoice settings, enable payment reminders.

Step 2: Set up automatic payment reminders for overdue invoices.
Step 3: Customize the frequency and timing.
See when your clients view and pay invoices in real-time.
See precisely when invoices are delivered and viewed by your clients.
Step 1: Hover over status or time ago and select view history to see a detailed view of when your invoice was delivered, viewed, and paid by your client.

Step 2: View real-time updates on paid, unpaid, and overdue invoices.
Step 3: Use filtering options and search to easily find invoices.
If you need help, visit our Help Center or contact support using the chat in the bottom right.
