
All of these PDF templates have editable fillable forms, so you can fill them in right in your browser, no special software required.
Browse categories to find a PDF invoice template that matches how you work:
Industry PDF Templates
Card Style PDF Templates
Print Friendly PDF Templates
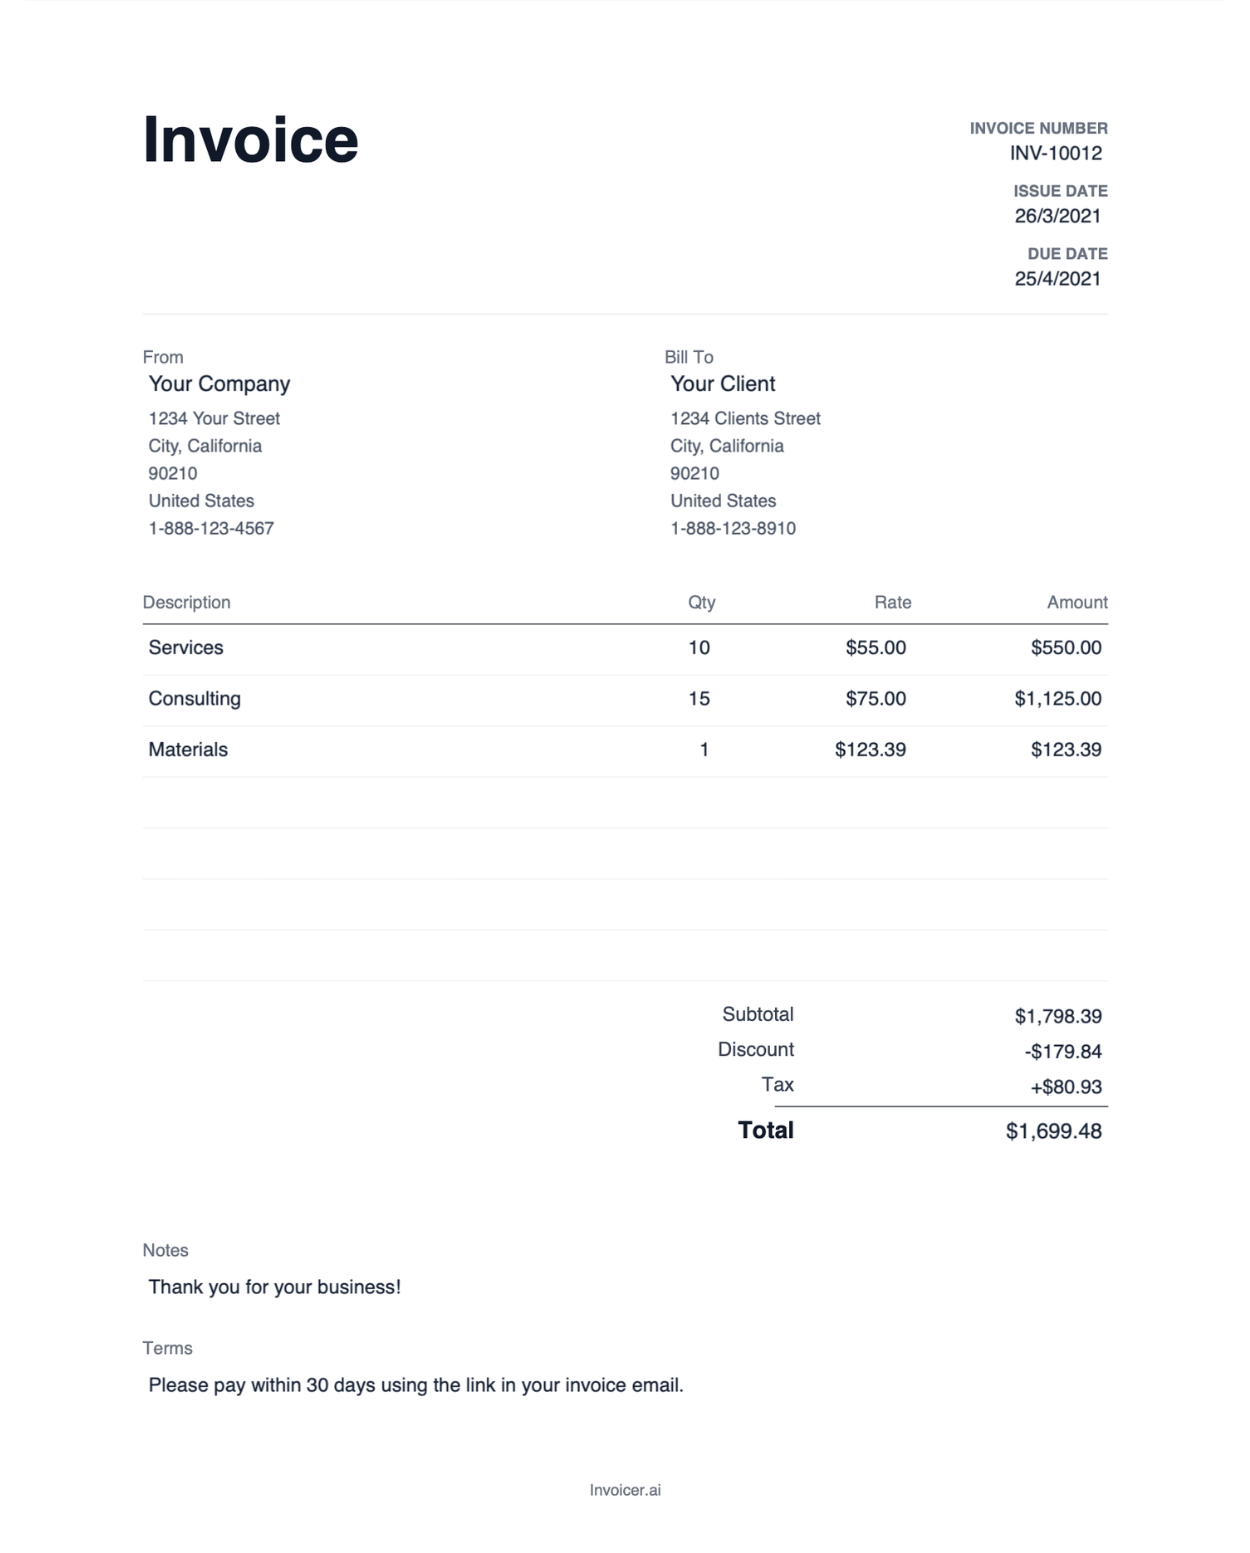
Simple PDF invoice templates for solo professionals and independent work.
Professional PDF invoice templates for consultants, advisors, and project-based services.
Structured PDF invoice templates for job-based billing, labor, and field work.
Flexible PDF invoice templates for everyday invoicing across different services and business types.
Flexible PDF invoice templates for service-based work across trades and industries.
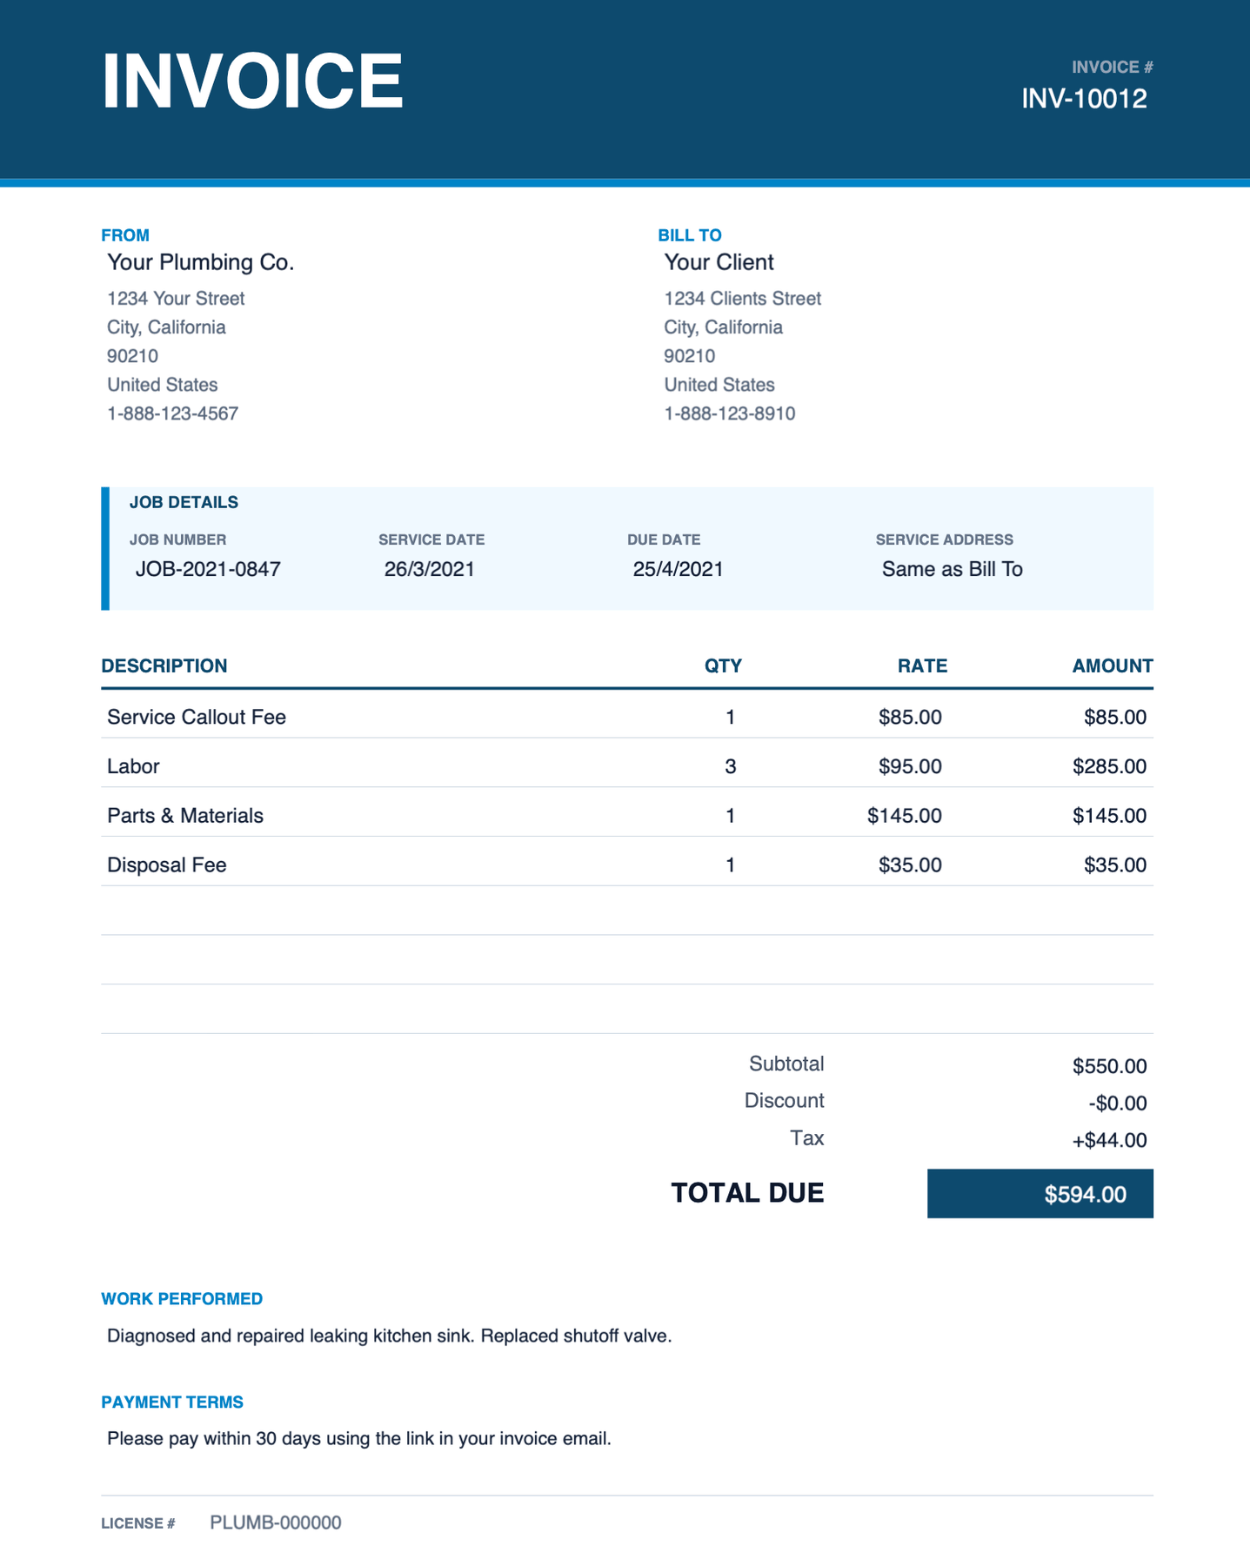
PDF invoice templates for plumbers with callouts, parts, and labour line items.
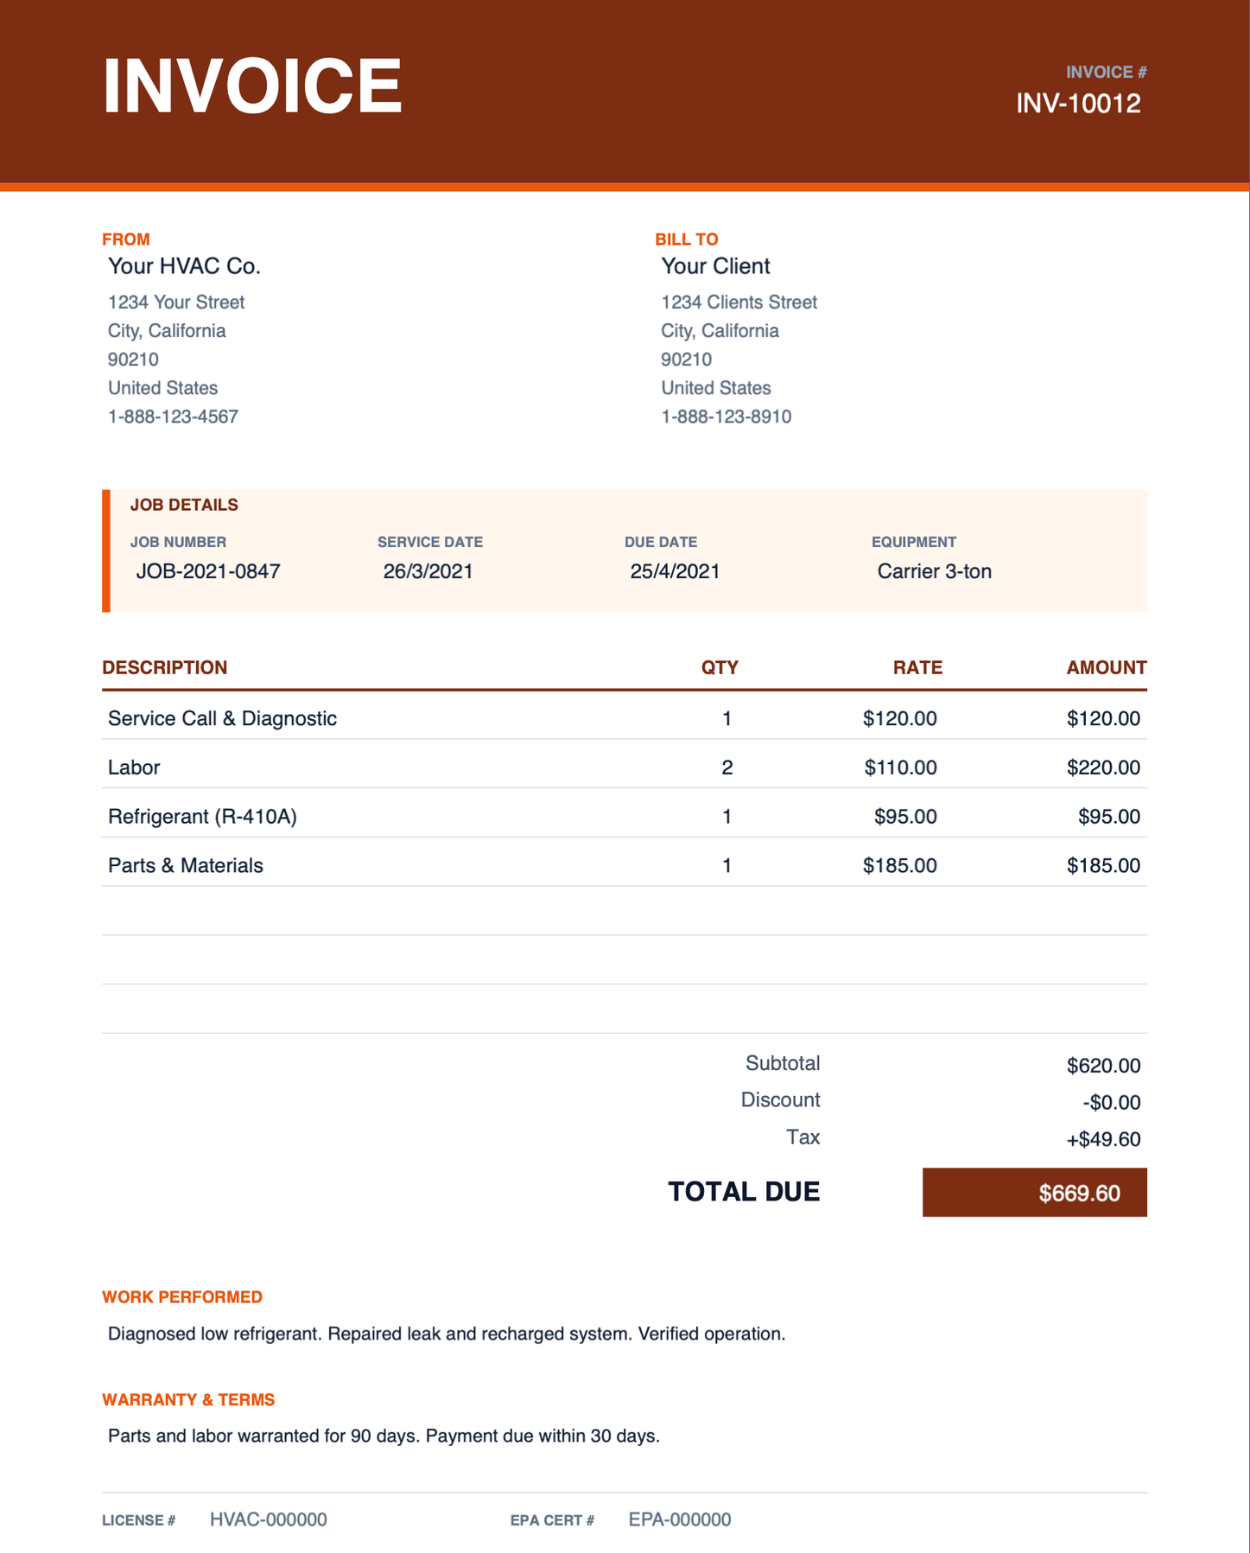
PDF invoice templates for service calls, installs, and seasonal maintenance.
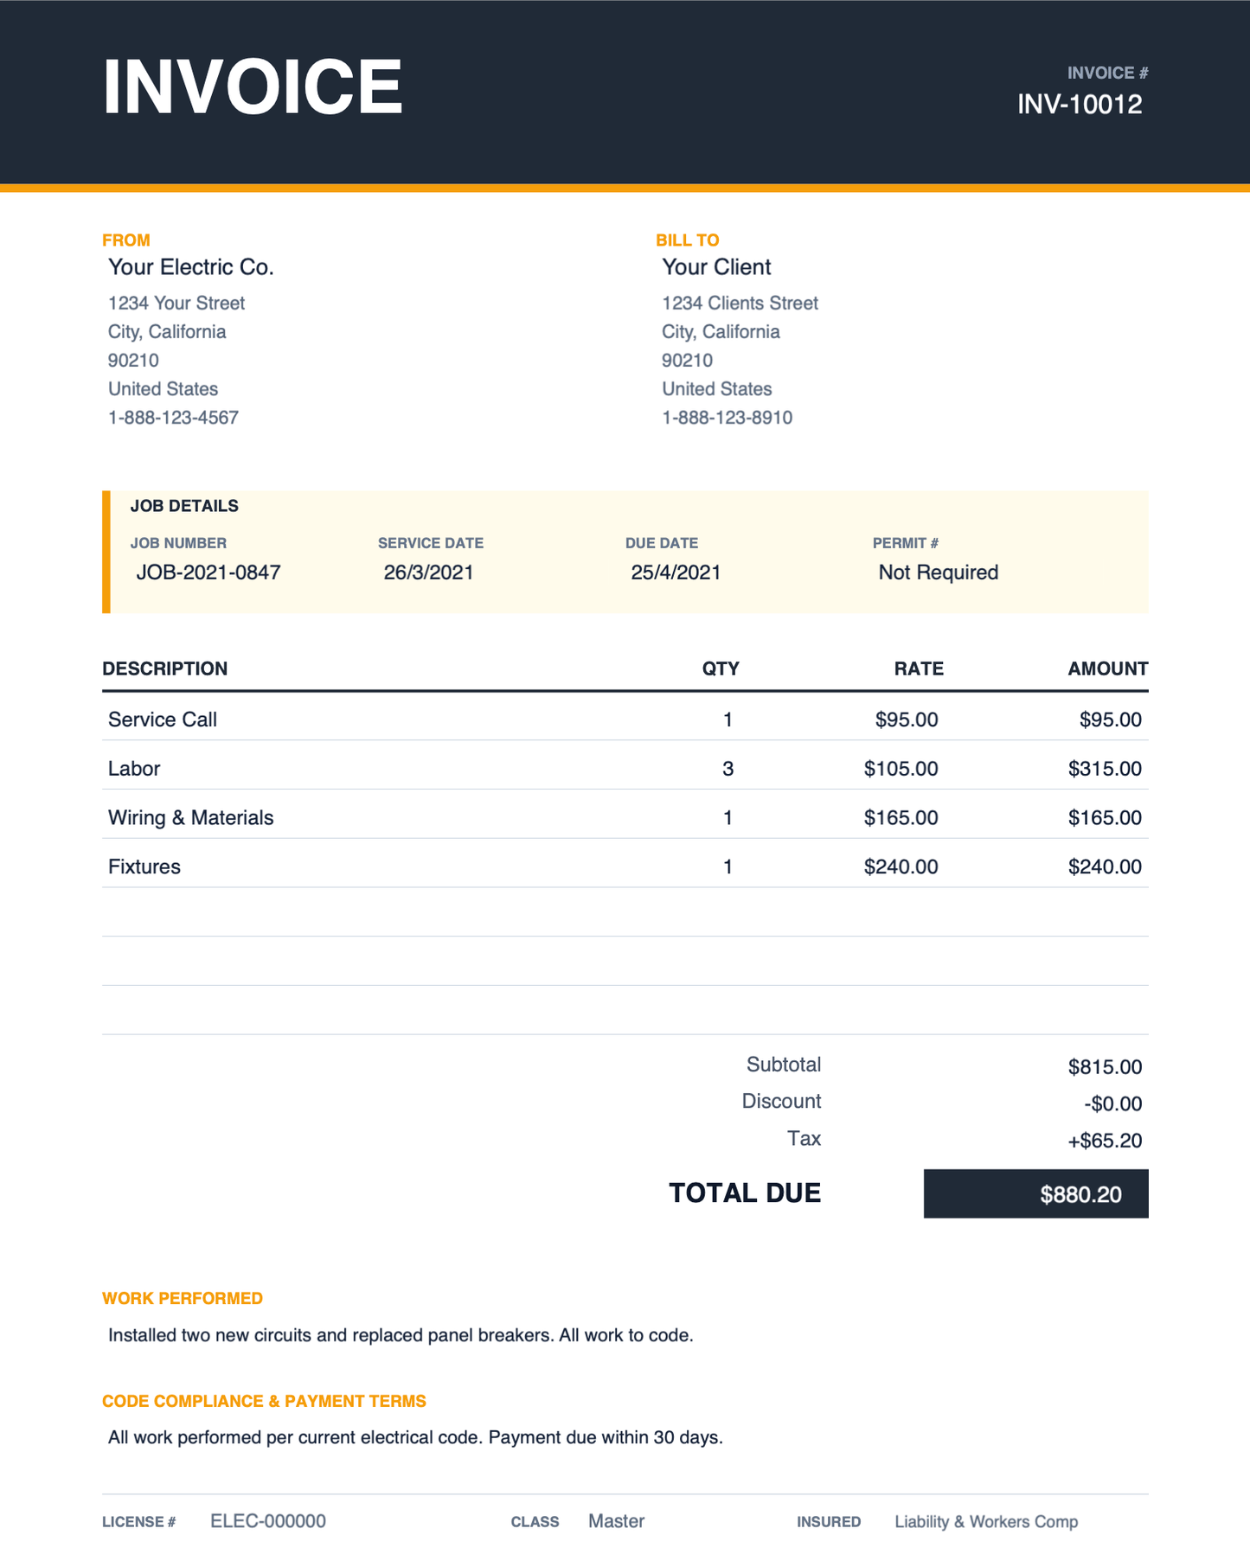
PDF invoice templates for electricians with labour, materials, and licence details.
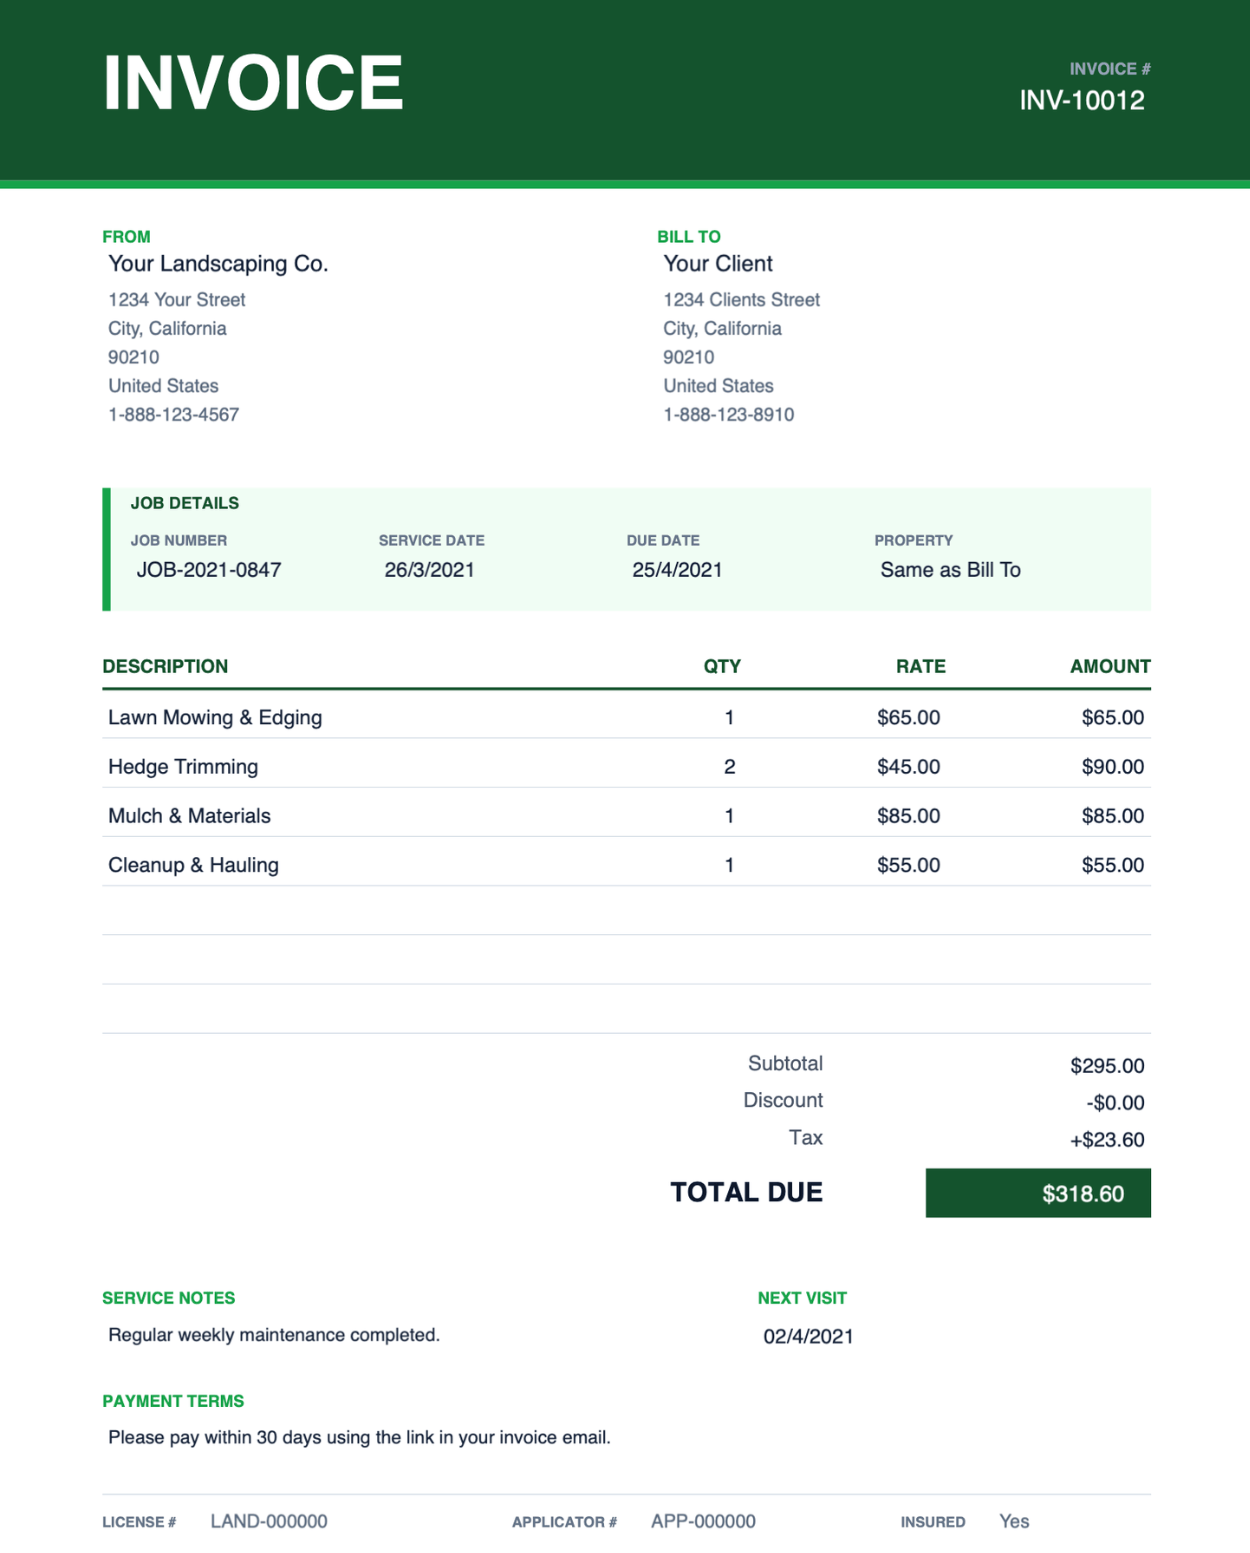
PDF invoice templates for lawn care, landscape design, and ongoing maintenance.
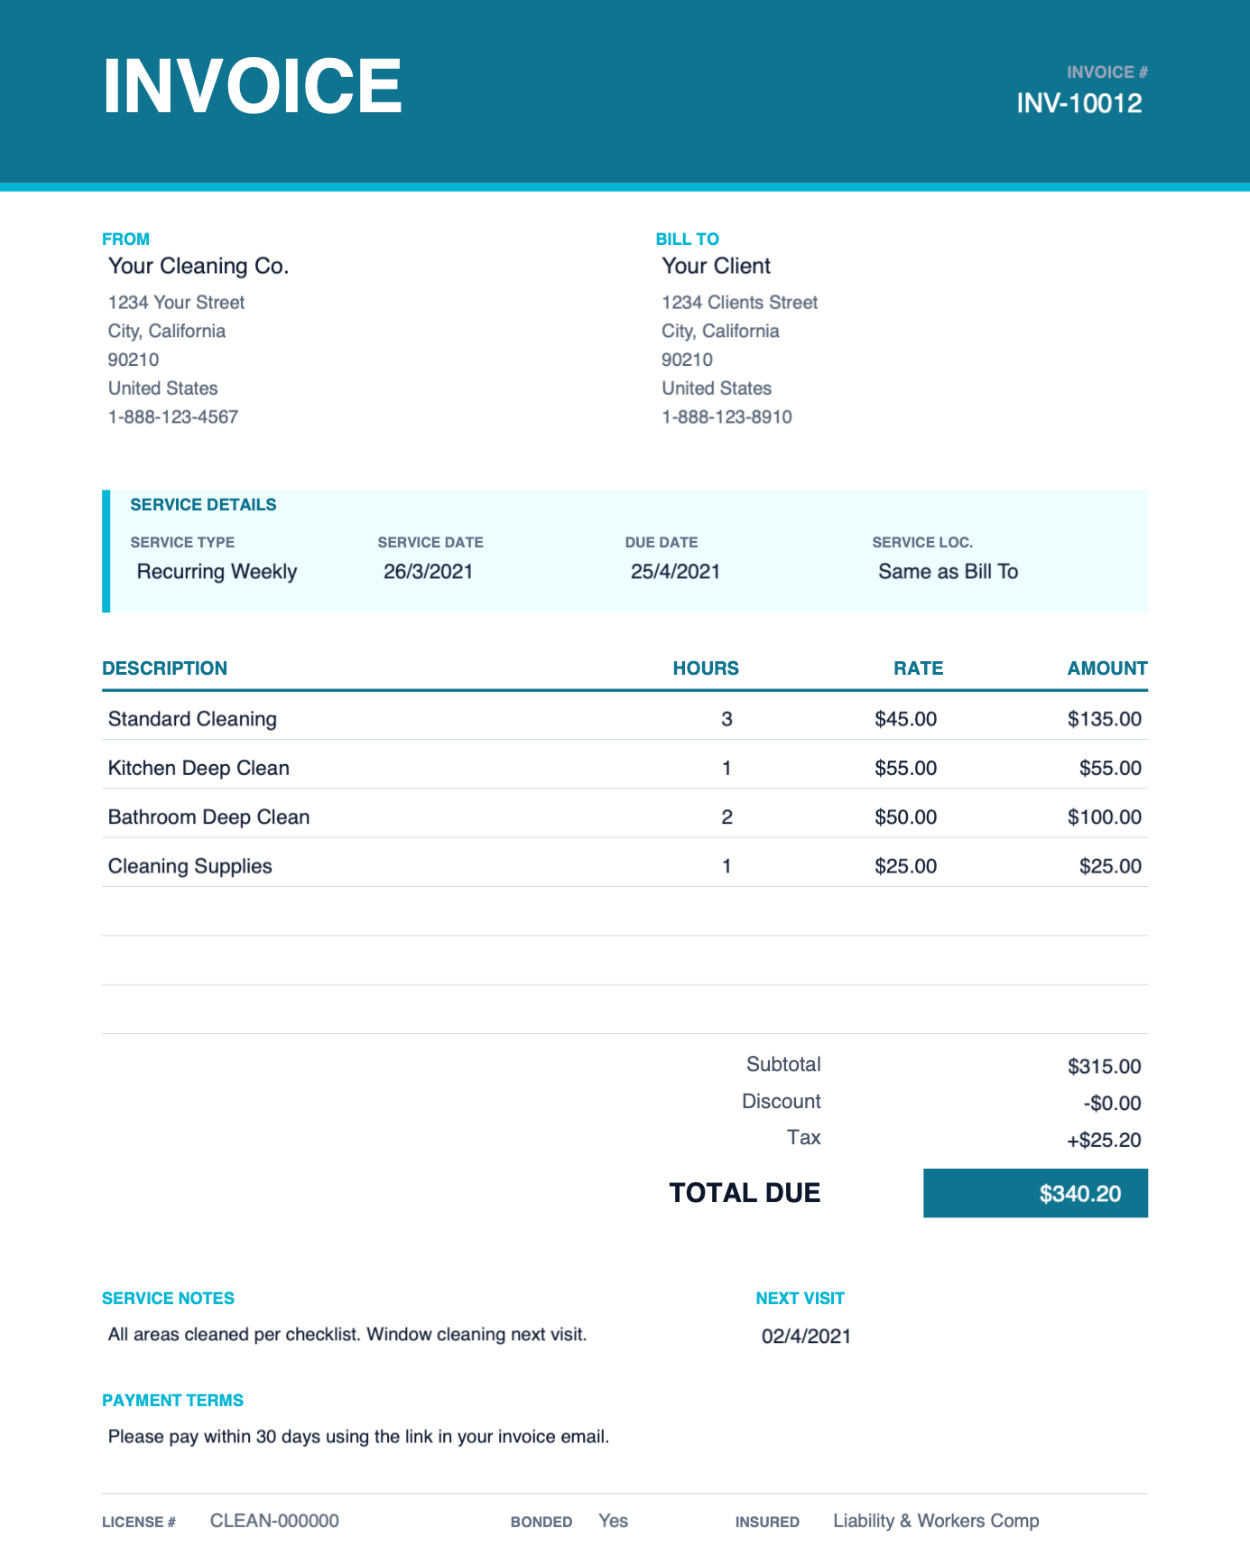
PDF invoice templates for residential and commercial cleaning jobs.
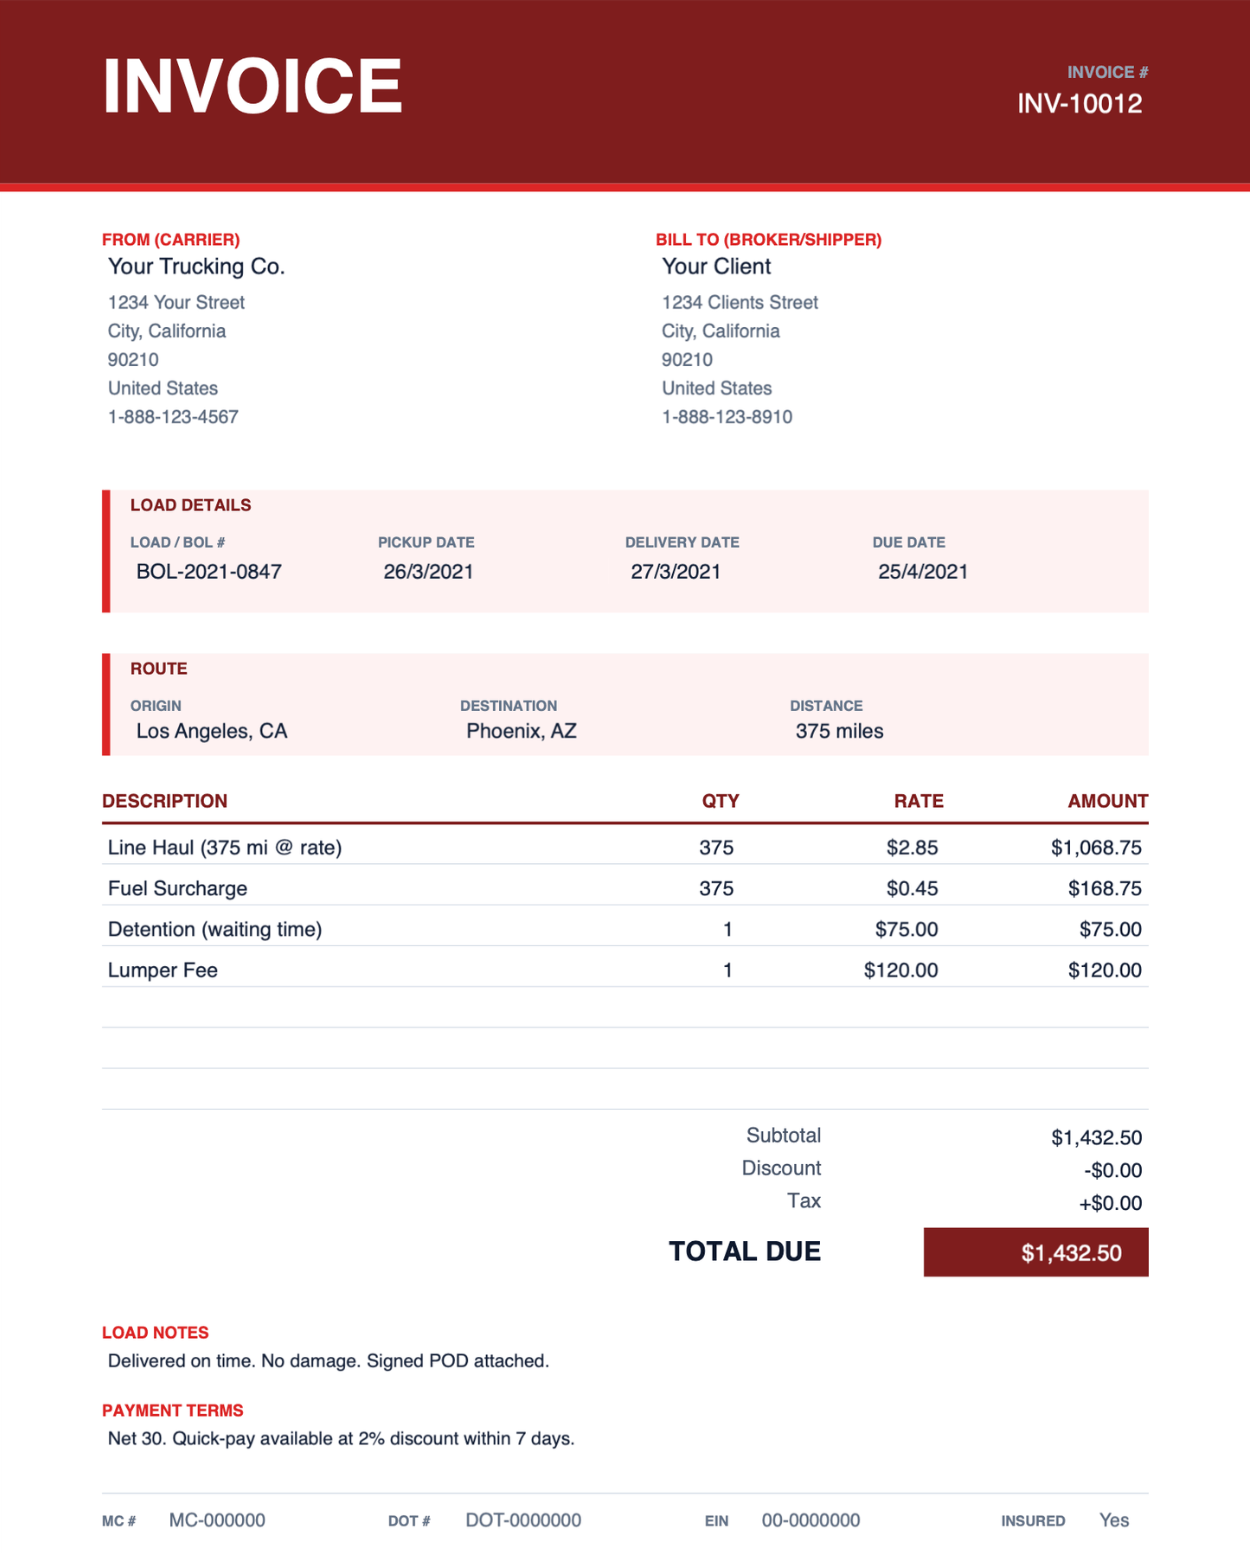
PDF invoice templates for trucking with load, mileage, and fuel line items.
Skip the template. Create a PDF invoice with automatic calculations.
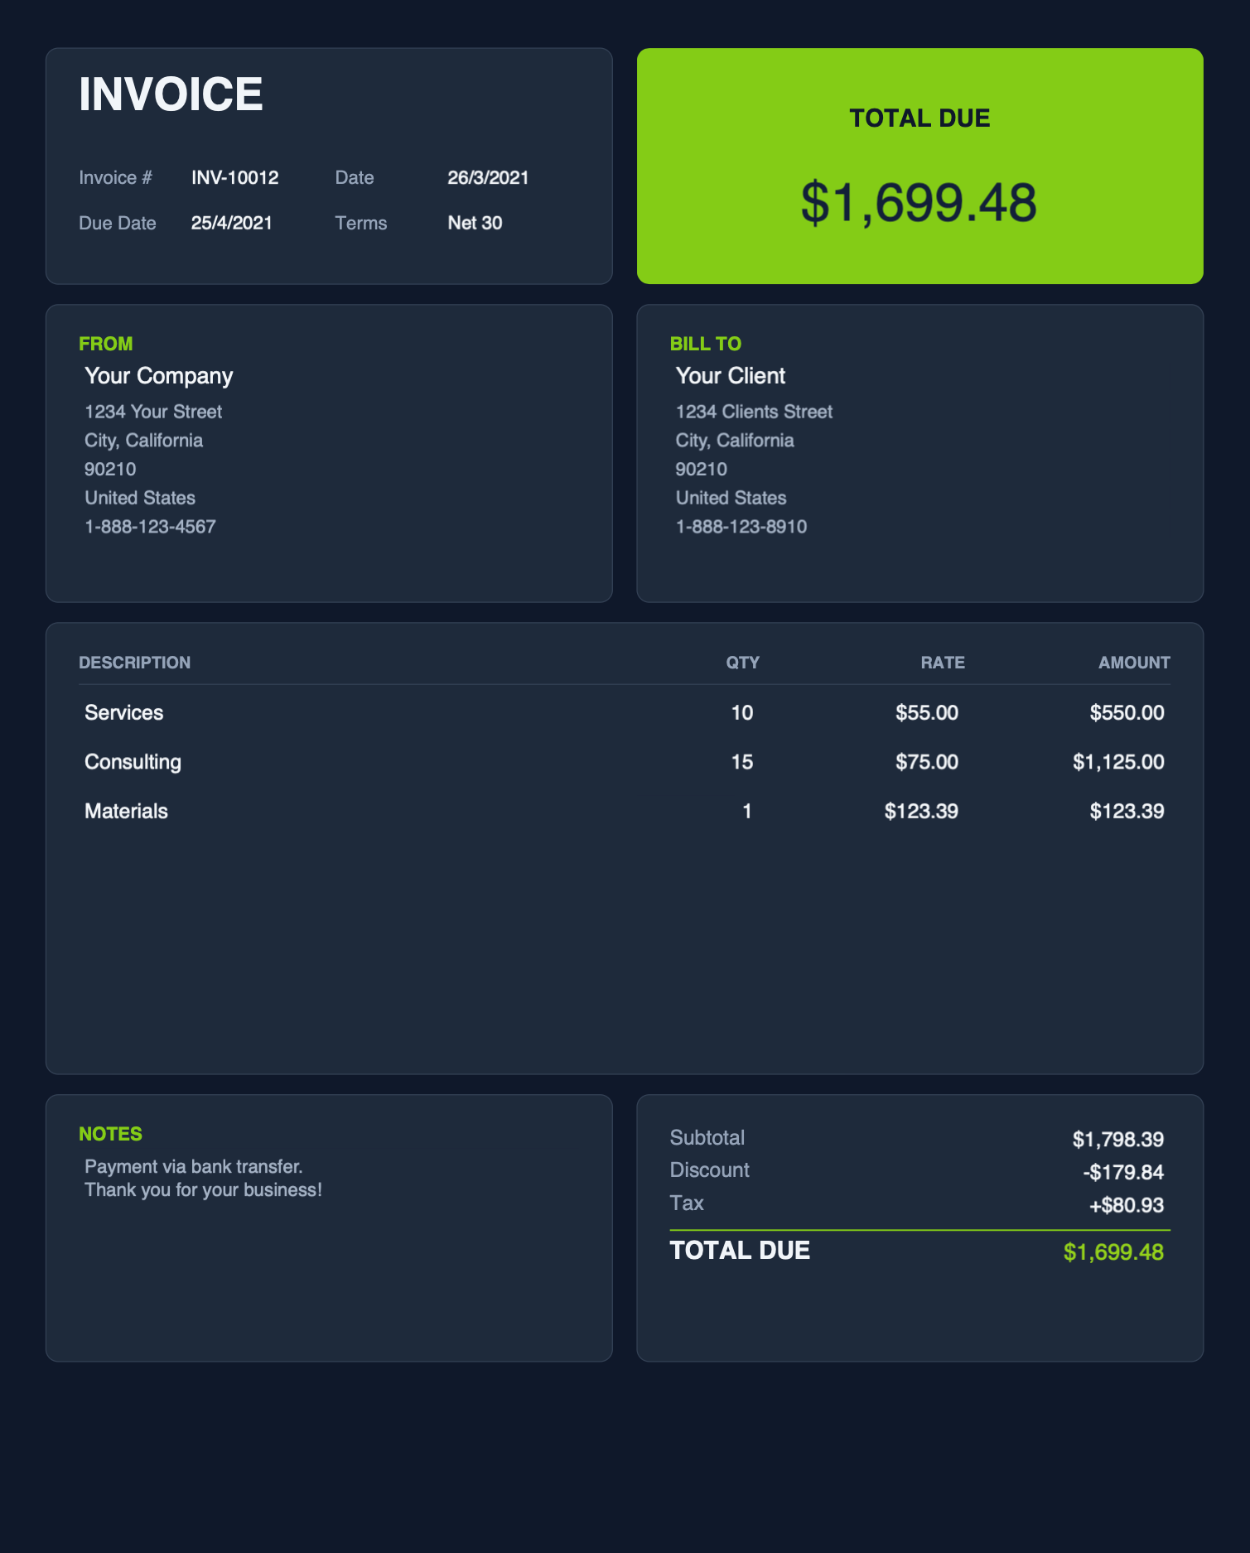
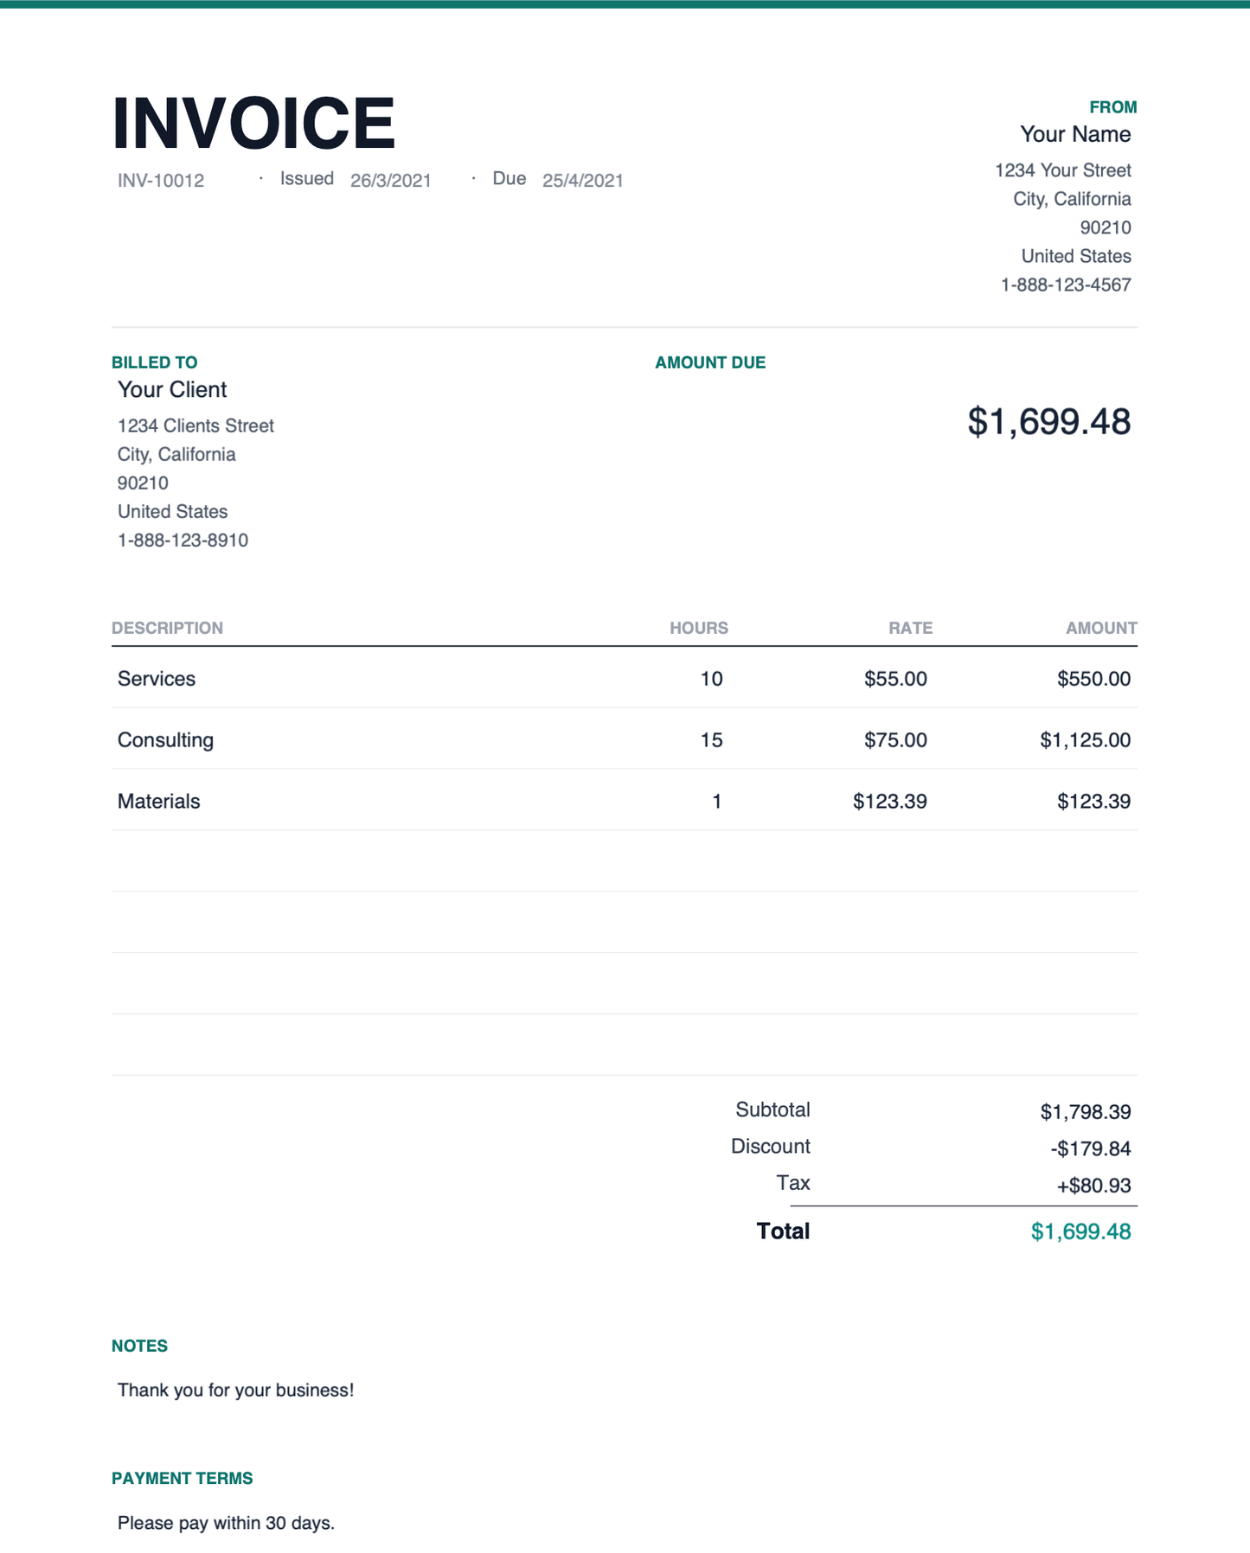
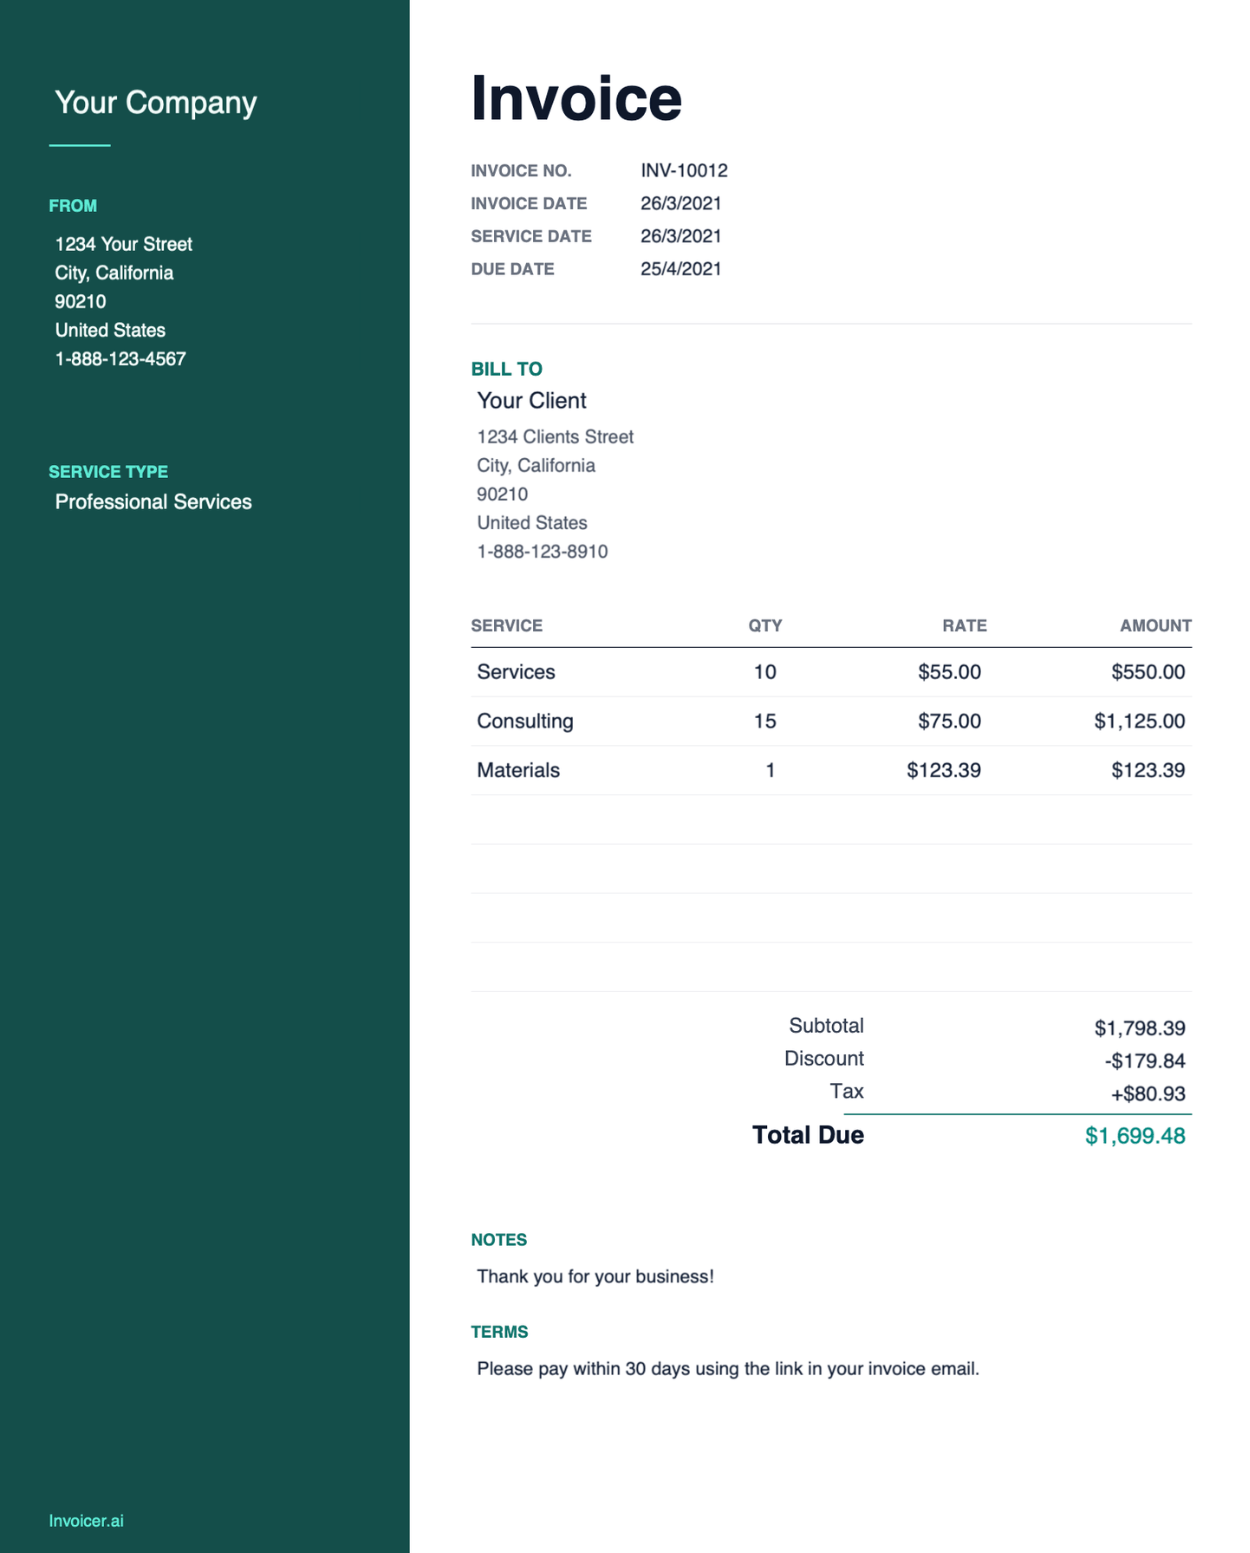
Bold dark design with green accent.
Best for digital and email use as the dark color will use a ton of printer ink.
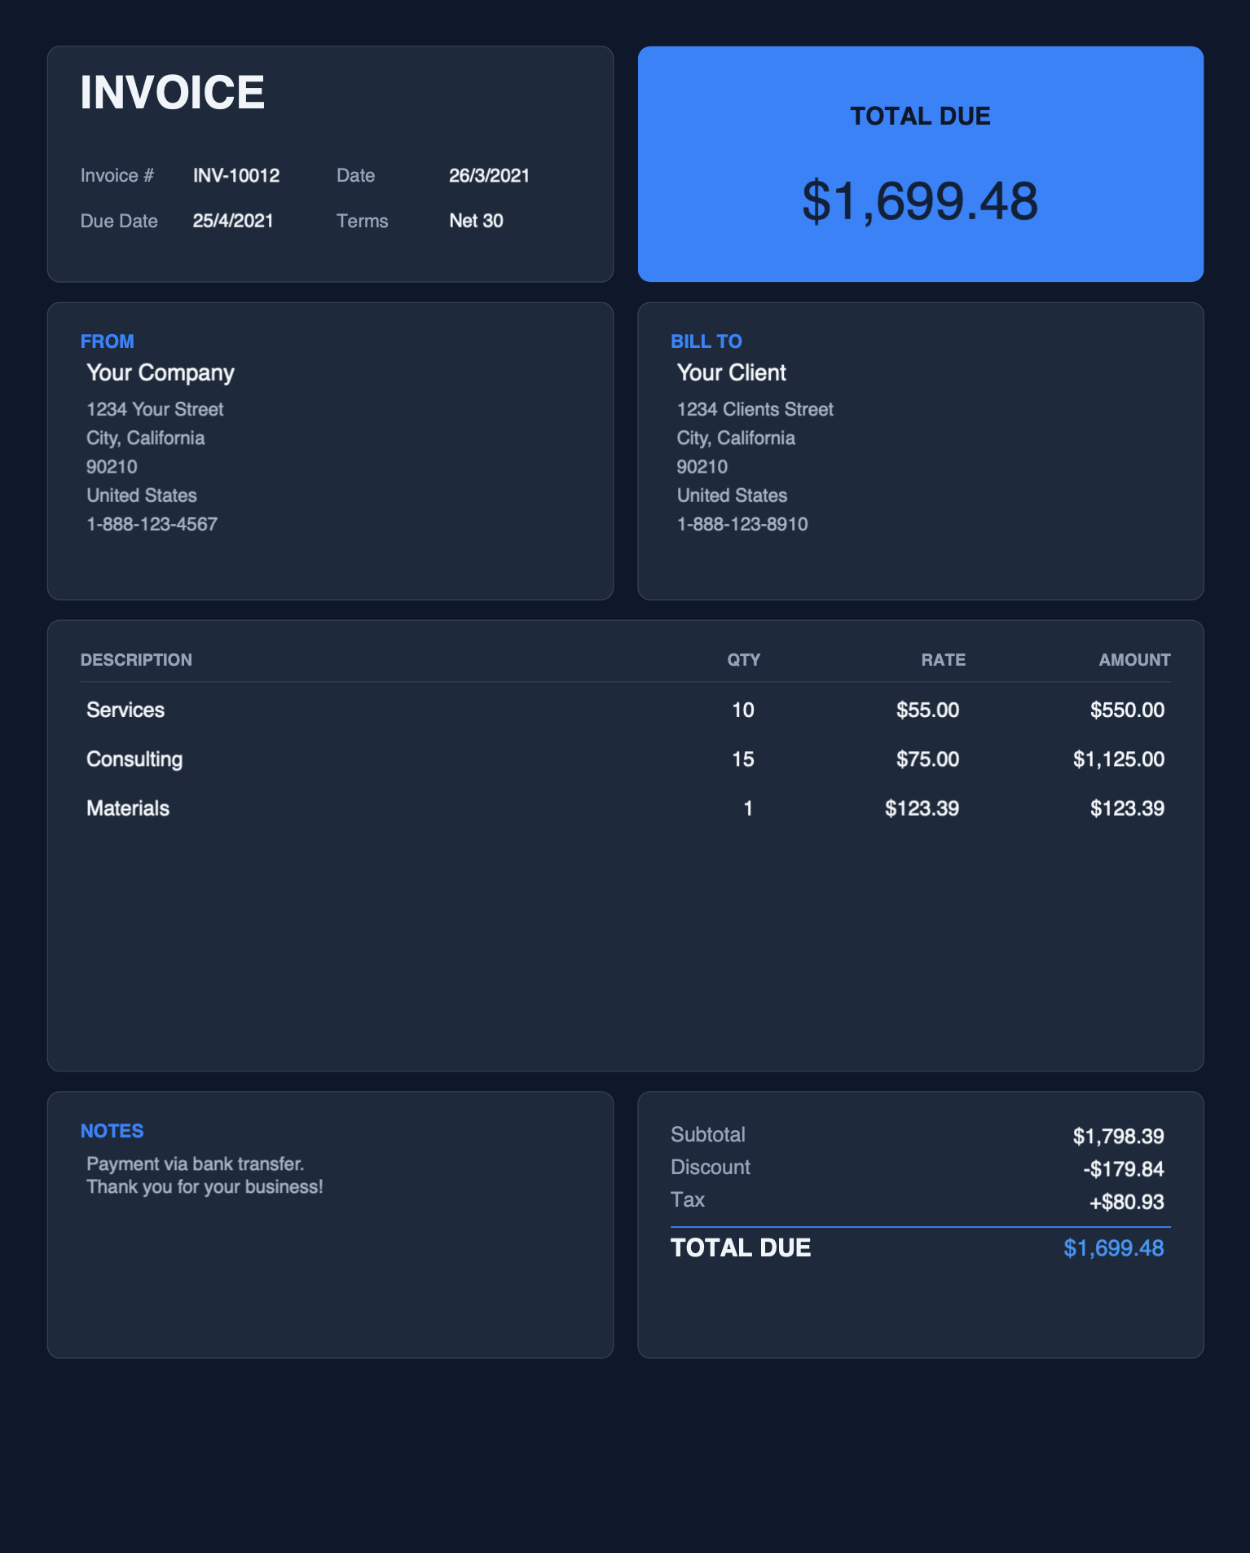
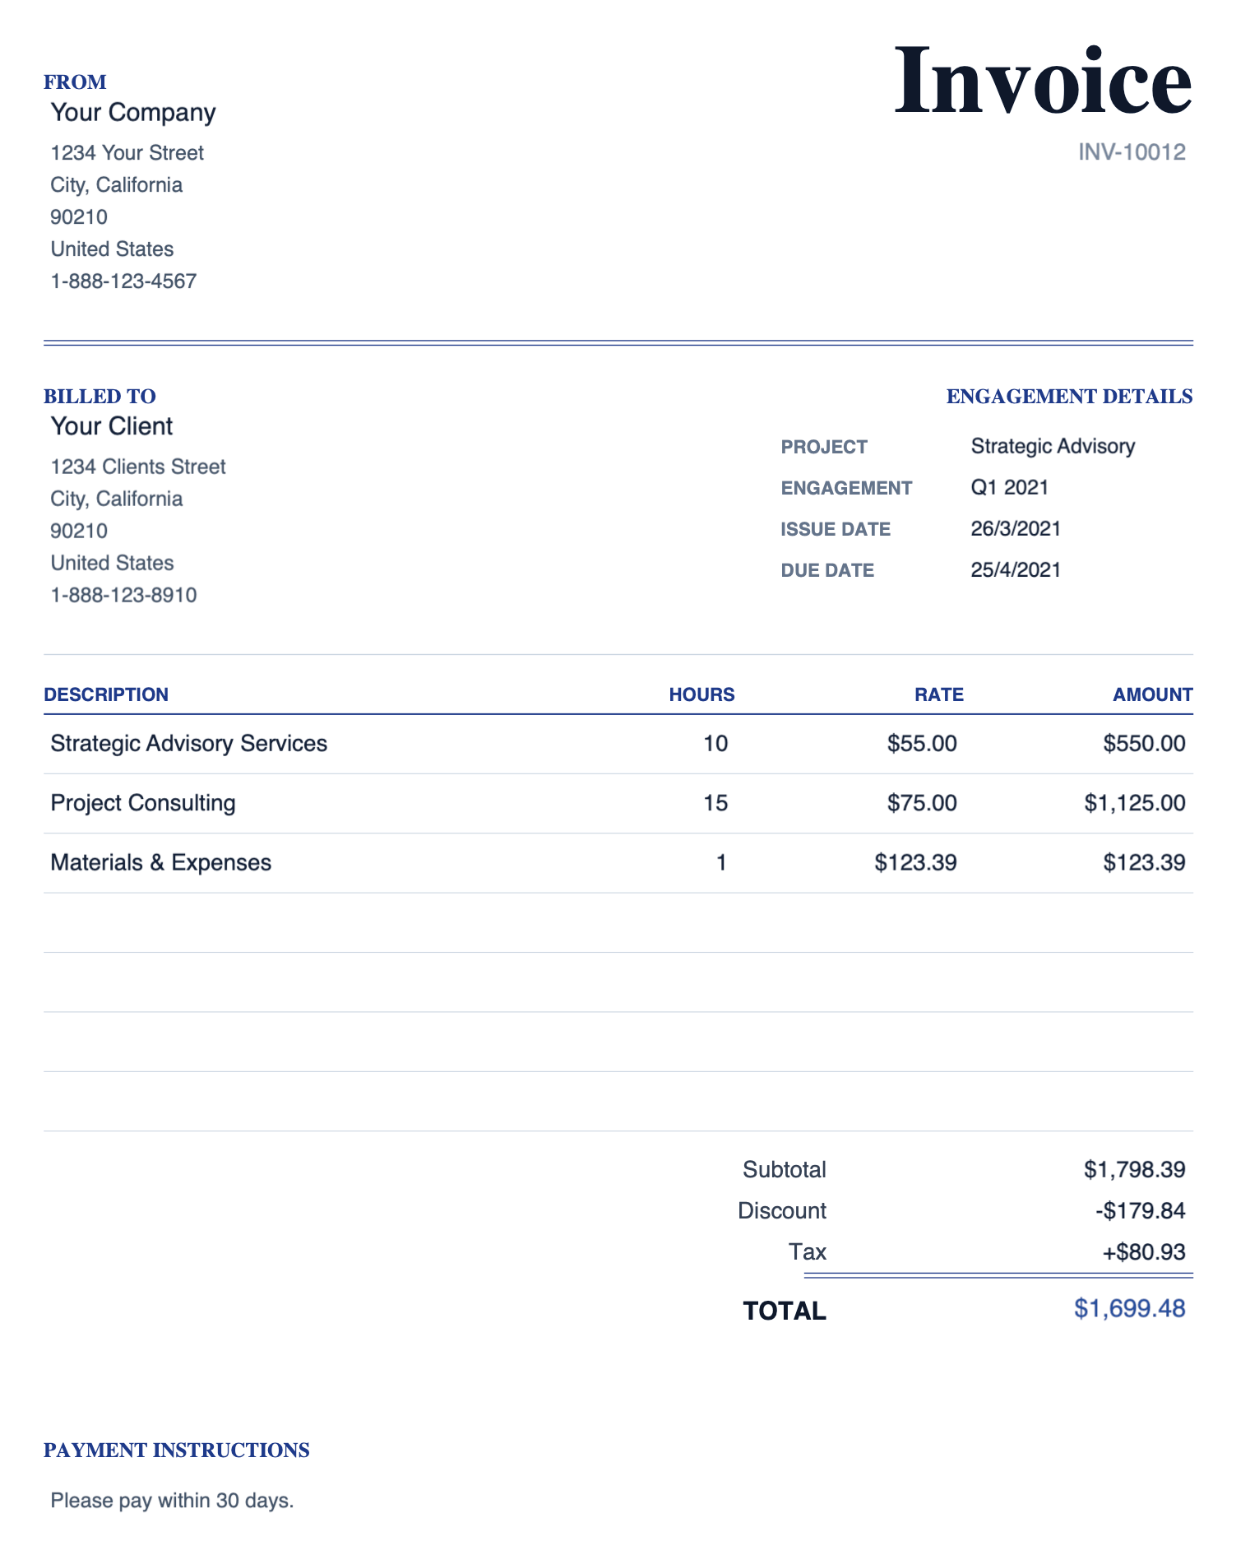
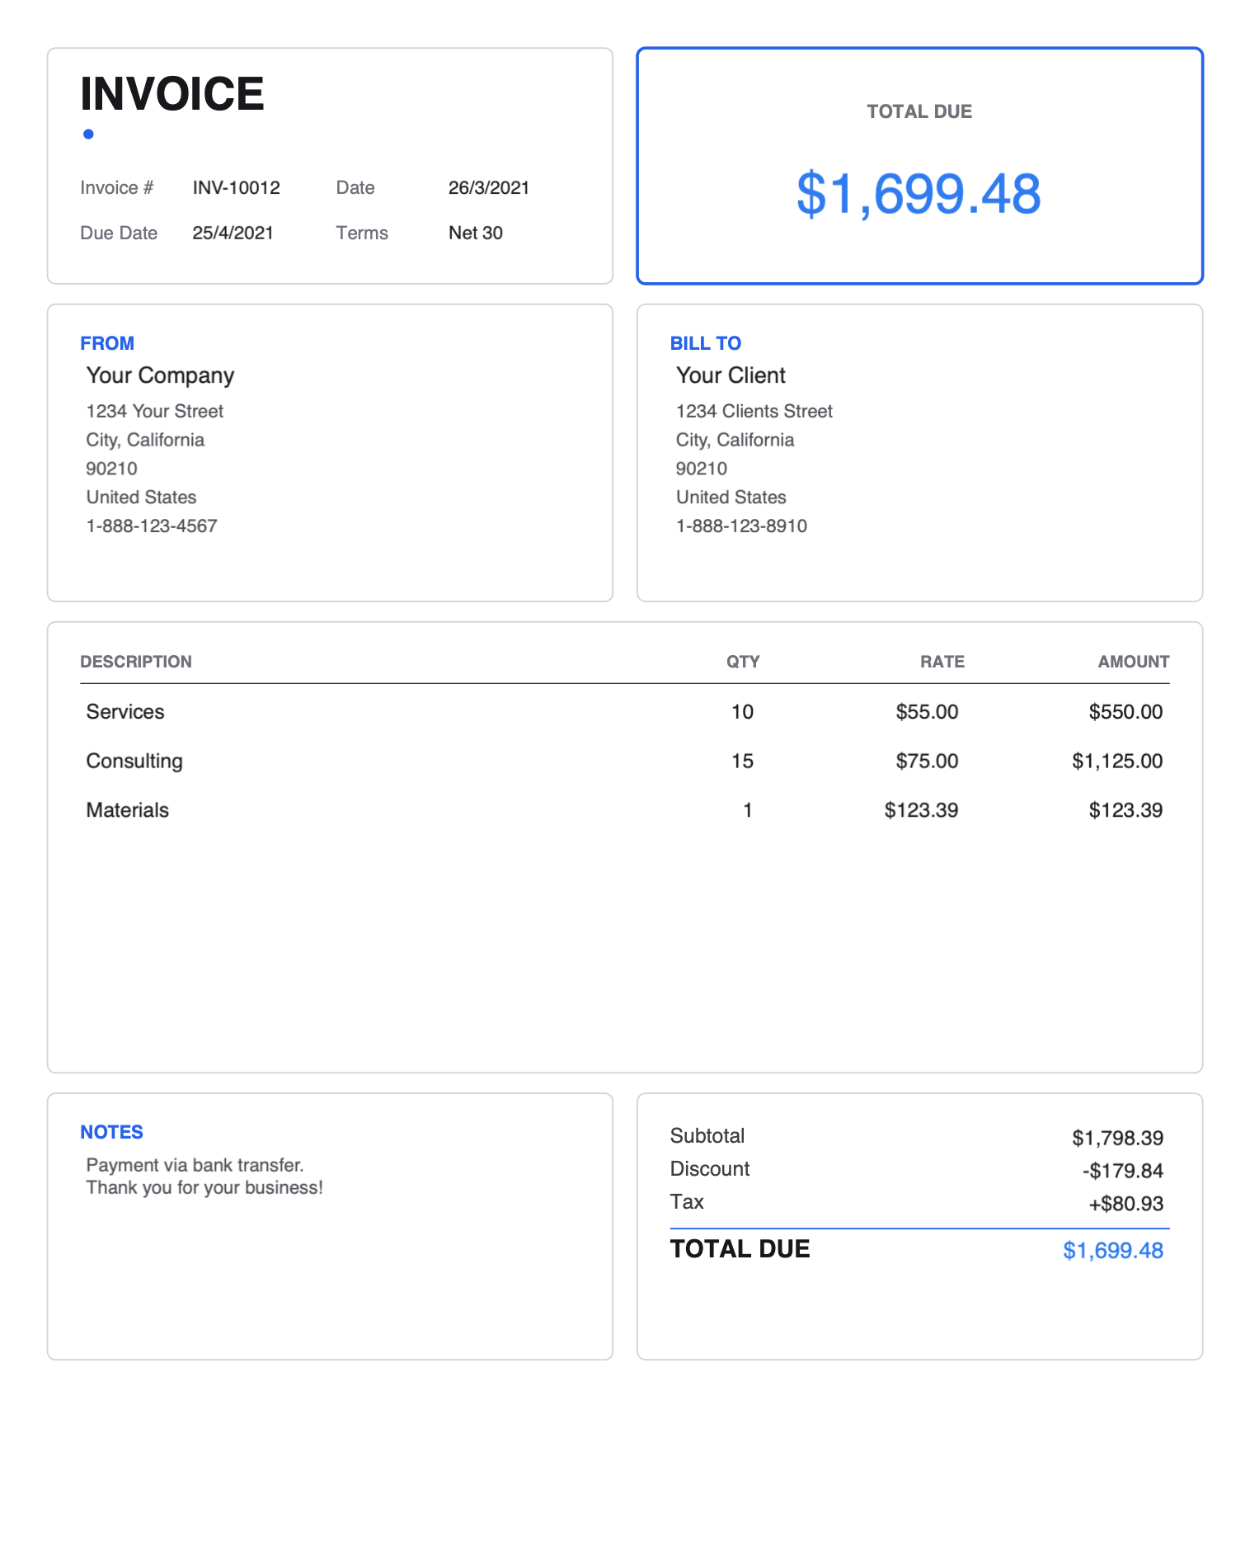
Bold dark design with blue accent.
Best for digital and email use as the dark color will use a ton of printer ink.
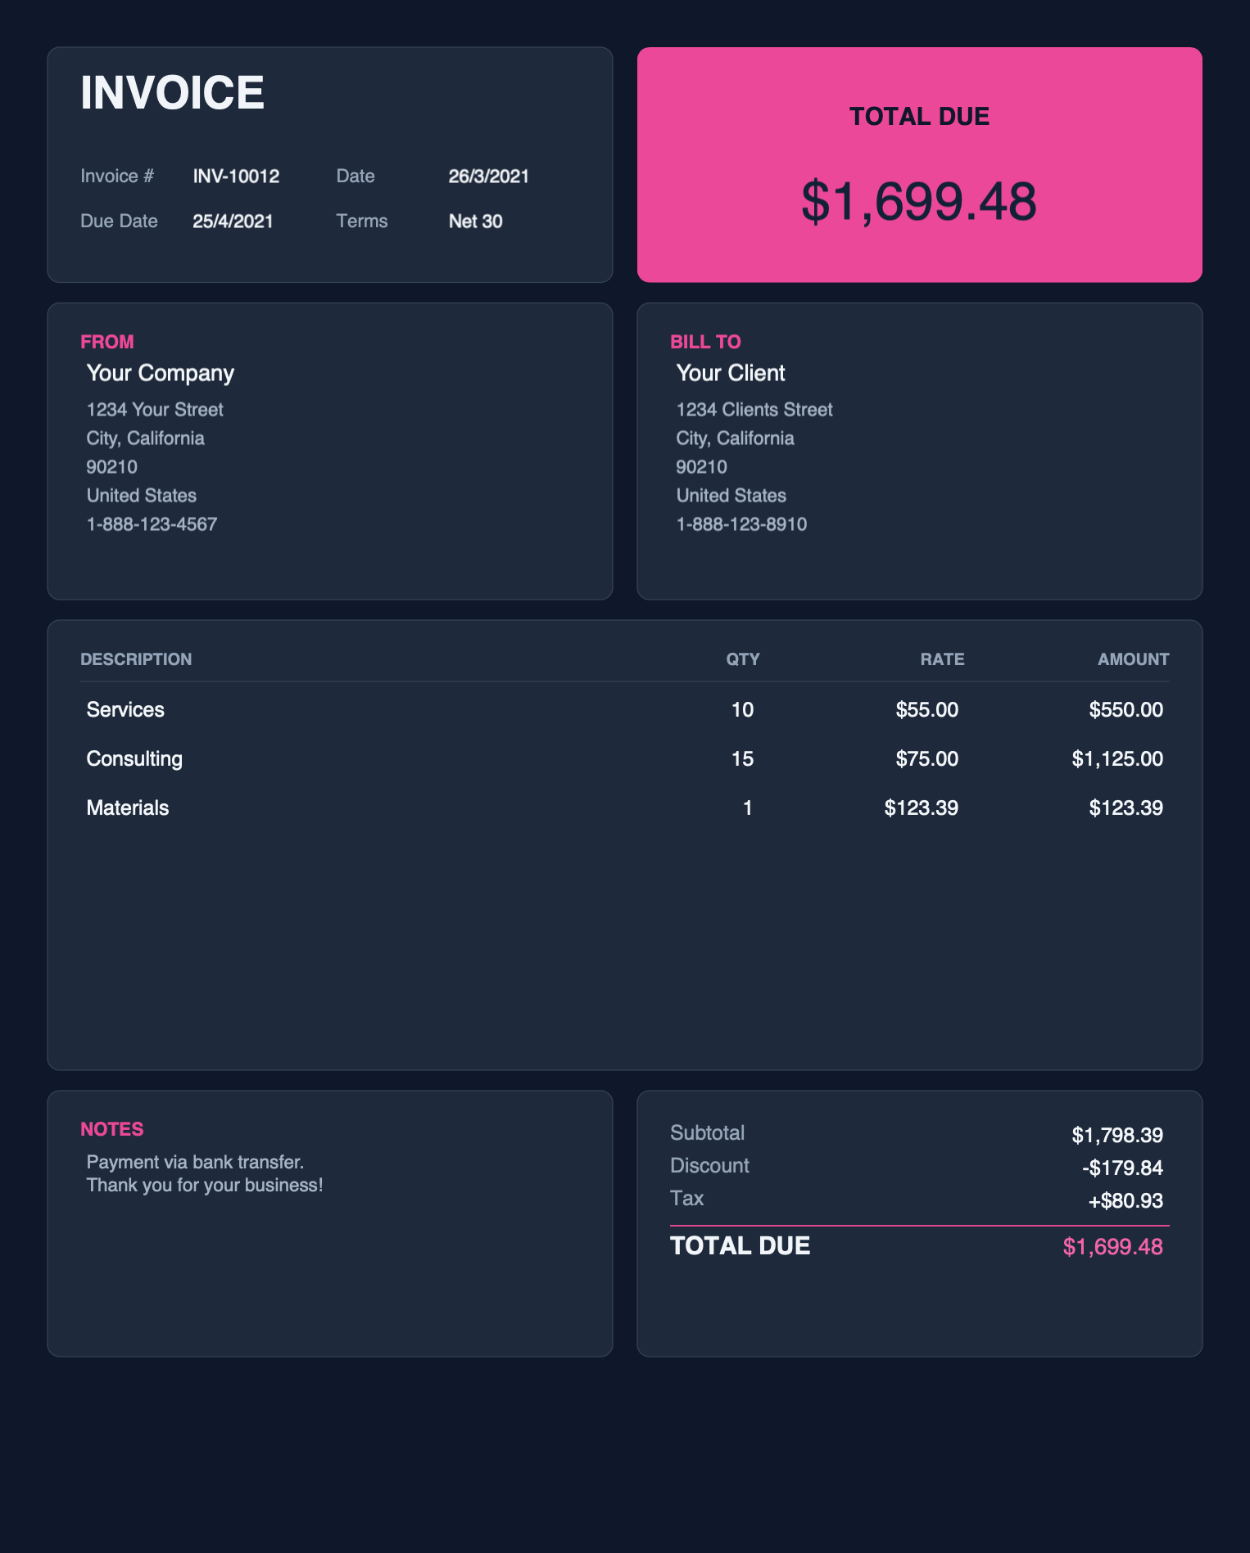
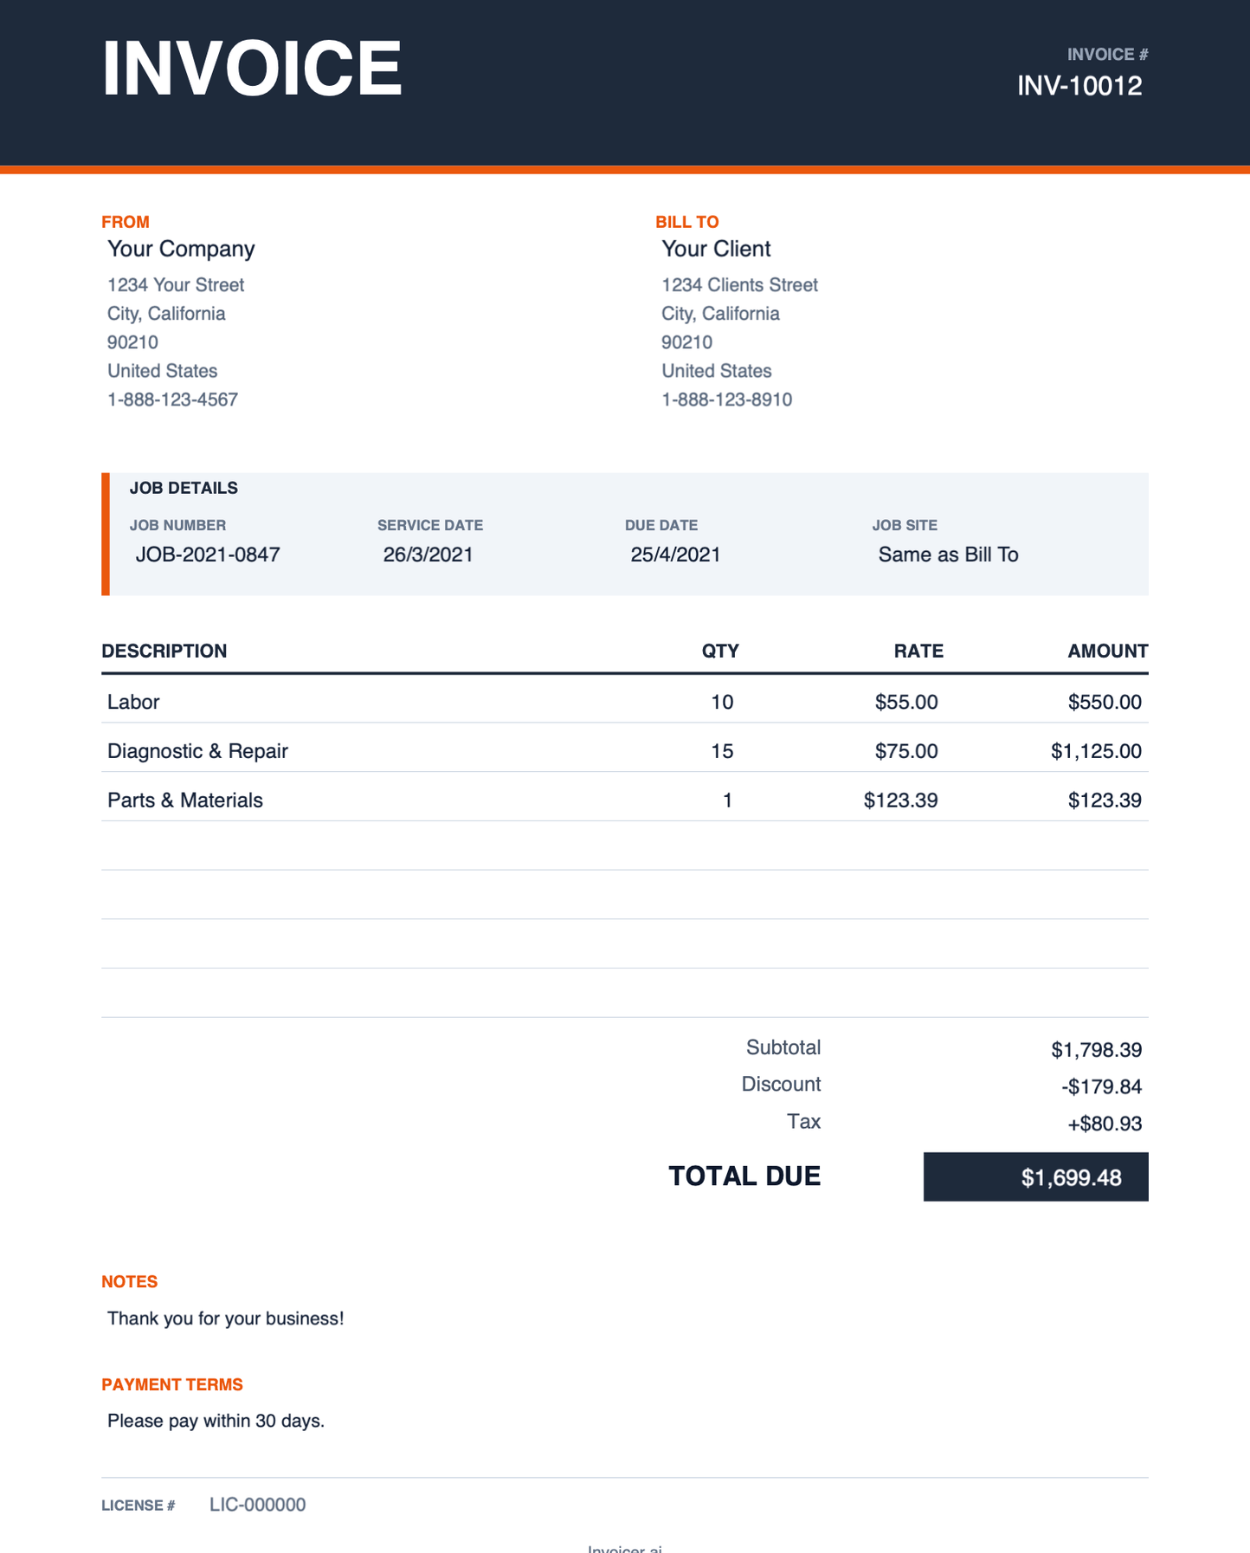
Bold dark design with corral accent.
Best for digital and email use as the dark color will use a ton of printer ink.
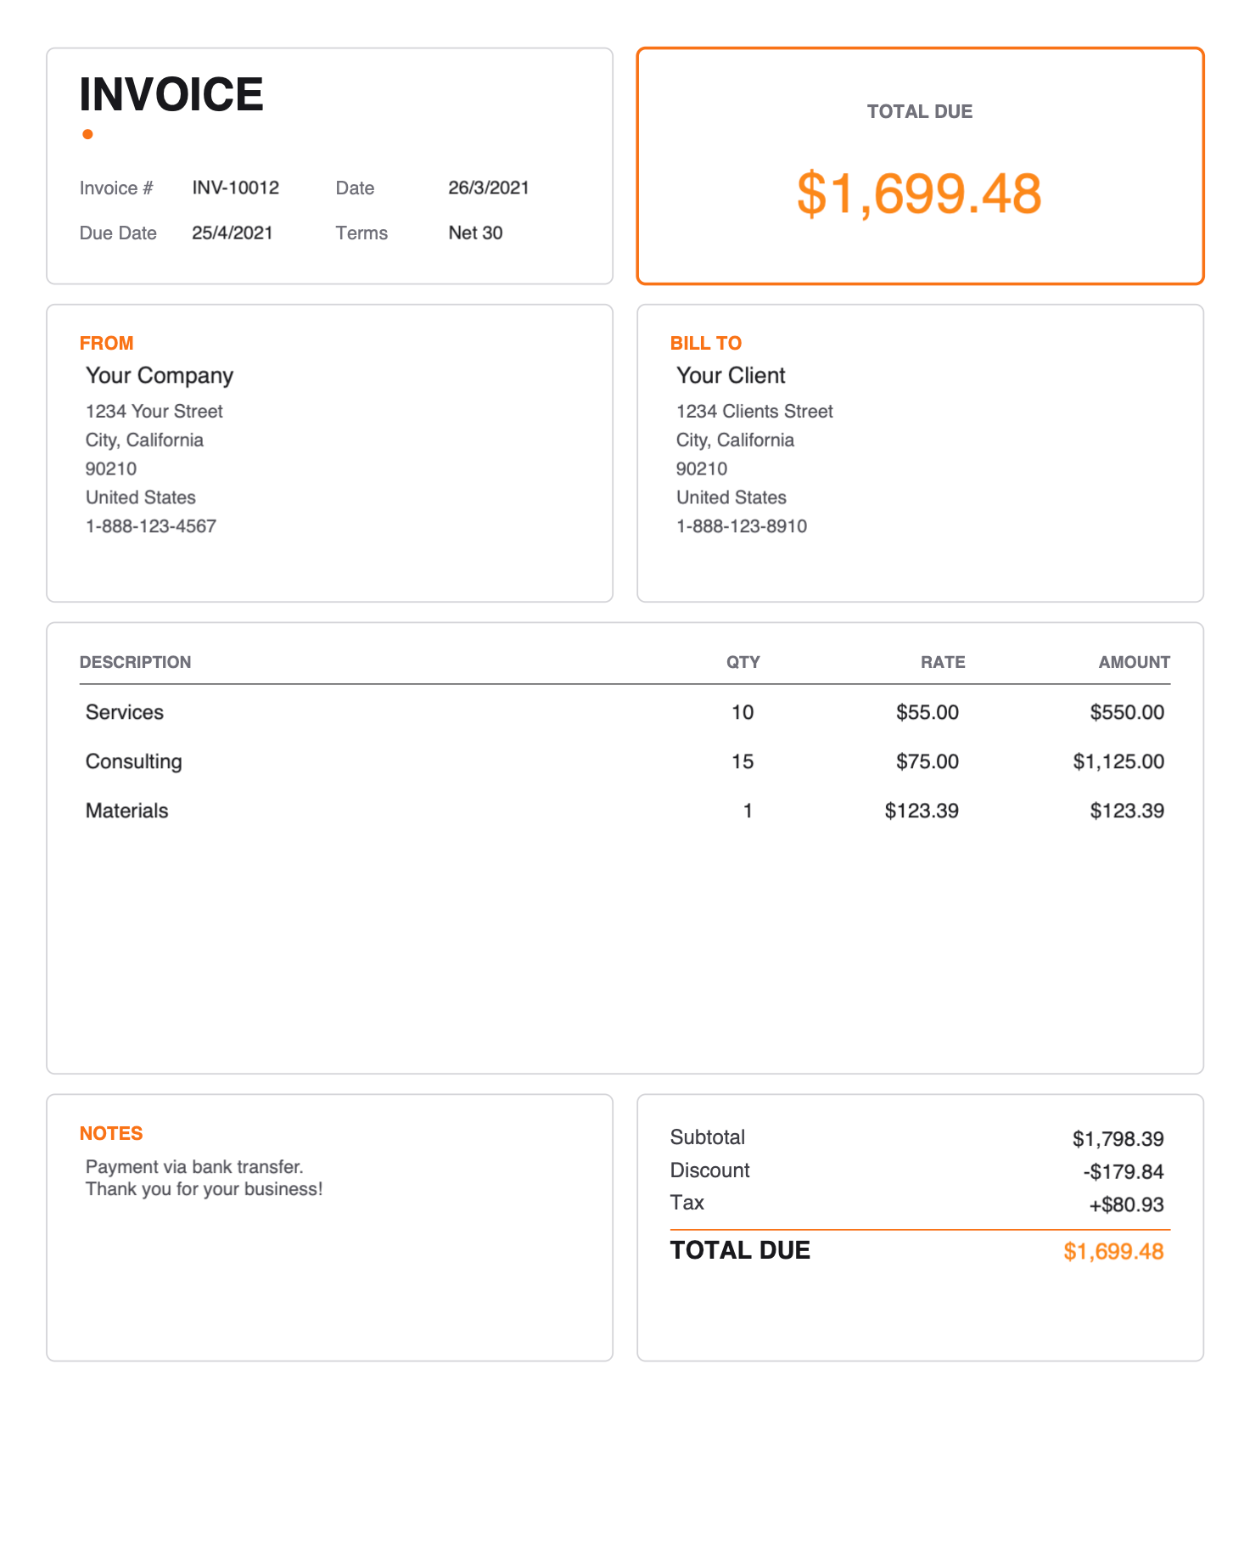
Minimal outlined cards with a warm coral accent for creative work.

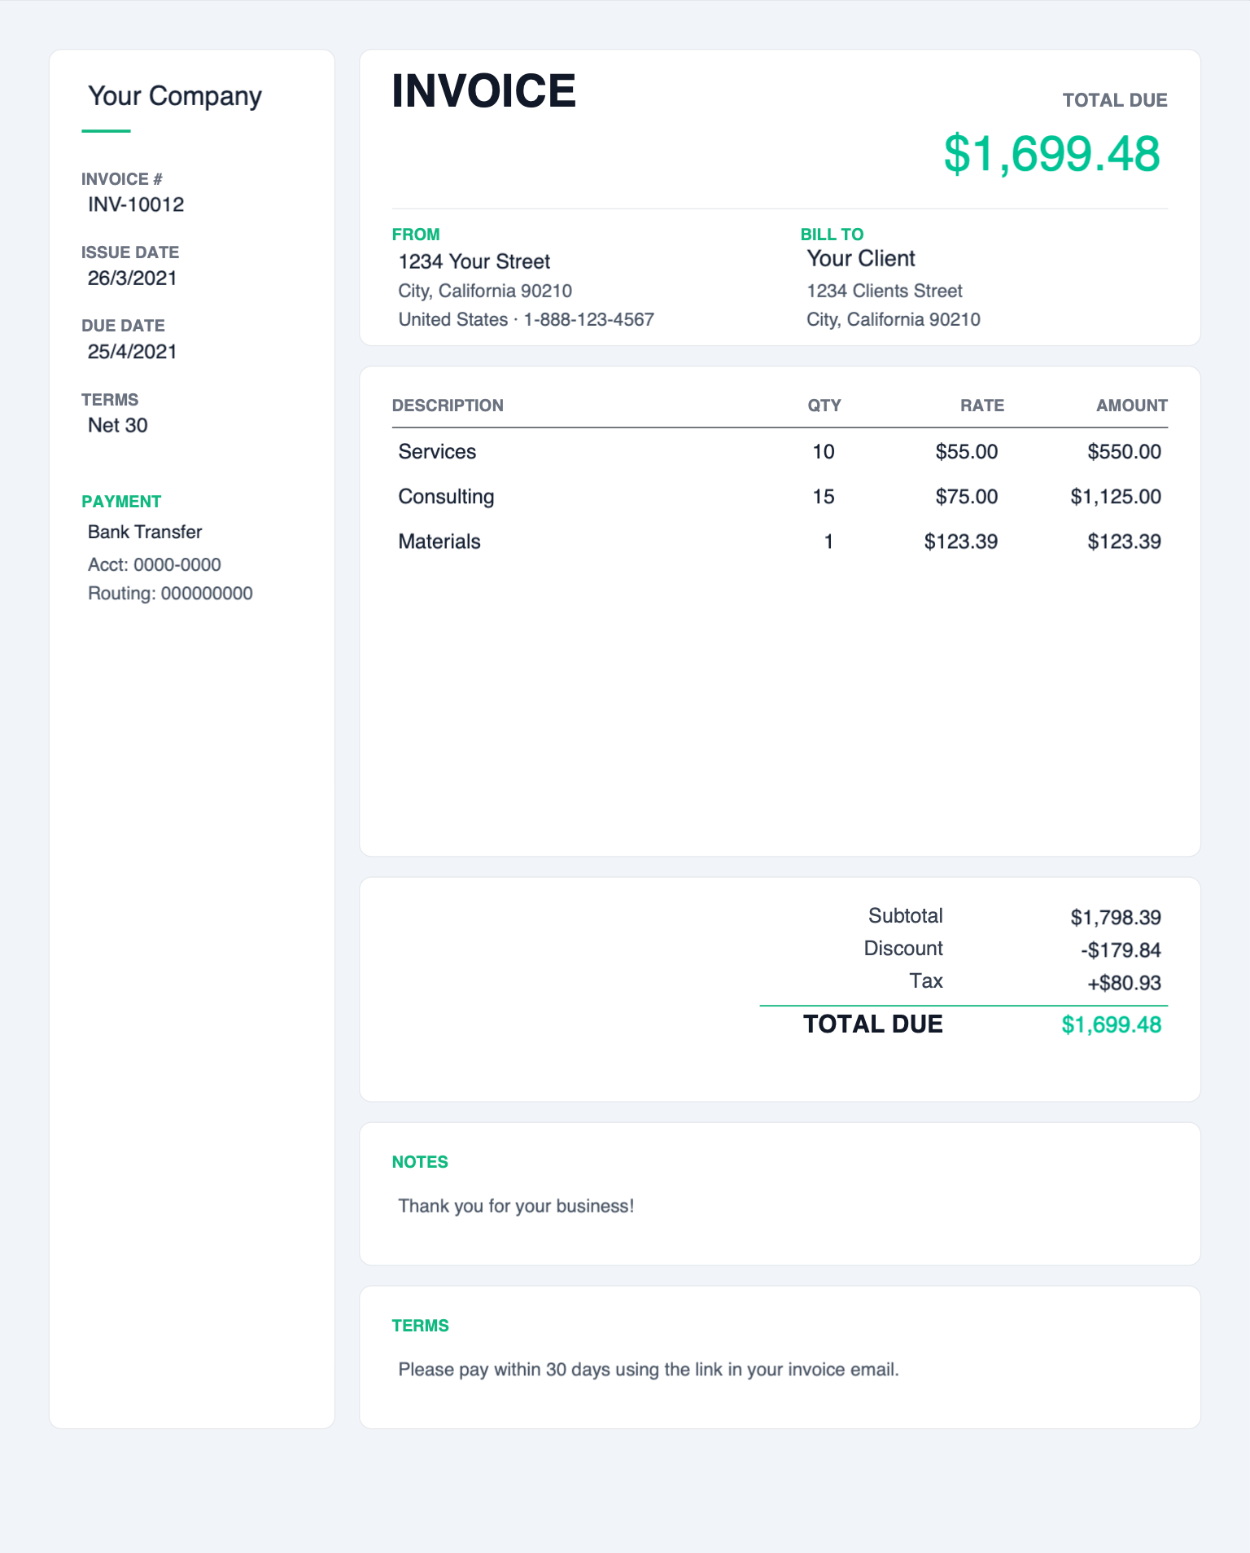
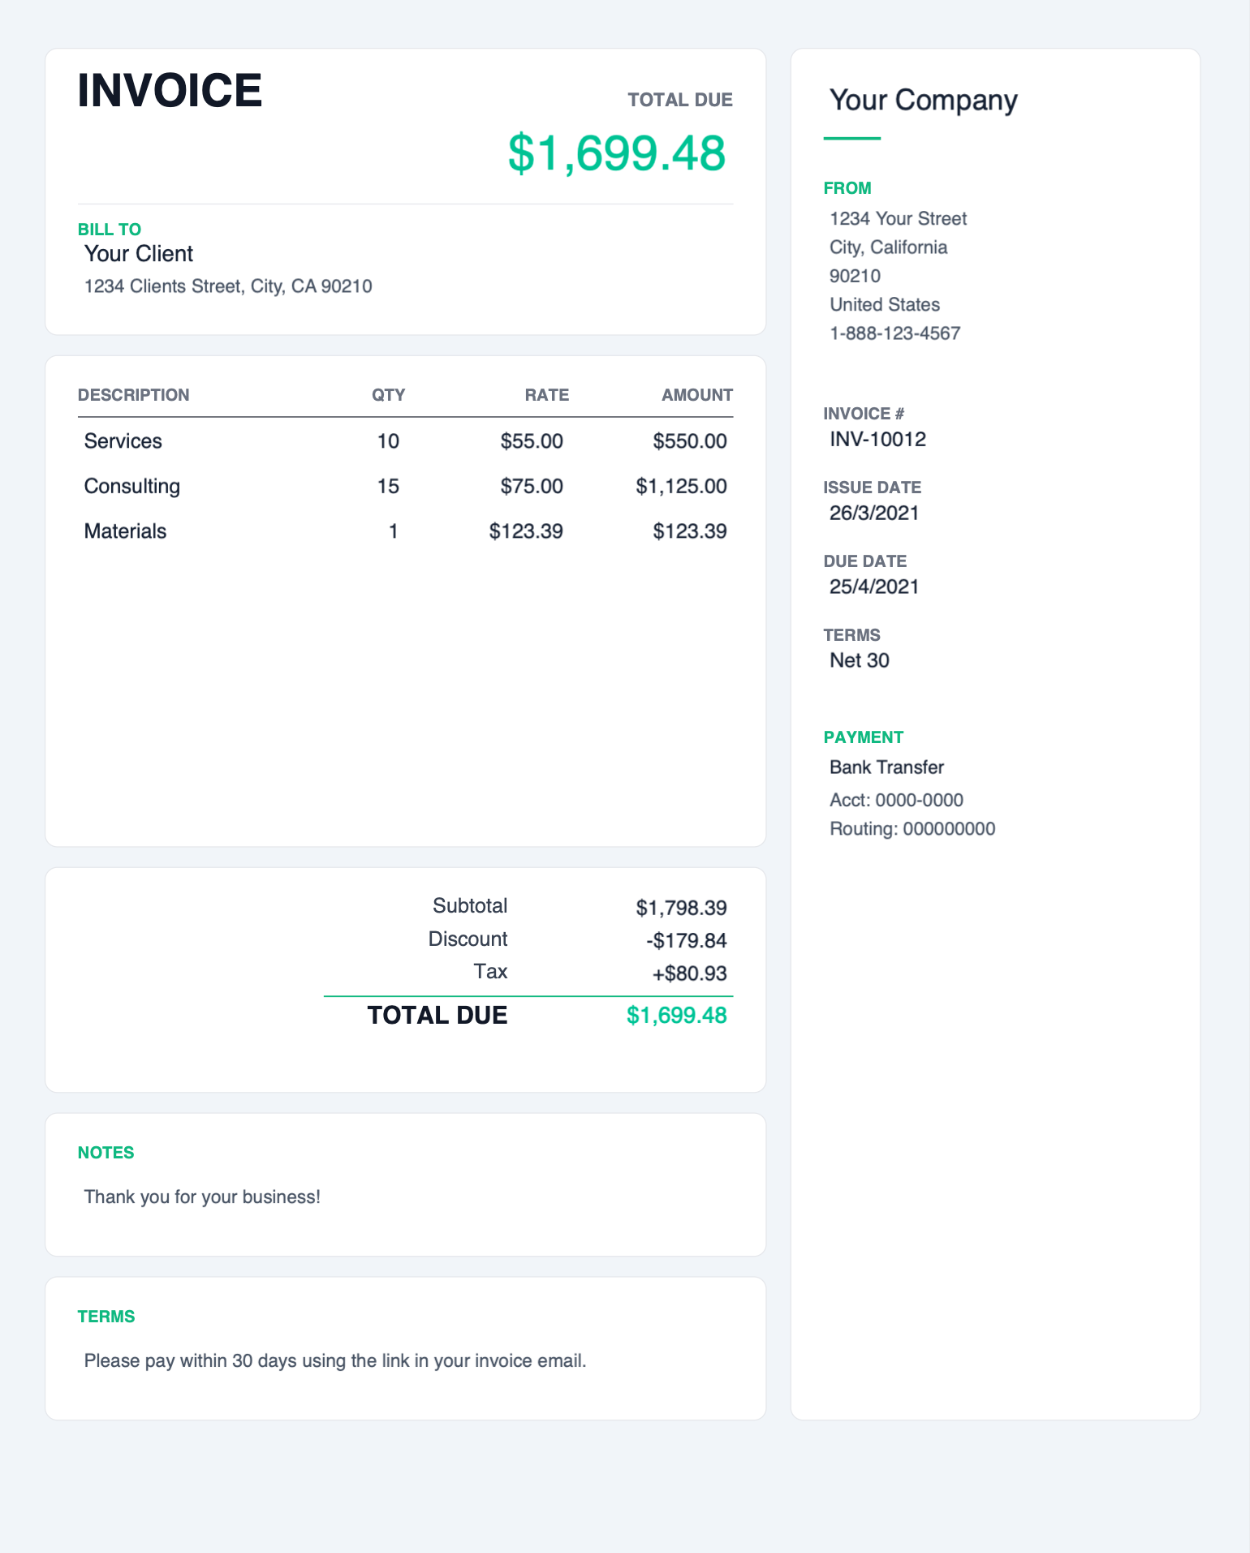
Minimal outlined cards in green. Clean and modern.
Minimal outlined cards in professional blue for corporate invoicing.
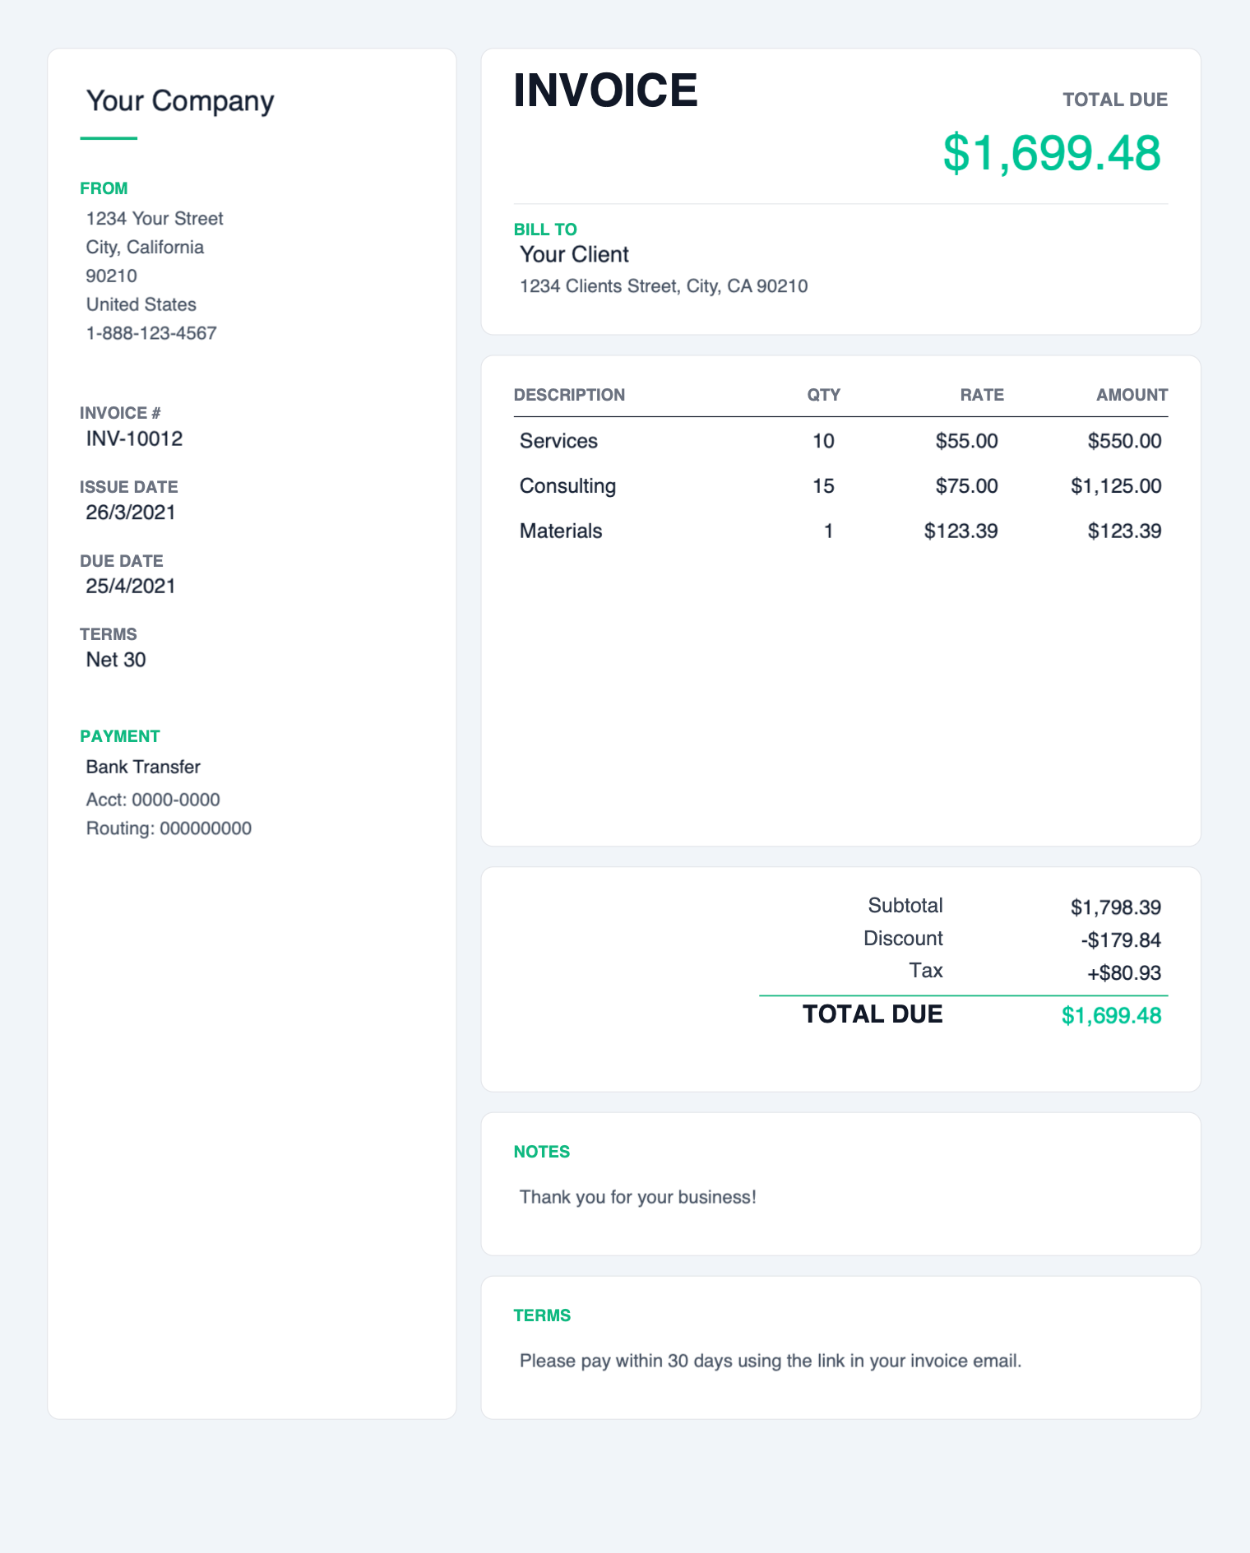
Card-style left sidebar with company info, payment details, and metadata.
Right-aligned sidebar layout with main content flowing left to right.
Compact sidebar plus wider main area with more room for line items.
Compact card-style PDF invoice templates for quick, simple billing.
Skip the template. Create a PDF invoice with automatic calculations.
The templates below are designed specifically to be easy on printer ink with print friendly black and white designs. These are good for high volume print invoicing.
Fully ruled accounting grid with twelve line rows. Familiar layout for bookkeepers and records.
Dense single-page layout that fits the most line items. Built for high-volume billing.
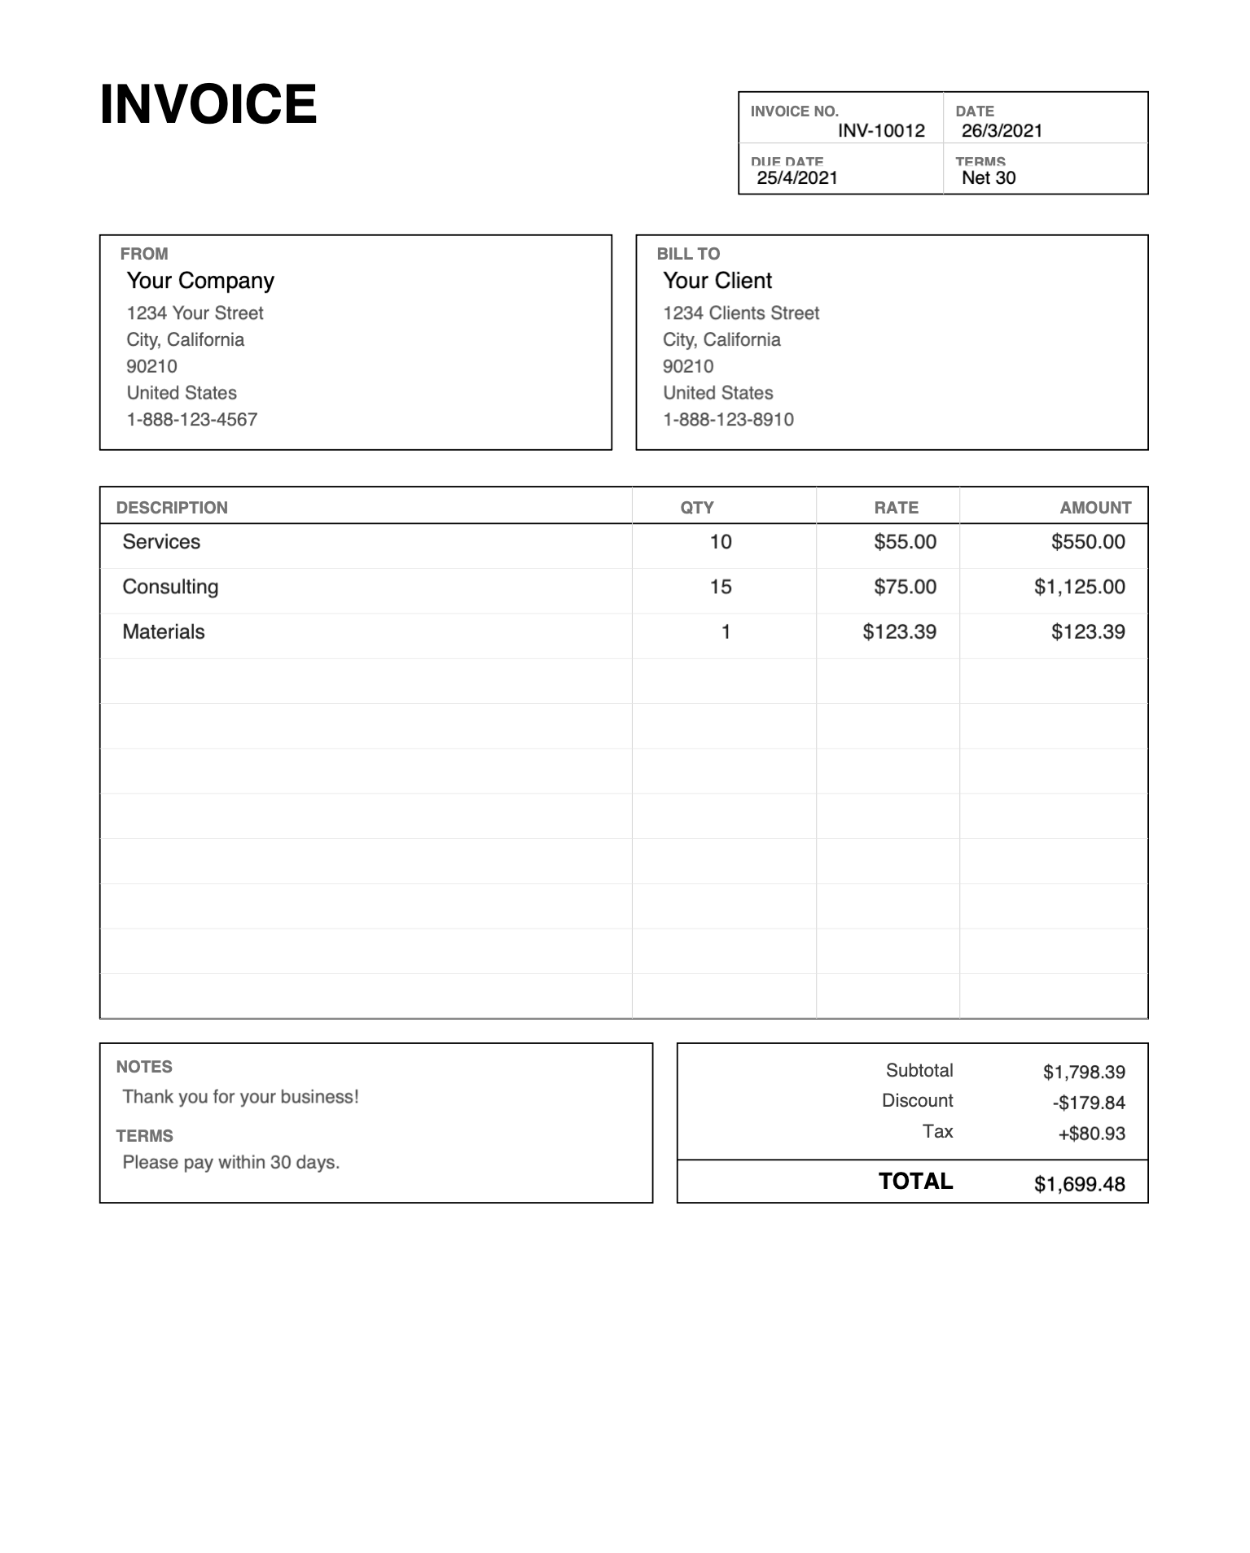
Every section framed in clean boxes. Structured and easy to scan at a glance.
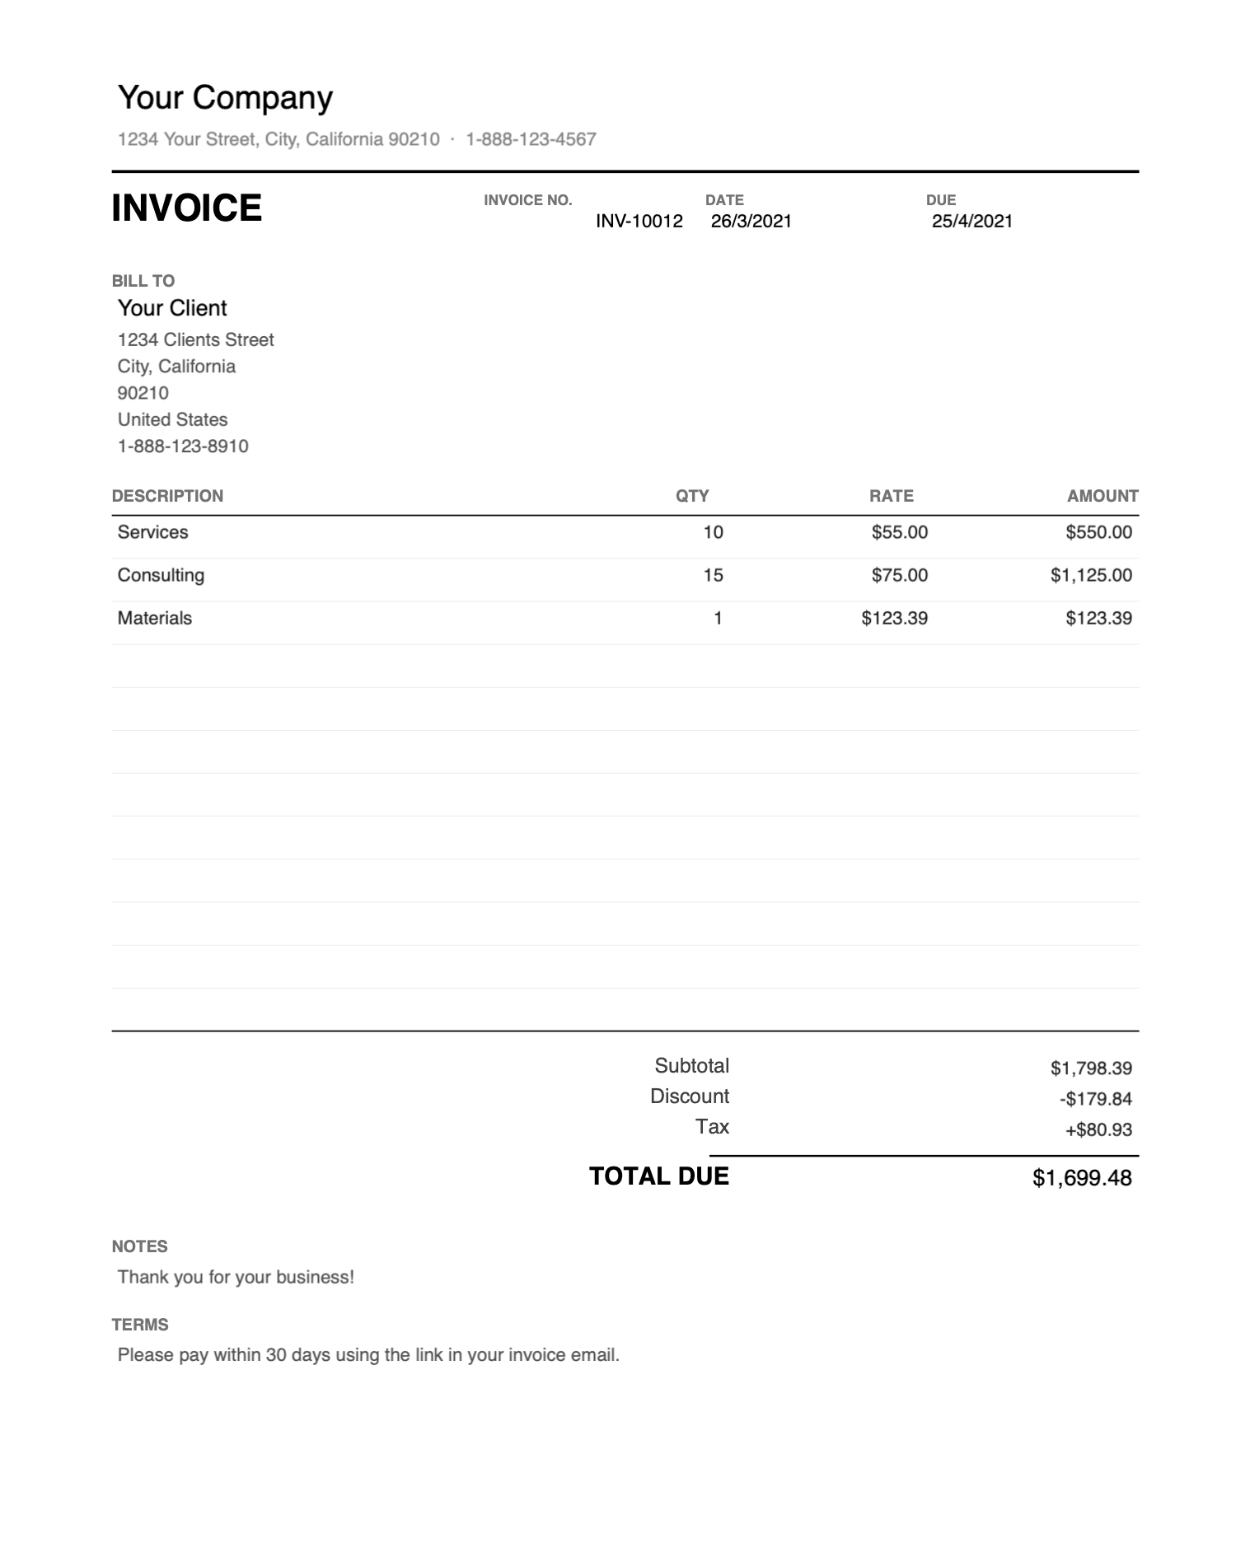
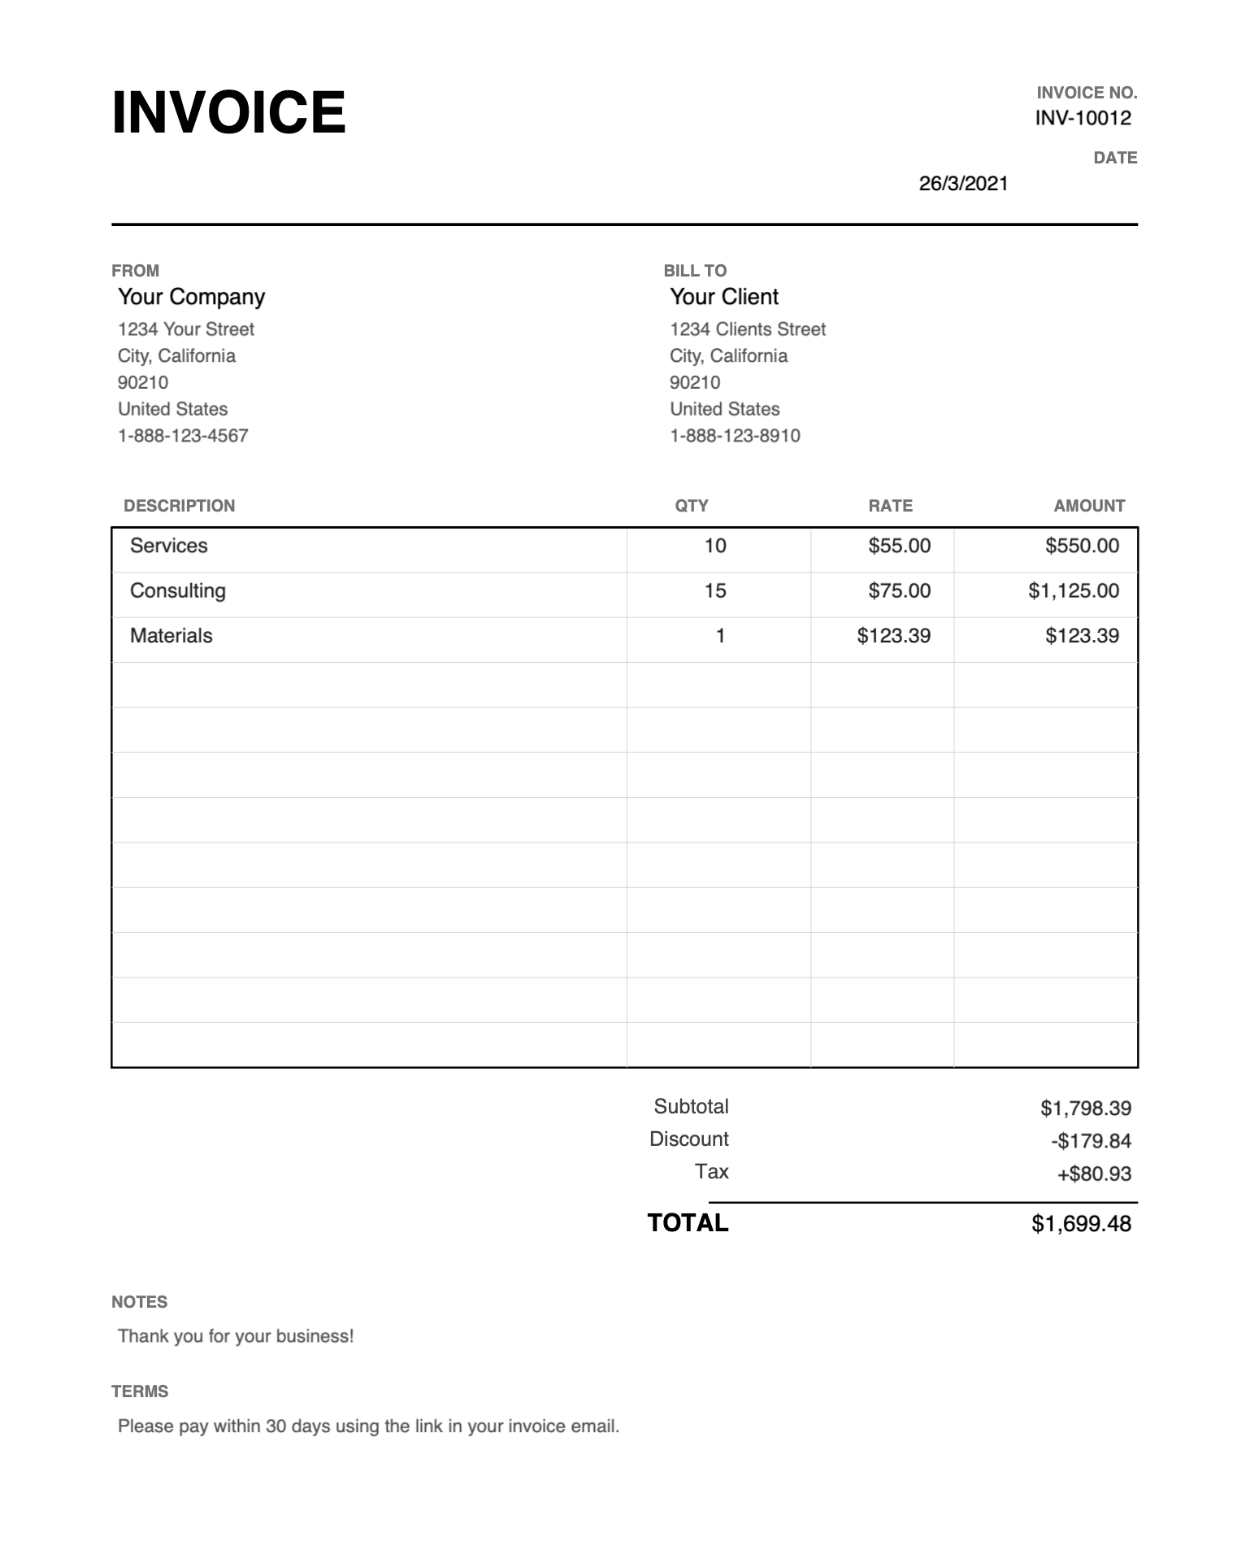
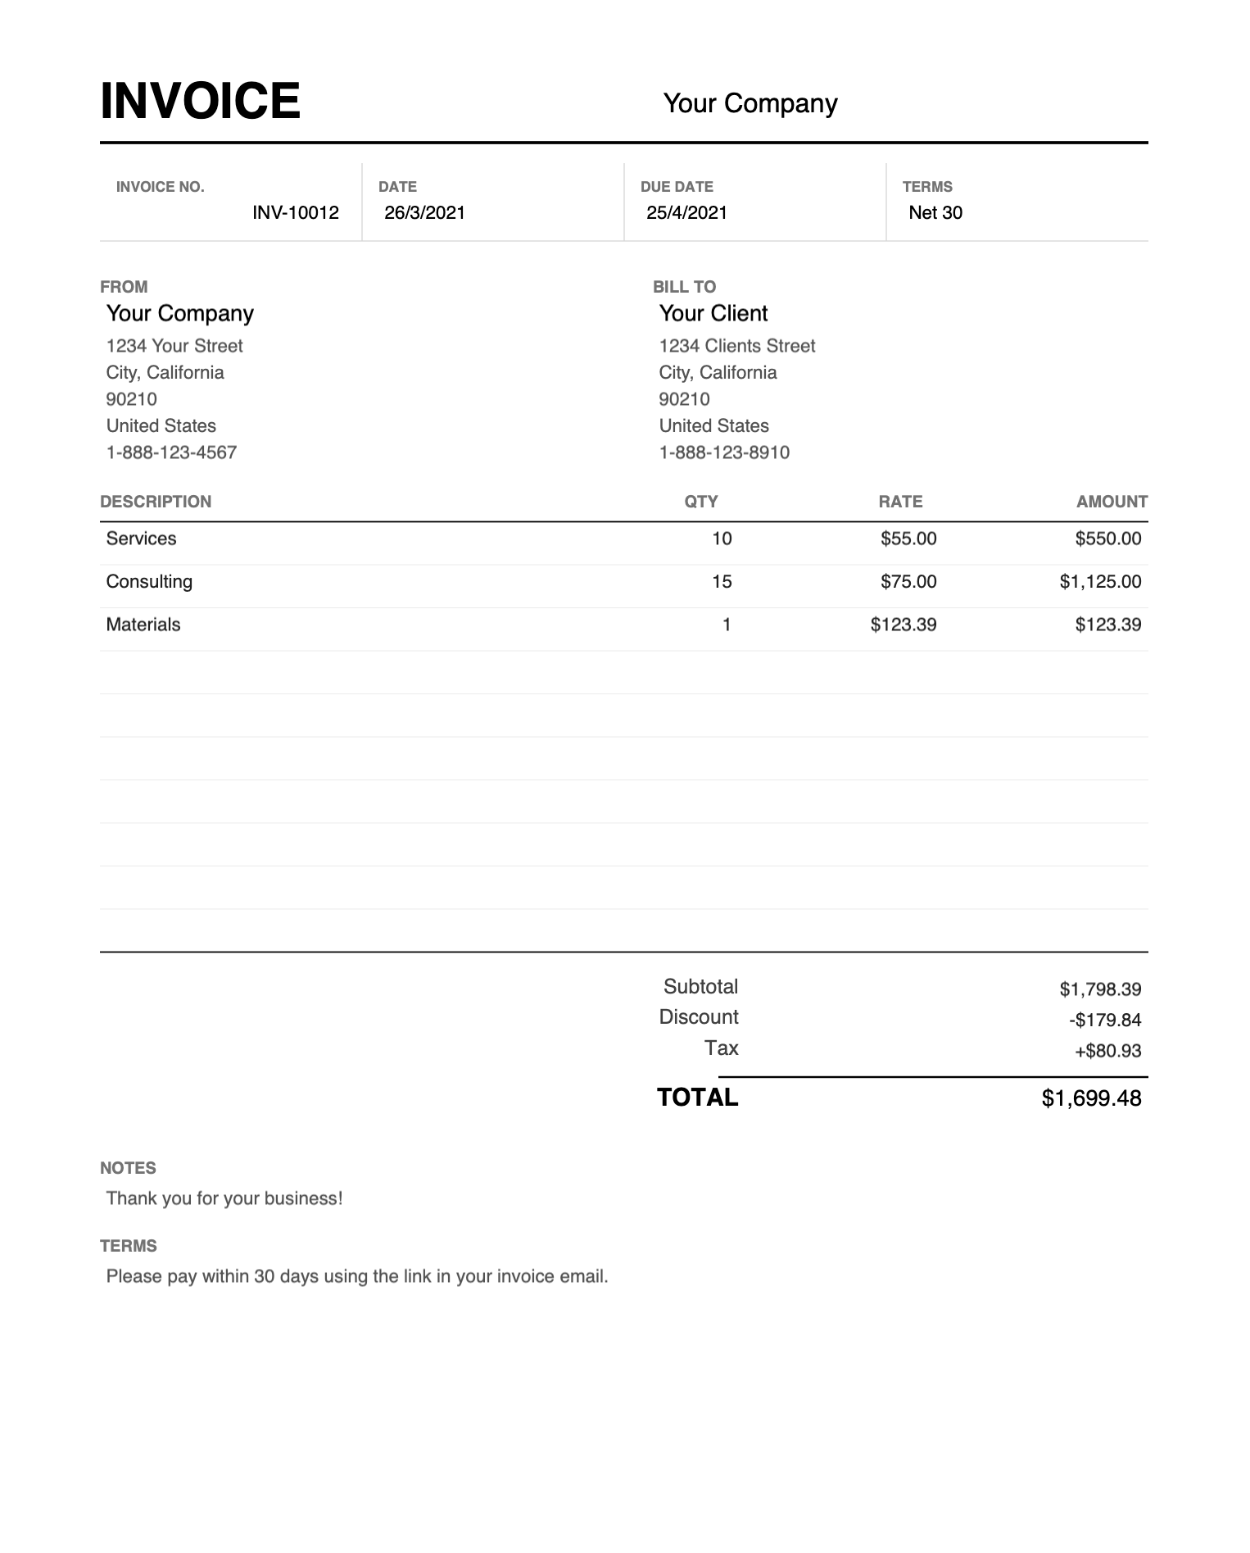
Letterhead-style layout with company name on top and ruled rows. Professional and classic.
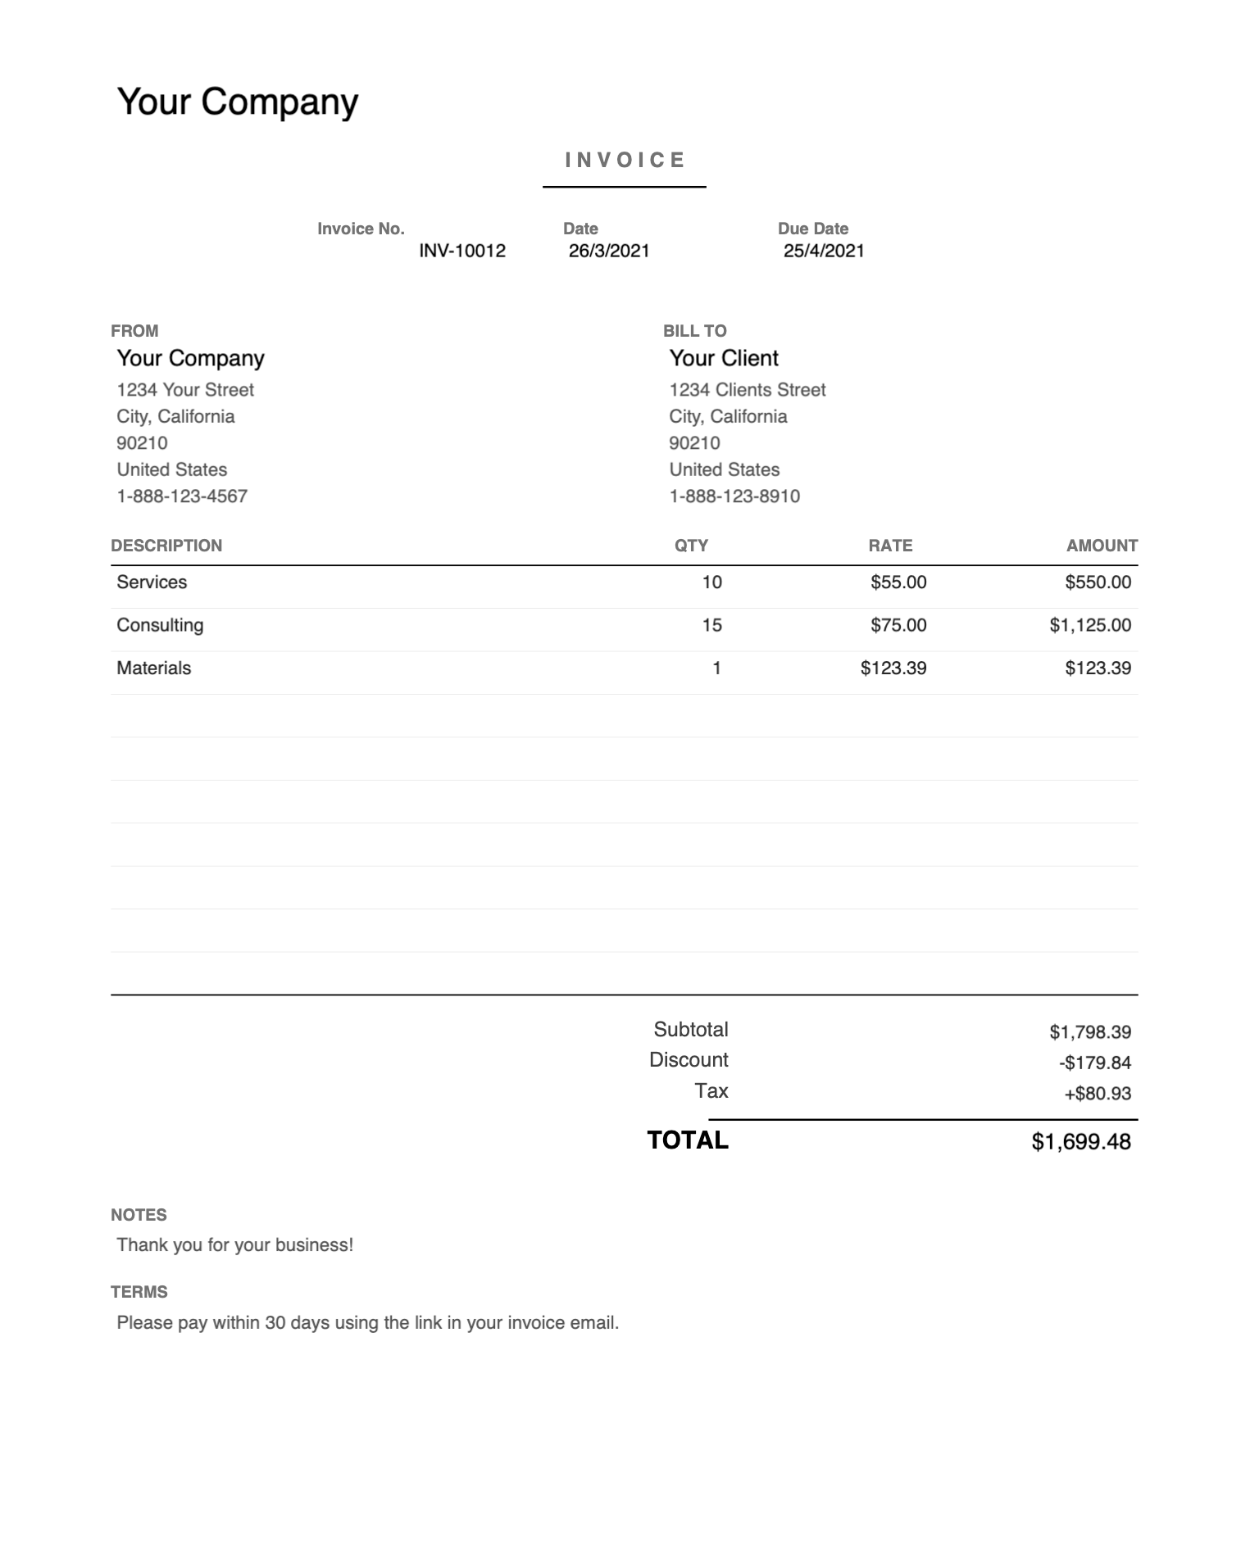
Symmetrical centered design with a formal letterhead. Clean, balanced, and understated.
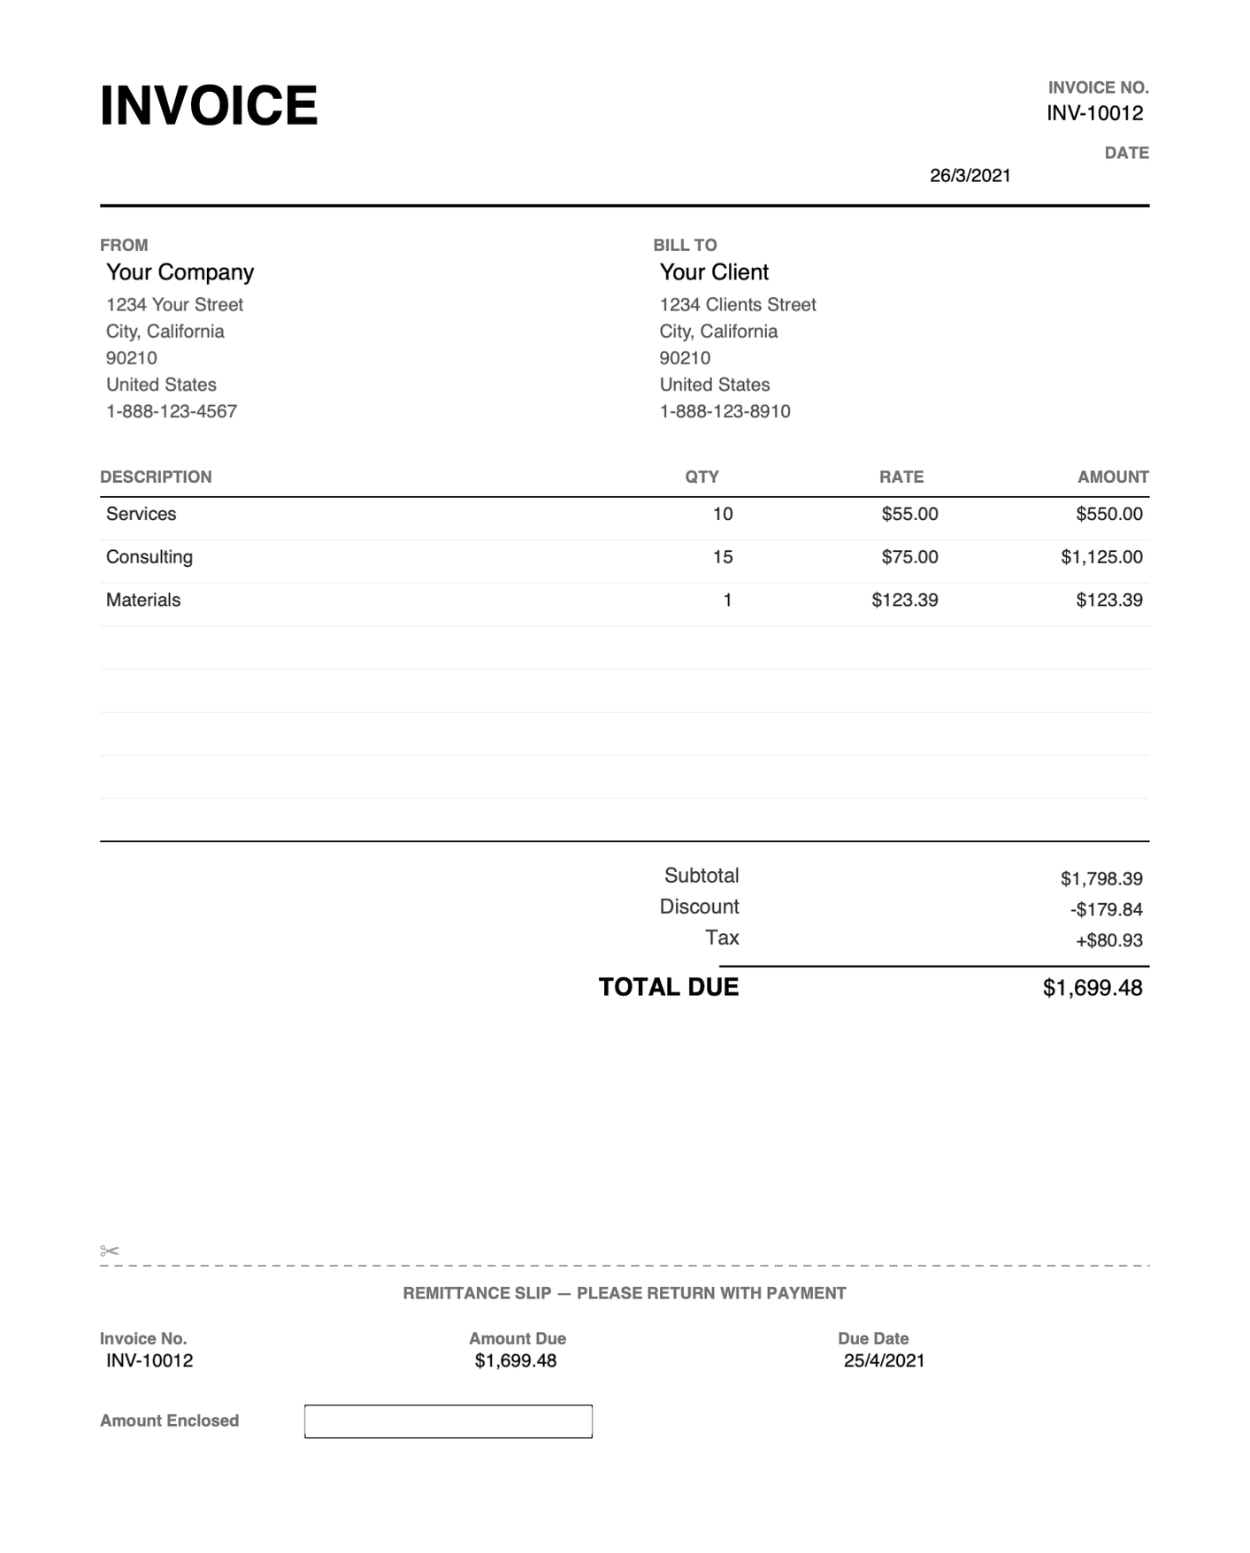
Includes a tear-off remittance slip for mailed payments. Ideal for businesses that invoice by post.
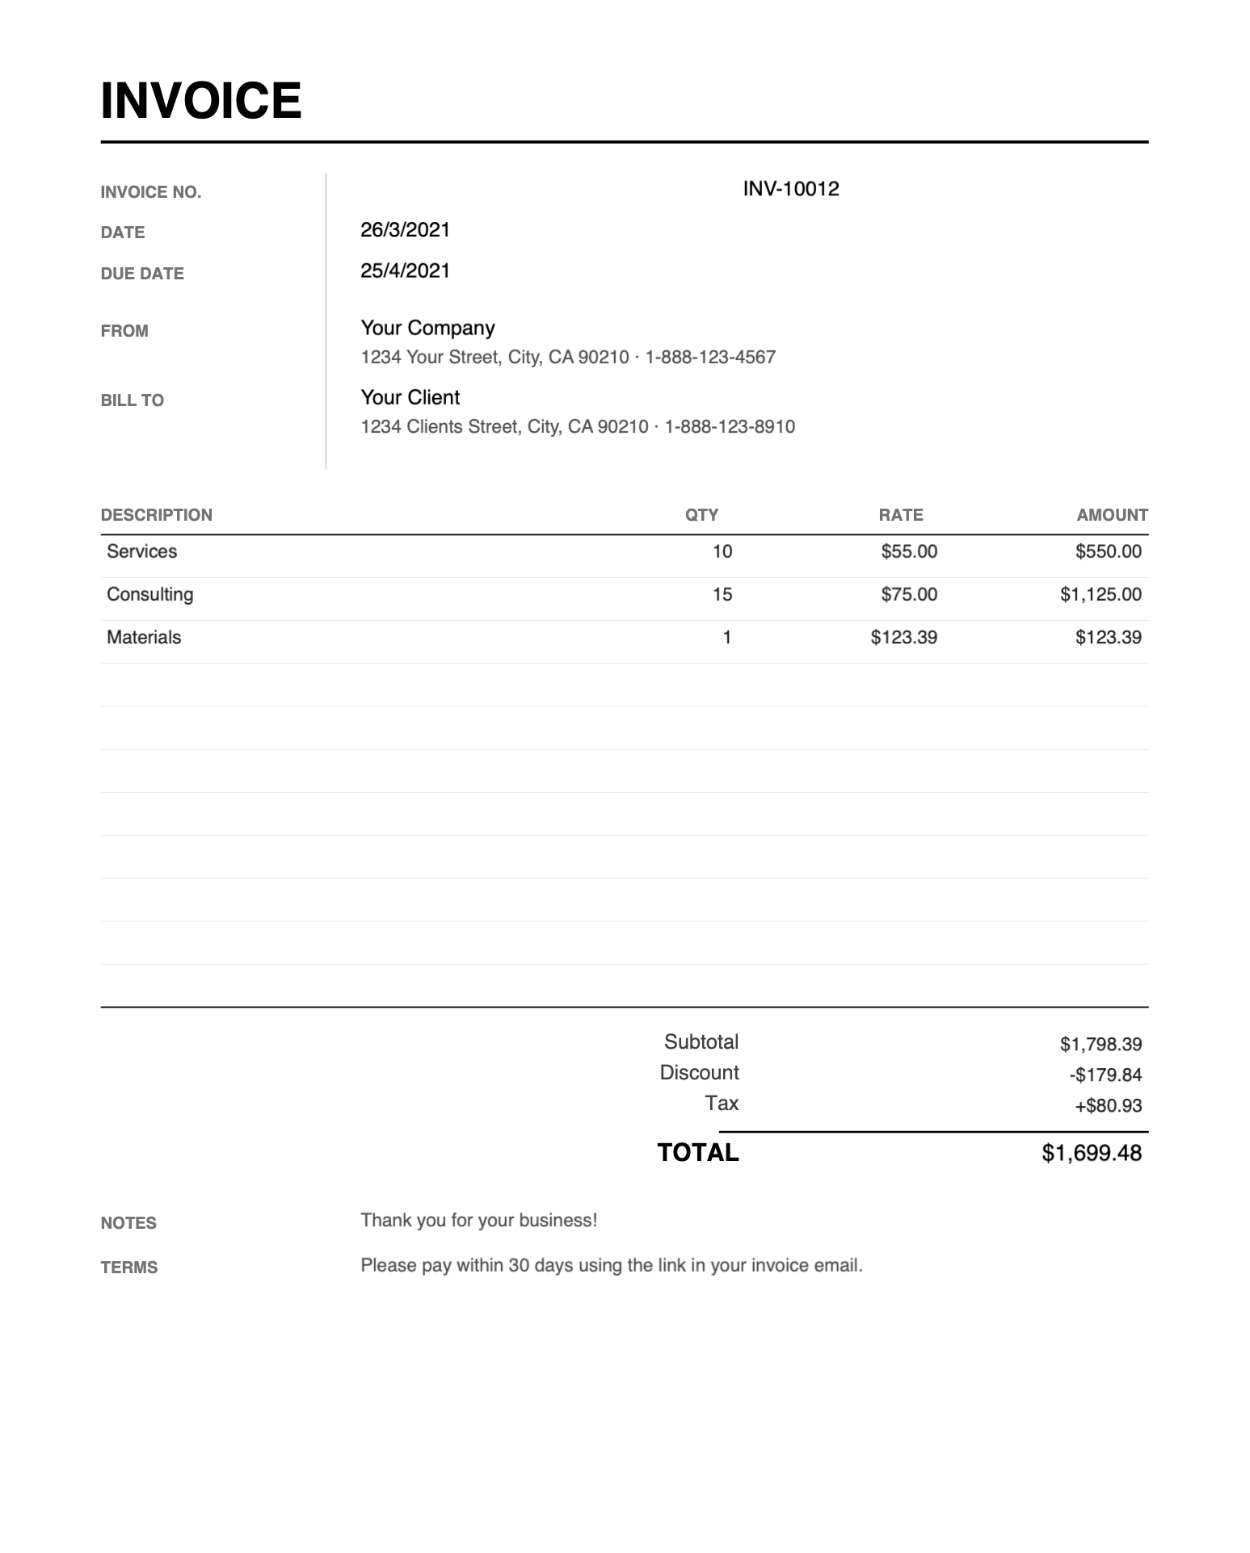
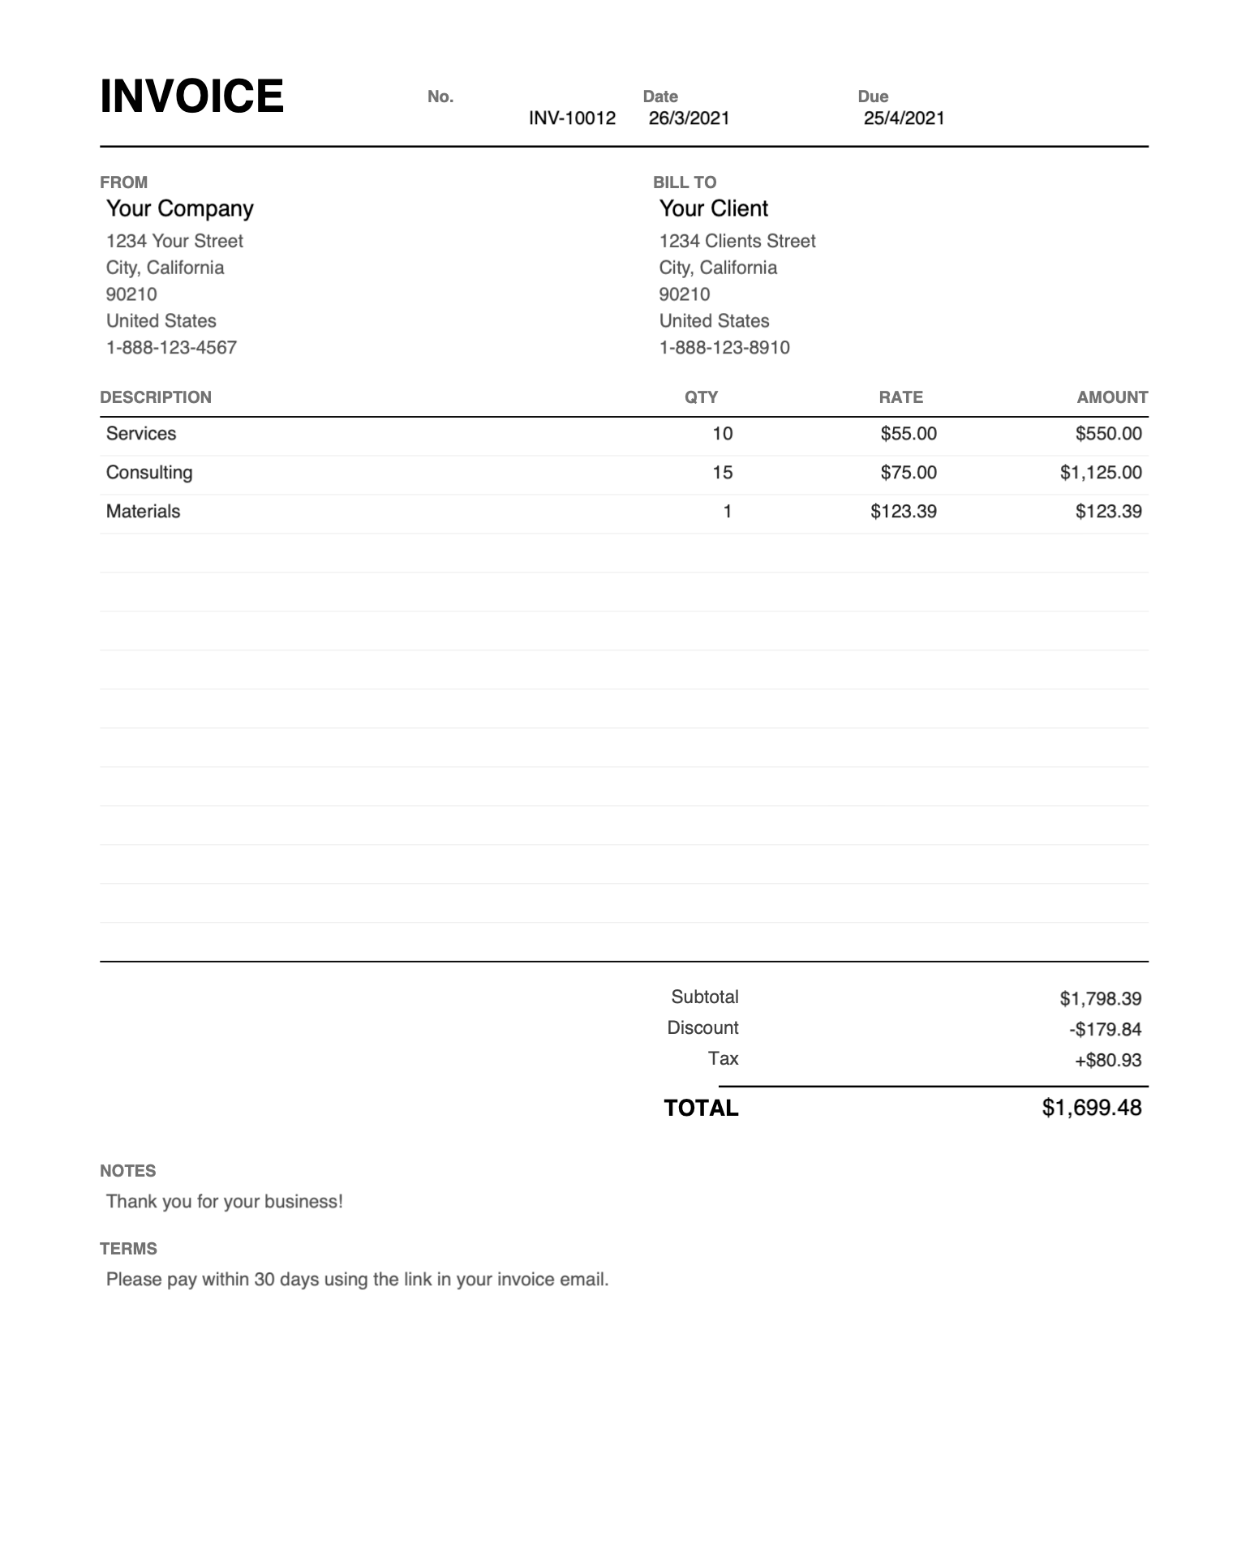
Labels sit in a tidy left rail for fast reading. Quick to fill and scan.
Tidy four-cell detail grid keeps invoice info organized. Simple, quick, and print-ready."
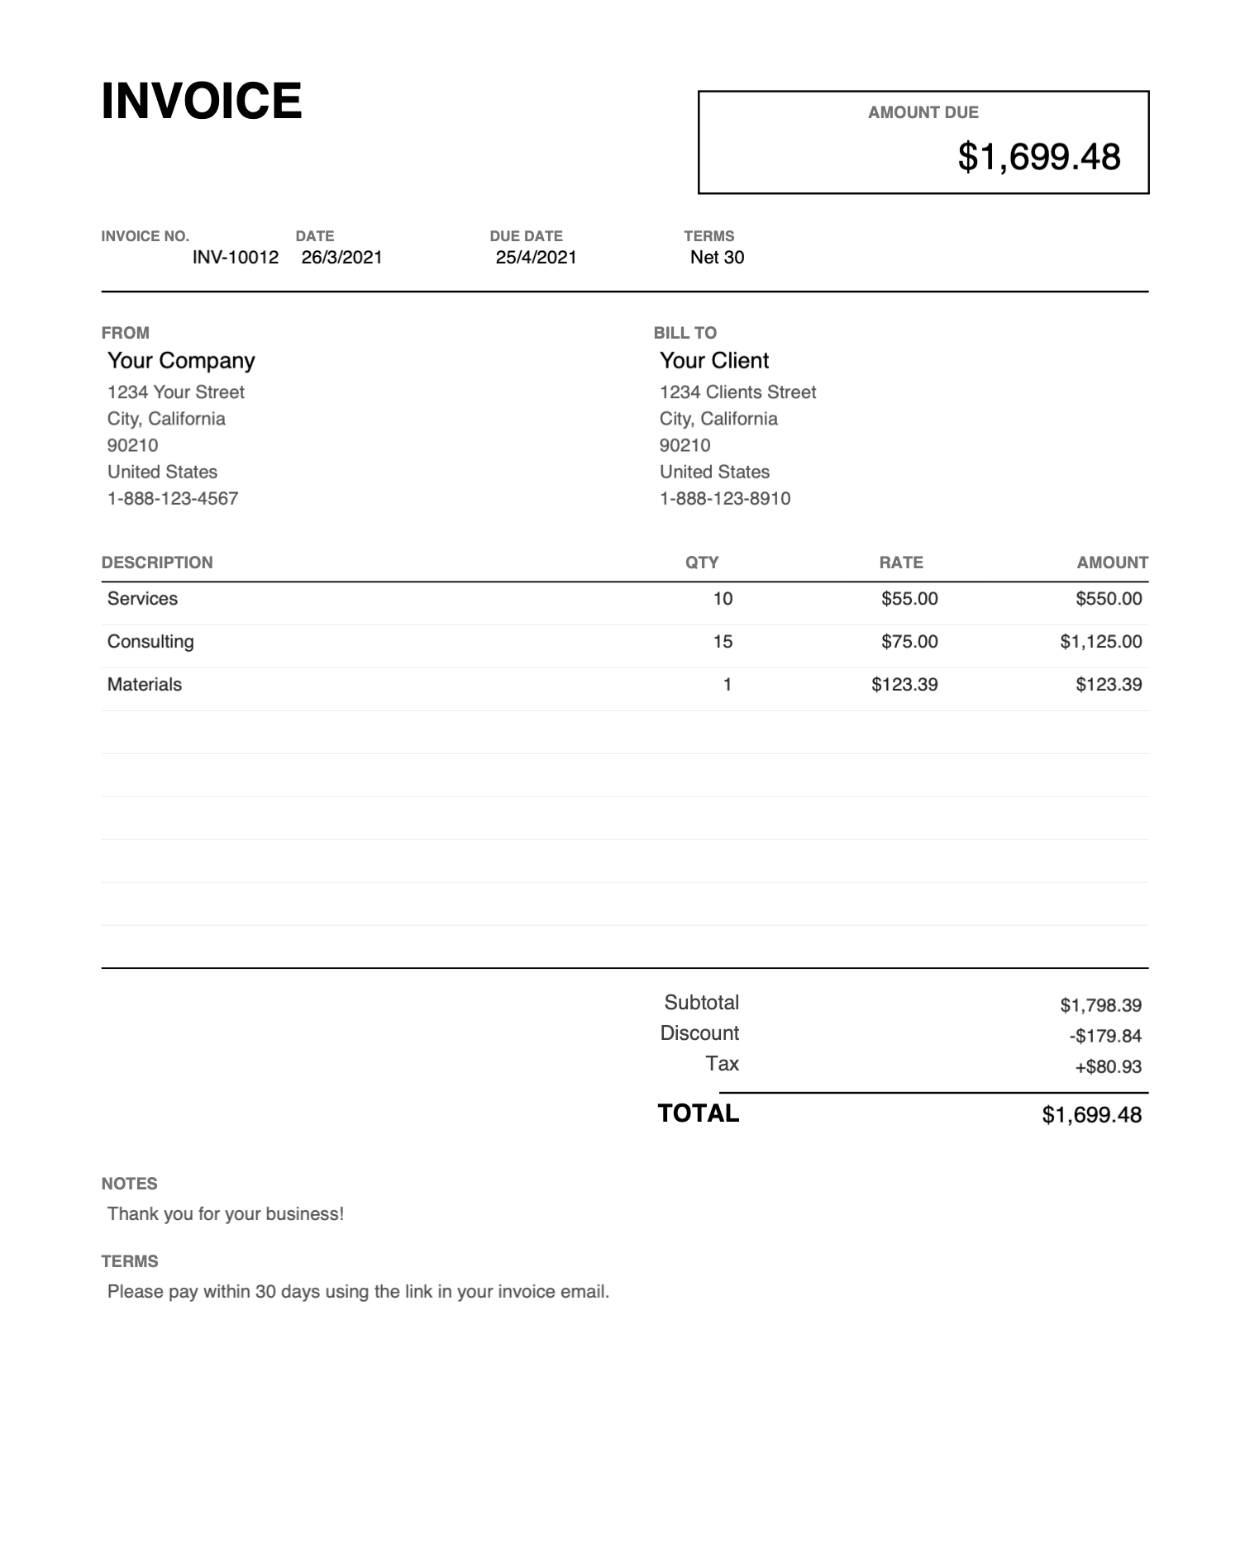
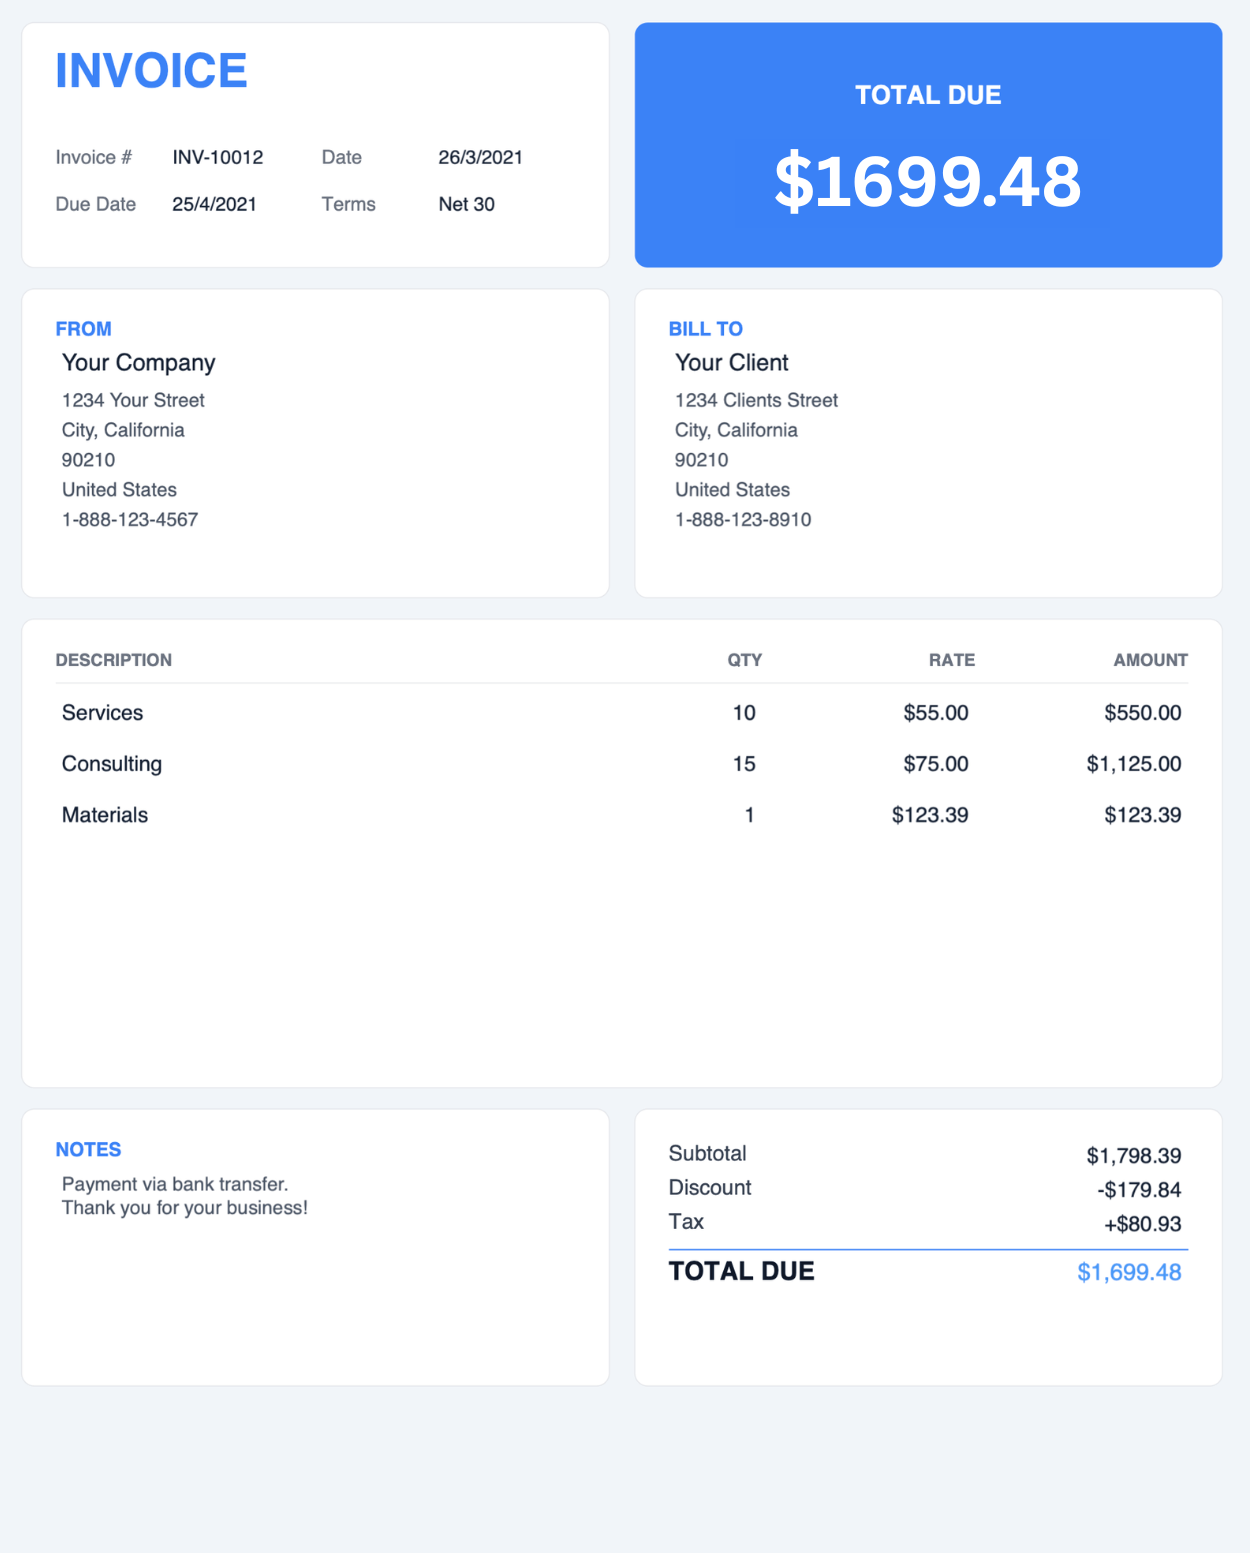
Leads with a bold amount-due figure up top. Made for accounts receivable and chasing payment.
Skip the template. Create a PDF invoice with automatic calculations.
Each format has its strengths. Here's how PDF, Word, and Excel invoice templates compare across the things that matter most when you're invoicing clients.
| Word | Excel | ||
|---|---|---|---|
| Best for | Final, ready-to-send invoices | Editable layouts and custom wording | Invoices with automatic calculations |
| Looks the same on every device | Yes | Sometimes | Sometimes |
| Easy to edit before sending | Limited | Yes | Yes |
| Automatic calculations | No | No | Yes |
| Locked from client edits | Yes | No | No |
| Print formatting reliability | High | Variable | Variable |
| Software to open | Free PDF reader or web browser for fillable PDFs | Microsoft Word or Google Docs | Microsoft Excel or Google Sheets |
Quick takeaway: Use a PDF invoice template when you need a polished, locked-in document to send. Use Word when you want flexibility in layout and copy. Use Excel when calculations and totals matter most.
PDF invoice templates work best for freelancers, contractors, consultants, and small businesses that need a simple, professional invoice that's ready to send.
PDF is the right pick when:
If you're invoicing a few clients a month and don't need bookkeeping software, a PDF invoice template is usually the simplest path.
PDF invoice templates are a good choice when you need a simple and professional invoice to send to your clients.
Since PDF files maintain their format, your invoice will look the same when opened on different devices or printed. That makes them especially useful for final invoices you want to use without worrying about layout changes.
Below, you’ll find more information about PDF invoice templates, who they’re best for, when to use them instead of an editable format, and more. We’ve also included a short YouTube video showing how to download, edit, and save our PDF invoice templates.
A complete PDF invoice should have all the information your client needs to understand the charges and pay on time. Since PDF is usually used for final invoices, it’s a good idea to check that all the information is included before saving or emailing it.
Contractors, trades, and service businesses often need a few extra fields beyond the basics. Here's what to add when you're invoicing for on-site work, hourly jobs, or licensed trades.
Watch the short walkthrough below, then follow the steps to create and send a professional PDF invoice in minutes.
Go to app.invoicer.ai and click New Invoice to start a fresh invoice in the editor.
Enter your business name, address, and phone number, then add your client's name, address, and contact information.
The invoice number, issue date, and due date are populated automatically. Adjust them as needed.
For each service or product, enter a description, rate, and quantity. The amount due updates automatically.
Add any applicable taxes, discounts, or deposits as a percentage or dollar amount. You can add multiple of each.
Include any notes for your client and your payment terms, such as how to pay or how late payments are handled.
Click PDF to download the invoice as a PDF file, or click Send to email it directly to your client.
Most trade and construction jobs aren't billed in a single invoice. You take a deposit upfront, bill milestones as the work progresses, and send a final invoice when the job is done. A PDF invoice template can handle each of these stages.
Deposit invoices. Add deposits directly on the invoice rather than sending a separate one. Most PDF templates have a deposits section below the totals where you can list each deposit amount, and the balance due will reflect what's still owed. If you collect multiple deposits as the job moves forward, add them as separate lines so the client can see exactly what they've paid and what's outstanding.
Progress invoices. For larger jobs, bill at agreed milestones. For example, 25% at framing, 25% at rough-in, 25% at finishes, and 25% on completion. Each progress invoice should reference the original estimate or contract and show what stage of the job it covers.
Final invoices. The final invoice lists every line item, subtracts any deposits and progress payments already received, and shows the remaining balance due.
If you work in construction, your client or general contractor may ask for a lien waiver before releasing final payment. You can generate one with our free lien waiver generator.
PDF invoice templates aren't the right format for every situation. Here's when something else works better.
PDF invoice templates and invoice generators can both help you create professional invoices, but they work best in different situations.
A PDF invoice template is a great choice when you want a simple, ready-made file that you can fill out, save, print, or email to a client. It works well for one-off invoices, small jobs, and situations where you already know the final details before sending the invoice.
An invoice generator is usually a better fit when you want to create invoices faster, reuse client details, save products or services, send invoices online, accept payments, and track invoice activity. Instead of editing a separate file each time, you can build, send, and manage invoices in a more flexible workflow.
If you only need a finished invoice file, a PDF template may be enough. If you send invoices regularly, work with repeat clients, or want to track payment status without managing files manually, an invoice generator will usually save more time.
Common questions about using PDF invoice templates for your business.
PDF templates work, but editing, calculations, and file conversions add up fast when you're sending invoices regularly.
Invoicer.ai handles all of it. Automatic calculations, online payments, automated reminders, and delivery tracking, with every invoice ready to send as a PDF straight from the platform.
Skip the template editing. Add your details and download a professional PDF in seconds
Create Your PDF Invoice