
Accepting credit card payments can make getting paid much easier and faster for both sides.
Instead of asking each client to log into their bank account, copy your bank details, and send a transfer, you can just add an online payment option directly to the invoice.
The client opens the invoice, clicks the payment button, enters their card details, pays, and chances are, you get your money much faster.
Below, you'll learn how to accept credit card payments on an invoice, what you need to set it up, and what to keep in mind before offering card payments to your clients.
It’s possible to accept credit card payments on an invoice if you use an invoicing or payment platform that supports online payments.
Usually, you'll connect your invoicing software to a payment processor such as Stripe. Once everything is set up, your client will see an option to pay the invoice online.
Depending on the payment provider you use, you may have the option to accept debit cards, mobile wallets like Apple Pay, Google Pay, bank transfers, and other payment methods.
Invoicer.ai uses Stripe to process online payments and lets clients pay invoices by credit card, debit card, supported mobile wallets such as Apple Pay and Google Pay, and bank transfers such as ACH.
The exact steps depend on the software you use, but the process is usually pretty simple. Here’s what you’ll need to do:
Firstly, you need a way to create an invoice that your client can pay online.
Some invoicing platforms let you connect a payment processor directly to your account. Once you connect it, the platform adds a payment button to the invoice, and the client can pay without you sending separate payment instructions.
Before choosing software, check which payment methods it accepts, what transaction fees apply, and if your clients will need to create an account in order to pay you.
Next, connect a payment processor, for example Stripe.
You'll will need to provide some information about yourself or your business before you can start accepting payments, such as business name, bank account, website, and other details needed to verify the account.
Your payment processor will then send the money you receive to your connected bank account.
Once online payments are set up, create the invoice as usual.
Make sure your invoice includes:
Double-check the amount before sending it. If the client pays online, the payment will be based on the total shown on the invoice.
If your invoicing software supports online payments, the payment option may be added automatically once you've connected your payment account.
Send the invoice to the client by email or through your invoicing software.
For example, you can write something like this:
Hi Sarah,
I’ve attached invoice #1042 for the website design project.
The total is $750. The payment is due by October 15. You can pay the invoice online using the payment option provided.
Please let me know if you have any questions.
Kind regards,
Hannah
Once you receive the payment, record it against the correct invoice.
If you're taking care of invoices yourself, you'll need to update your records on your own.
Using invoicing software can make this easier because payments are connected directly to the invoice. For example, Invoicer.ai tracks invoice activity and payment status, so you can see when invoices have been delivered, viewed, and paid by clients.
You can use Invoicer.ai to create an invoice and let your client pay it online.
Invoicer.ai works with Stripe to process payments.
To get started:
1. Sign in to Invoicer.ai.
2. Select Accept Payments from the menu.

3. Follow the Stripe setup process.
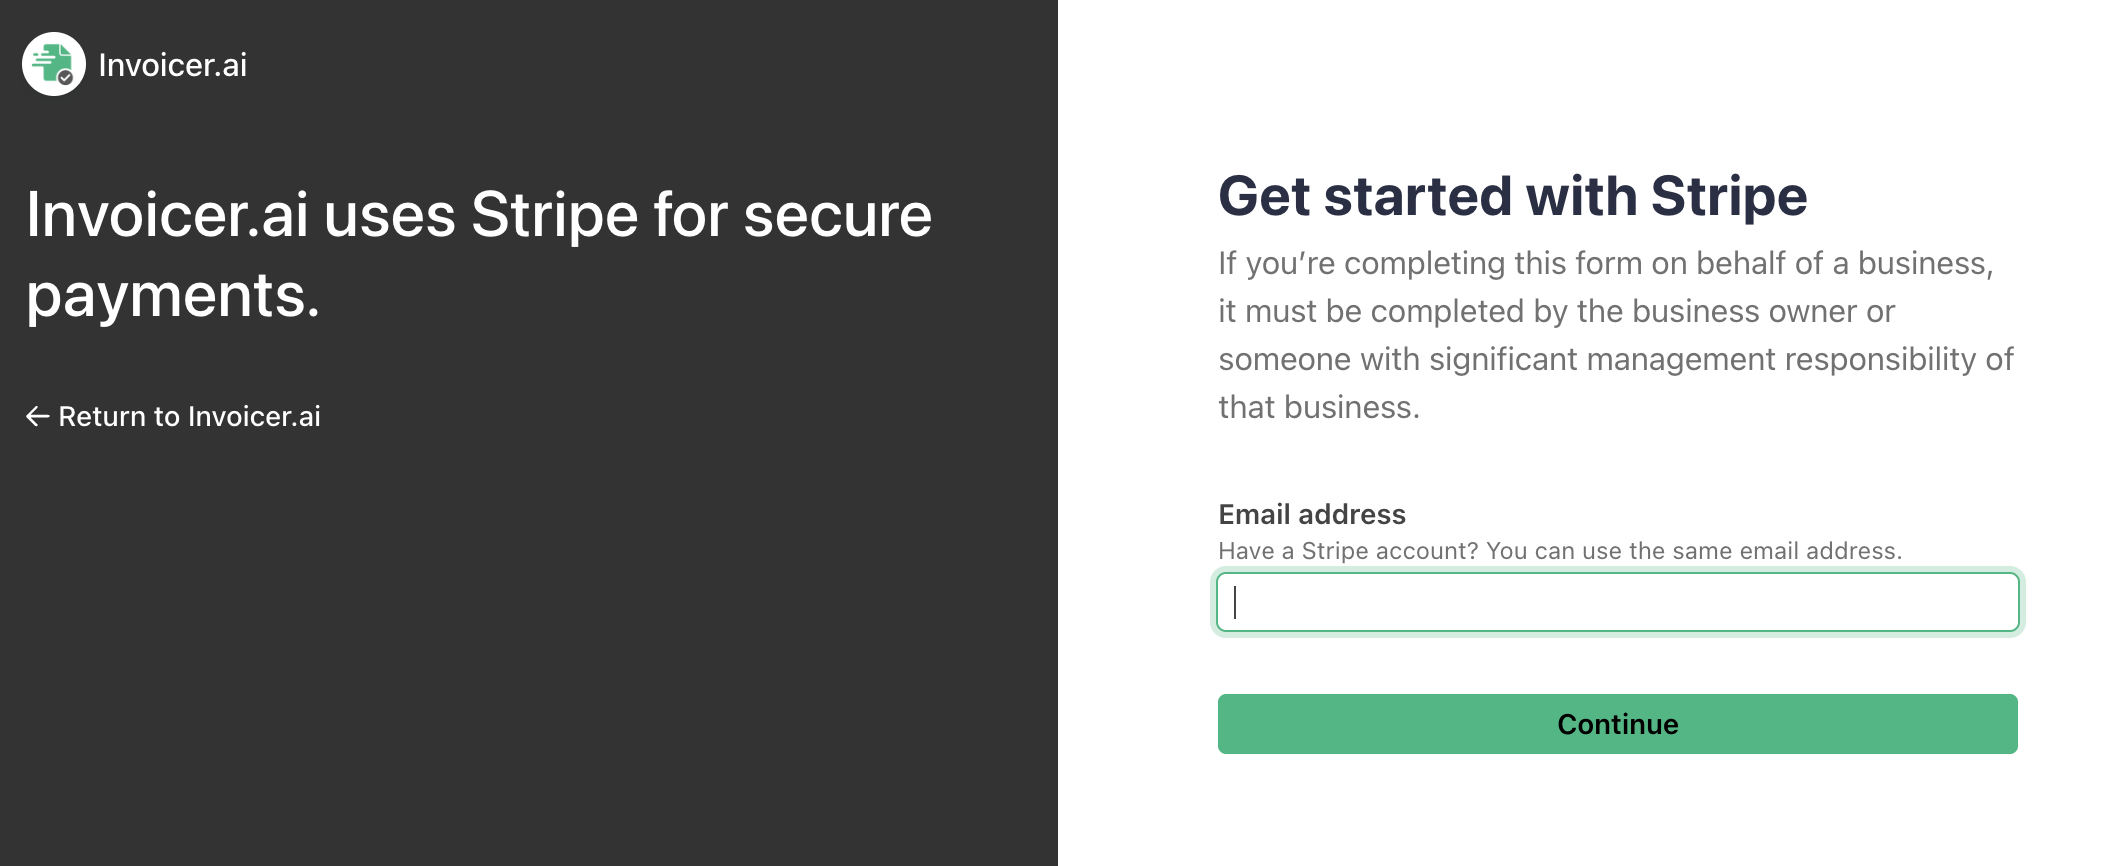
4. Wait for your account to be approved for payments.
5. Create and send your invoice.
Once online payments are active, clients will see a Pay Now button on the payment page they reach after clicking the invoice link in the email:

With Invoicer.ai, you can also keep your estimates, invoices, clients, and payments together instead of tracking everything separately.
Try it free for 14 days. Online payments are included, and you don’t need a credit card to get started.



-2.png)
-3.png)