"With Invoicer, it's so fast and easy I never have to worry about how I'd like it to feel. Rather, it does the job I need it to do and I love it!"
Or, send estimates to your clients with our free building estimate templates.
Download for Microsoft Word, Excel, Google Docs, Sheets, PDF, and OpenOffice formats:


.png)
Choose from a variety of designs.
Or, use Invoicer to easily create an estimate.

Easy and intuitive estimate generator. Create invoices from estimates in one click.

Clear and simple process for your clients to approve. Automatically create invoices from approved estimates.

Easily customize with your brand and colors.
Want to know how to quote your building services professionally? Learn everything you need to know about creating clear, accurate building estimates, and discover a better alternative to traditional templates.
Giving a quote for a building project isn’t as simple as multiplying the floor area by a standard rate. Every project comes with its own challenges. One might require deep foundations in difficult soil conditions. Another might involve coordinating multiple trades across a tight urban site.
Some projects call for high-end finishes and custom architectural details, while others demand strict compliance with specialized building codes.
Clients often don’t realize how many moving parts are involved. Without a clear estimate, they may assume that certain items, such as landscaping, utility connections, or permits, are automatically included in the price. If those assumptions aren’t addressed up front, they can lead to misunderstandings and disputes.
That’s where a good building estimate makes the difference. Whether you’re constructing a family home, a retail space, or a multi-unit apartment block, your estimate should do more than present a number. It should communicate your understanding of the scope, the level of detail you bring to the project, and your professionalism from the outset.
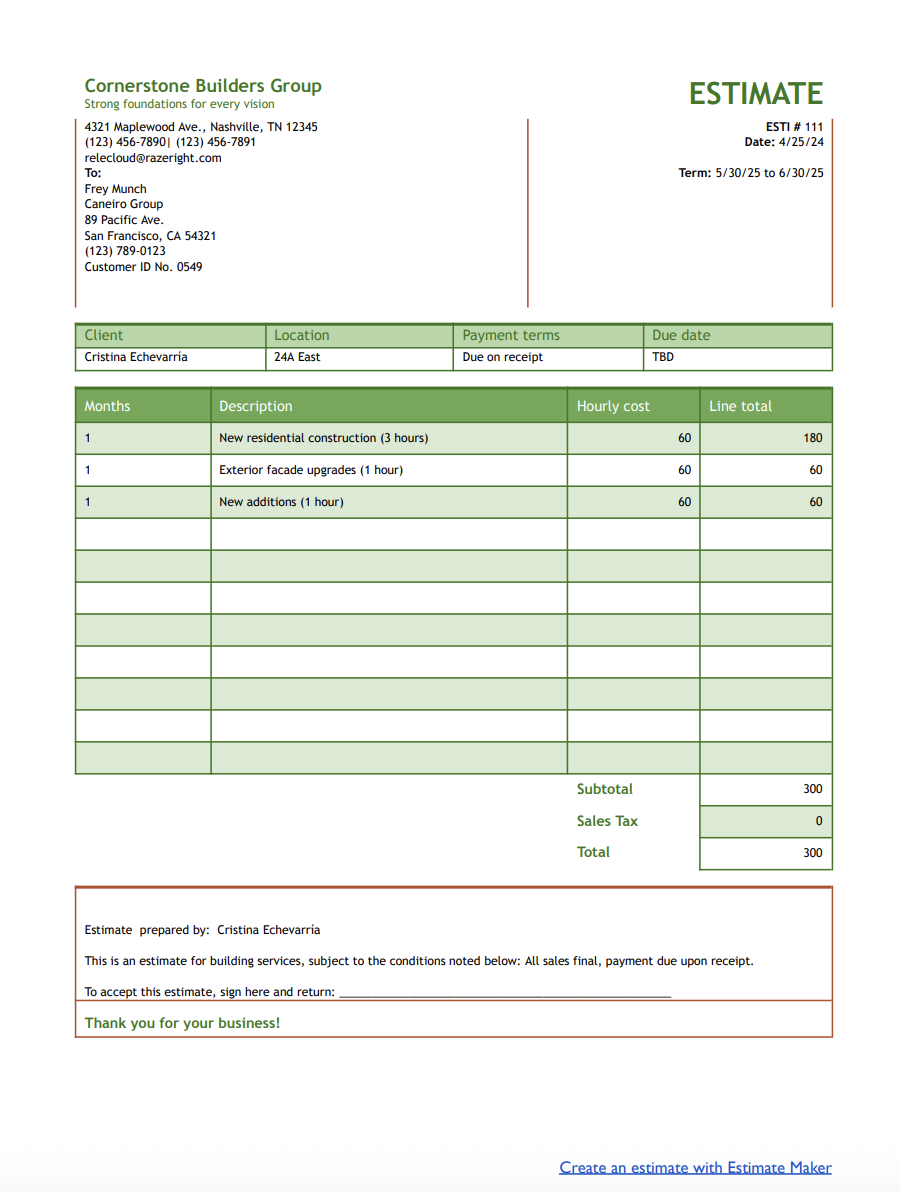
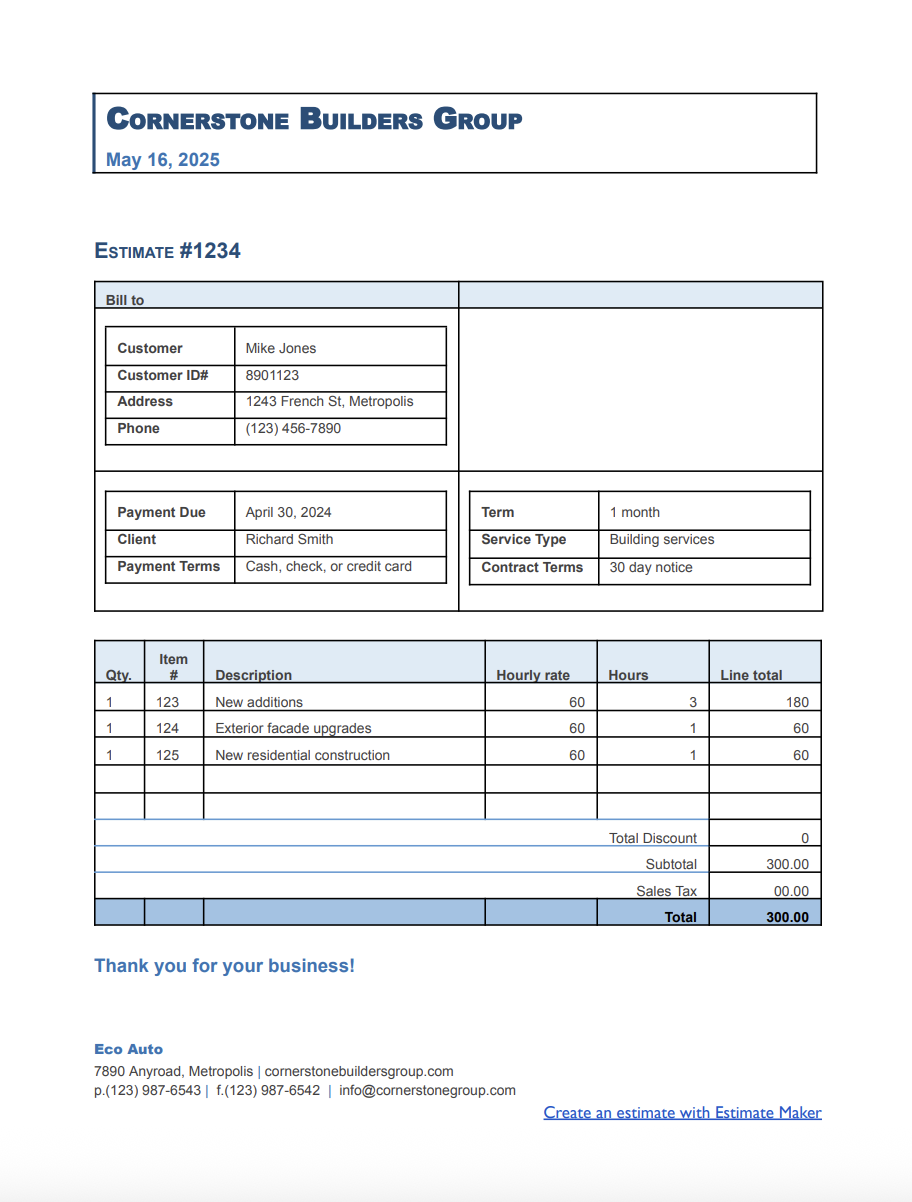
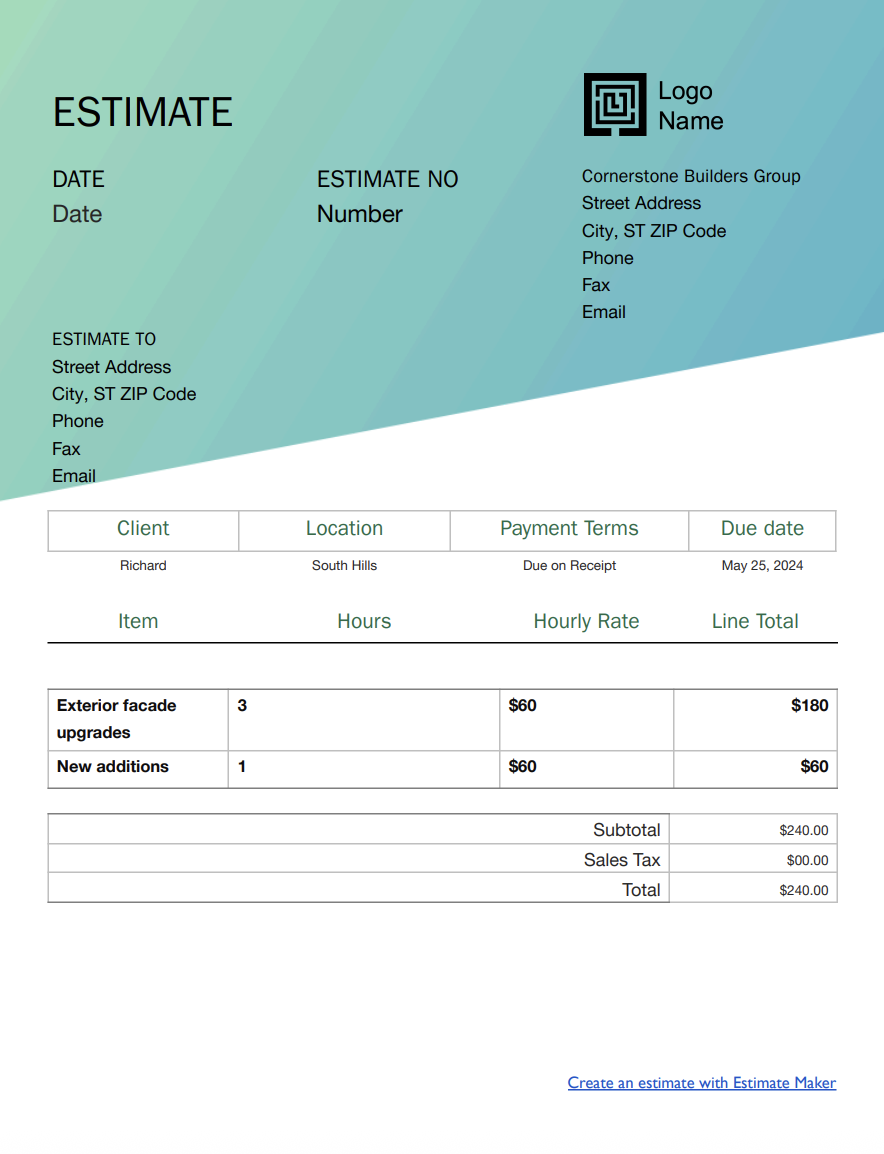
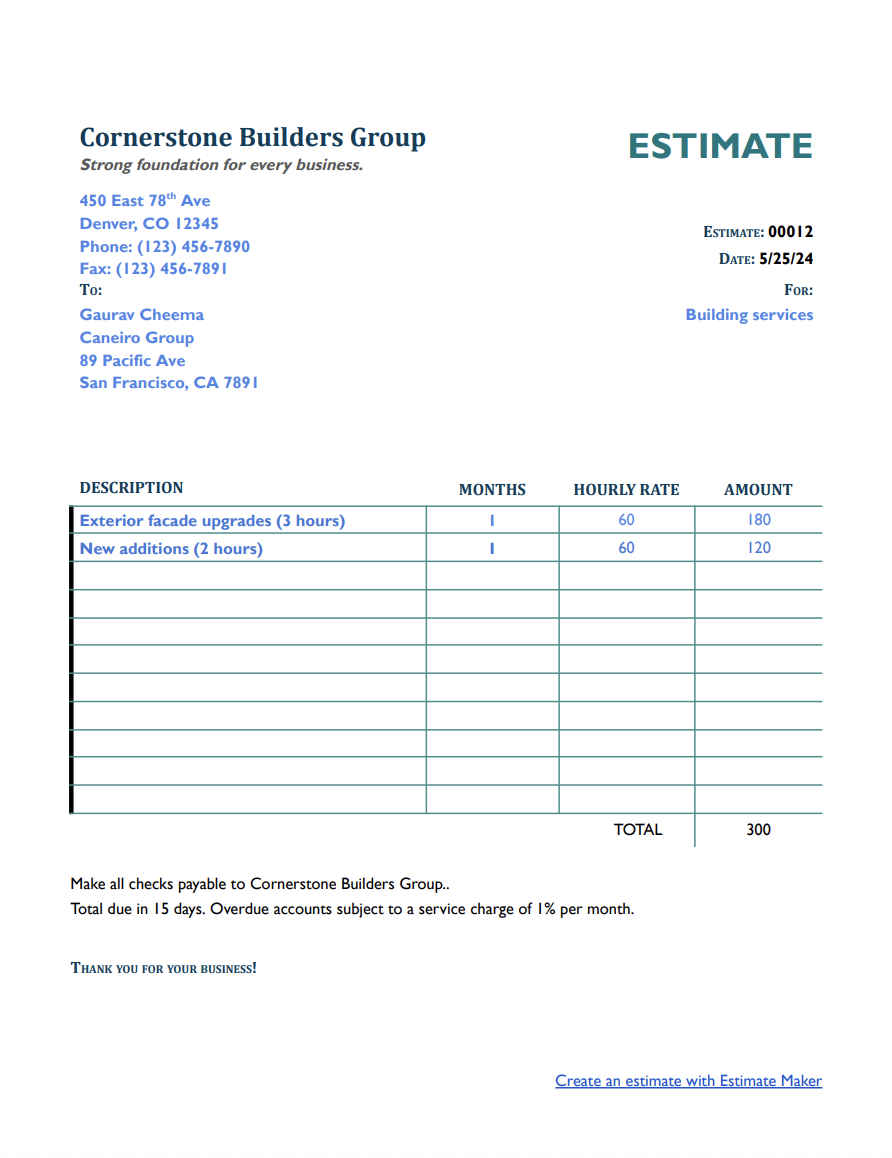
A building estimate template is a document that helps contractors prepare detailed and consistent quotes. It contains all the essential sections needed for a complete proposal: your business details, the scope of work, breakdowns of materials and labor, timelines, pricing, exclusions, and terms.
Instead of creating a new quote from scratch for each job, you start with a structure that makes sure nothing important is missed. It prompts you to account for all stages of the build, from site preparation and foundations to roofing, finishes, and final inspections.
Once you have the template, you fill in the specific details for the job at hand, adjust quantities, swap materials, and include any project-specific notes. This keeps your process efficient, reduces the chance of missing a cost that affects your profit, and gives clients a clear, professional proposal.
For clients comparing multiple bids, a well-organized estimate often stands out, not only because of the price, but because it shows that you’ve thought through every aspect of the project.
If you need a more flexible format for a wider range of trades and job types, our contractor estimate templates may be a better fit.
Professional building estimates are the foundation of a successful building project. They help set expectations, protect your margins, and give you a reference point if anything changes after work begins.
A detailed quote that covers materials, labor, and other elements like permits or site cleanup shows that you’ve considered all the factors. Clients don’t have to guess what’s included in a “standard build” because it’s spelled out in black and white.
A professional building estimate outlines the entire scope, including dimensions, materials, construction methods, finishes, and what is excluded. If a client expects certain work, like landscaping or appliance installation, and it’s not included, your estimate makes that clear from the start, avoiding disputes later on.
A vague estimate leaves room for extra requests that aren’t covered in your price. When you list everything in detail, you can refer back to the agreed scope and charge appropriately for any additions or changes.
Different projects call for different estimating approaches. The right format can make your quote easier to prepare, simpler for the client to understand, and more accurate overall. From quick per-square-foot calculations to detailed phase-by-phase breakdowns, each template type has its own strengths depending on the scope, complexity, and client expectations.
This is a quick and straightforward method for quoting simpler jobs. You calculate the total floor area, set a rate based on the type of construction and level of finish, and multiply the two. A standard residential build might fall in the range of $120–$180 per square foot, while a high-end custom home or commercial space can be $300 or more. Always specify what’s included in the rate so there are no surprises.
This format breaks the project into stages such as site preparation, foundation, framing, roofing, exterior finishes, mechanical and electrical systems, interiors, and final touches. It’s especially useful for complex builds where clients want to see exactly where the money is going. It also allows you to adjust specific phases if changes are made without rewriting the entire estimate.
Some clients like to see material costs separated from labor charges. This approach provides transparency and works well when clients might supply certain items themselves or want to understand where their budget is being spent.
This is a single price covering all agreed work, materials, permits, and cleanup. It’s ideal for smaller projects or when the scope is clearly defined and unlikely to change. The key is to make sure the scope section is detailed so both parties understand exactly what’s included in that flat rate.
For smaller jobs like adding a garage, replacing a roof, or upgrading windows, this format focuses on the specific work required. It’s a fast way to quote smaller tasks without having to prepare a full-scale building estimate.
To keep your estimates complete, accurate, and ready for client approval, make sure you include these core sections:
Start with your company name, address, phone number, email, license number, and proof of insurance. This reassures the client that you’re a qualified, legitimate contractor who’s covered for the work you’ll be doing.
List the client’s name, address, and contact details. If the work site is different from the billing address, make sure that’s clearly noted to avoid confusion later.
Assign a unique estimate number and the date it was issued. This makes it easier to track revisions and organize multiple bids for the same client.
Write a short summary of the project in plain language so the client can immediately understand what’s included. For example: “Construct a two-story, three-bedroom residential home with attached garage, poured concrete foundation, timber framing, asphalt shingle roofing, and full interior finishes.”
Break down the work into clear phases so both you and the client know exactly what will happen at each stage. This might include site preparation and grading, excavation, foundation work, structural framing, roofing and weatherproofing, exterior cladding, window and door installation, mechanical, electrical, and plumbing systems, insulation, drywall, flooring, cabinetry, painting, and final site cleanup.
List the materials, fixtures, and equipment needed for the project, including brand names and specifications where possible. This helps set quality expectations and prevents substitution with lower-grade products.
Outline the crew size you’ll use and the estimated number of hours or days needed for each phase of the build. This gives the client an idea of how long the work will take and the manpower involved.
If permits or inspections are required, note the expected costs and specify who will handle the applications and scheduling. This can save confusion about responsibilities.
Provide a proposed start date and estimated completion date. Mention any possible factors that could affect timing, such as material lead times or weather conditions.
Present your pricing in a way that’s easy to understand, whether that’s broken down by phase, by materials and labor, or as a flat total. Include any taxes, disposal fees, or other charges so there are no hidden costs.
State how long the estimate is valid to protect yourself against material price increases or other cost changes. A standard validity period might be 30 days.
Include your payment schedule, change order policies, work hours, and warranty information. This ensures expectations are clear before work begins.
Provide a space for the client to sign or approve the estimate digitally. Making the approval process simple helps you move the project forward without delays.
Estimate templates are a practical and efficient tool for any business because they save time, reduce errors, and can be fully customized to match specific needs.
The easiest way to create a professional building estimate is by using a pre-made estimate template. Ready-to-use templates help professionals include all necessary project details without the hassle of building an estimate from scratch every time.
All they need to do is download an estimate template for building services, fill it out, customize it with company branding, and send it to the client.
A solid building estimate template saves time, improves clarity, and makes your proposals look more professional. Here's how to create one that works.
1. Find a Reliable Estimate Template – Look for an estimate template that suits your needs. You can find free building estimate templates in Word, Google Docs, Excel, or Google Sheets.
2. Select the Right Template – Choose a building estimate template that allows you to include all necessary details, such as labor, materials, and project timelines.
3. Fill in Basic Information – Enter essential details like your company name, logo, contact information, and project description.
4. Customize and Brand Your Estimate – Adjust the template's color scheme, fonts, and layout to match your company's branding. Add your website URL, business license number, and any other relevant details.
5. Fine-Tune the Cost Breakdown – Make sure the itemized list includes all necessary categories, such as labor costs, material costs, subcontractor fees, and permit costs.
6. Review the Format and Layout – Before sending the building estimate to your client, double-check for accuracy by:
These platforms offer customizable building estimate templates that professionals can quickly adjust to meet the needs of different projects.
With estimating software, all you need to do is enter business details, adjust the layout, and input the required cost breakdown.
Once the estimate template is set up, it can be saved for future use, allowing building estimates to be generated in just a few clicks.
Using estimate templates or our Estimate Maker speeds up the process and assures that every building estimate is professional, accurate, and easy to understand.
Even if you use the same basic structure for all your jobs, the details you add can make your building estimates far more accurate and persuasive. Fine-tuning the template for each project helps you account for site conditions, client needs, and local variables that could affect pricing or timelines.
Start by visiting the property in person. Look at access points for deliveries, existing structures that might need removal, terrain challenges that could affect grading or foundations, and any other potential obstacles. A thorough site review helps you catch details that could impact cost or scheduling.
Find out if the client has future additions or upgrades in mind. They might want to expand later, add solar panels, or install a detached garage. If you know these plans in advance, you can make recommendations during the build that will save them time and money down the road.
Present different material or design choices and show the cost difference between them. For example, outline the price gap between standard finishes and high-end ones. This gives clients control over their budget without feeling pressured into a single option.
Every building project is subject to local codes, from structural load requirements to energy efficiency standards. Show in your estimate how you will meet those requirements. This reassures clients that you’re building to code and reduces the chance of costly corrections later.
Even a basic sketch or rendering can make a big difference in how clients understand your proposal. Visuals help bring the project to life and prevent miscommunication about the layout, size, or design.
Timing matters when it comes to sending your building estimate. Getting your quote to the client at the right moment can make the difference between winning the job or losing it to a faster competitor.
Send the estimate within 24–48 hours of inspecting the property to stay top of mind and move quickly into booking.
Get your estimates out early to lock in jobs for spring or fall before competitors start quoting.
A polished, well-organized estimate makes you look more experienced and gives you an edge against contractors who send vague or verbal quotes.
If they want to expand the driveway or add sealcoating, don’t guess. Send an updated estimate with revised scope and pricing.
With a template in place, it’s easy to turn past jobs into fast, accurate new quotes.
Even with a great template, it's easy to overlook small things that turn into big problems later Here are the most common mistakes professionals make when creating building estimate templates.
Measurement errors can lead to significant material overages or shortages. Double-check all dimensions before finalizing your estimate.
Small costs add up. Failing to account for fasteners, protective coverings, safety equipment, or waste disposal can quickly cut into your profit.
Mechanical, electrical, and plumbing systems often require more time and expertise than expected. Make sure you’ve budgeted for the full scope of these trades.
Permits and inspections can delay progress by days or even weeks. Factor these potential delays into your schedule so clients aren’t caught off guard.
Descriptions like “standard build” or “install finishes” don’t give enough detail. Specify the exact materials, quantities, and methods to avoid disputes later.
Material prices can fluctuate quickly. Include a validity date in your estimate to protect yourself from having to honor outdated pricing.
While estimate templates are very helpful, Estimate Maker offers a more efficient and accurate way to create estimates for building projects. Instead of manually entering details into a template, it automates the process, saving time and reducing errors.
1. Faster and More Efficient – Pre-built templates require manual entry, while an estimate maker allows you to generate estimates with just a few clicks.
2. Automated Calculations – Reduces human error by automatically applying tax rates, labor costs, and material pricing.
3. Customization Without Hassle – Easily adjust branding, payment terms, and cost breakdowns without needing to modify a static template.
4. Better Organization – Stores past estimates in one place, making it easy to track and update them when needed.
5. Quicker Conversions to Invoices – Convert approved estimates into invoices instantly, reducing the time between estimation and payment.
6. Professional Appearance – Generates polished, client-ready estimates that look more professional than a basic building estimate template.
7. Time-Saving Templates – Save custom estimate formats and reuse them without starting from scratch each time.
Clear and accurate building estimates help set expectations, prevent disputes, and keep projects on track.
For a faster, more automated approach, Estimate Maker offers built-in calculations, easy adjustments, professional estimate templates, and much more! Plus, you can try it free for 14 days.