"With Invoicer, it's so fast and easy I never have to worry about how I'd like it to feel. Rather, it does the job I need it to do and I love it!"
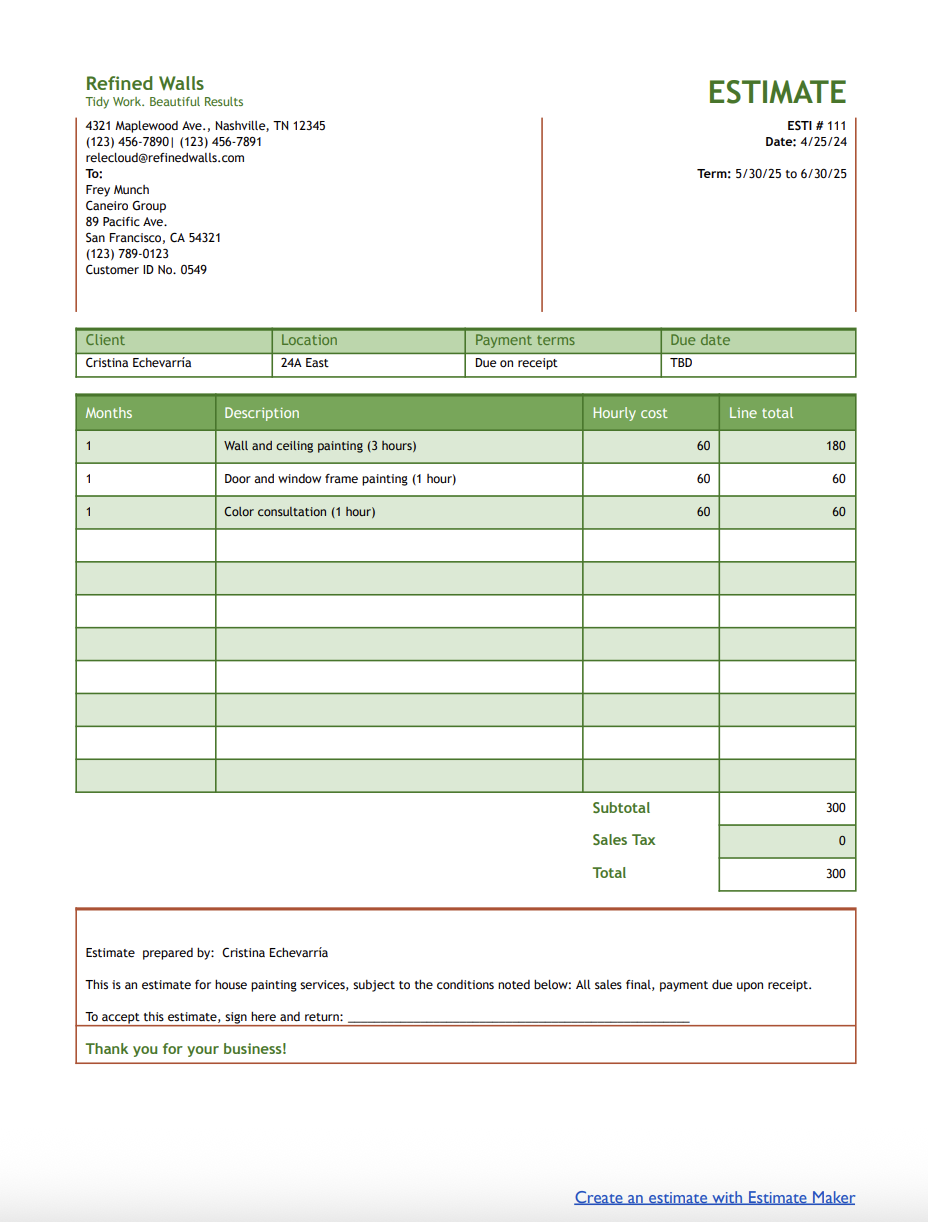
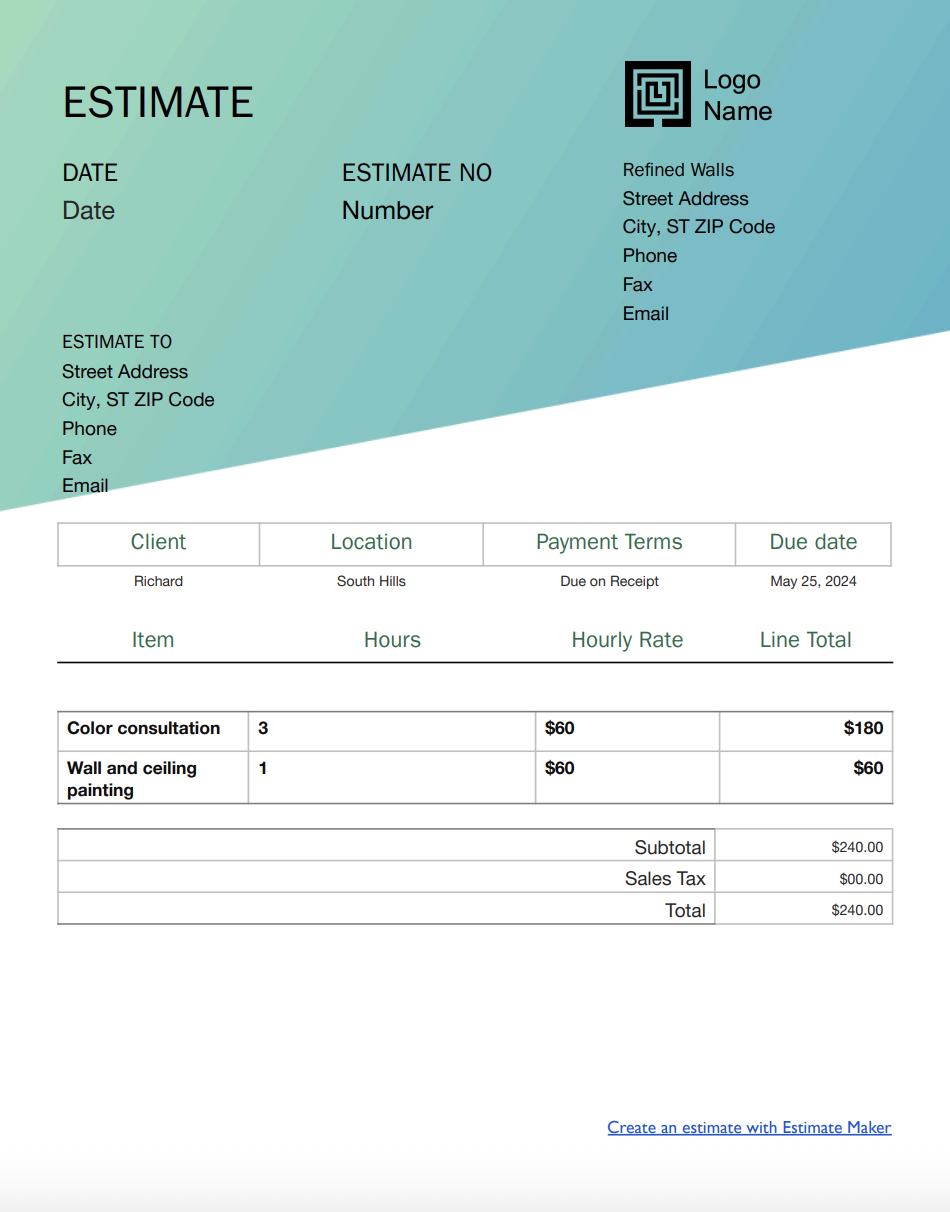
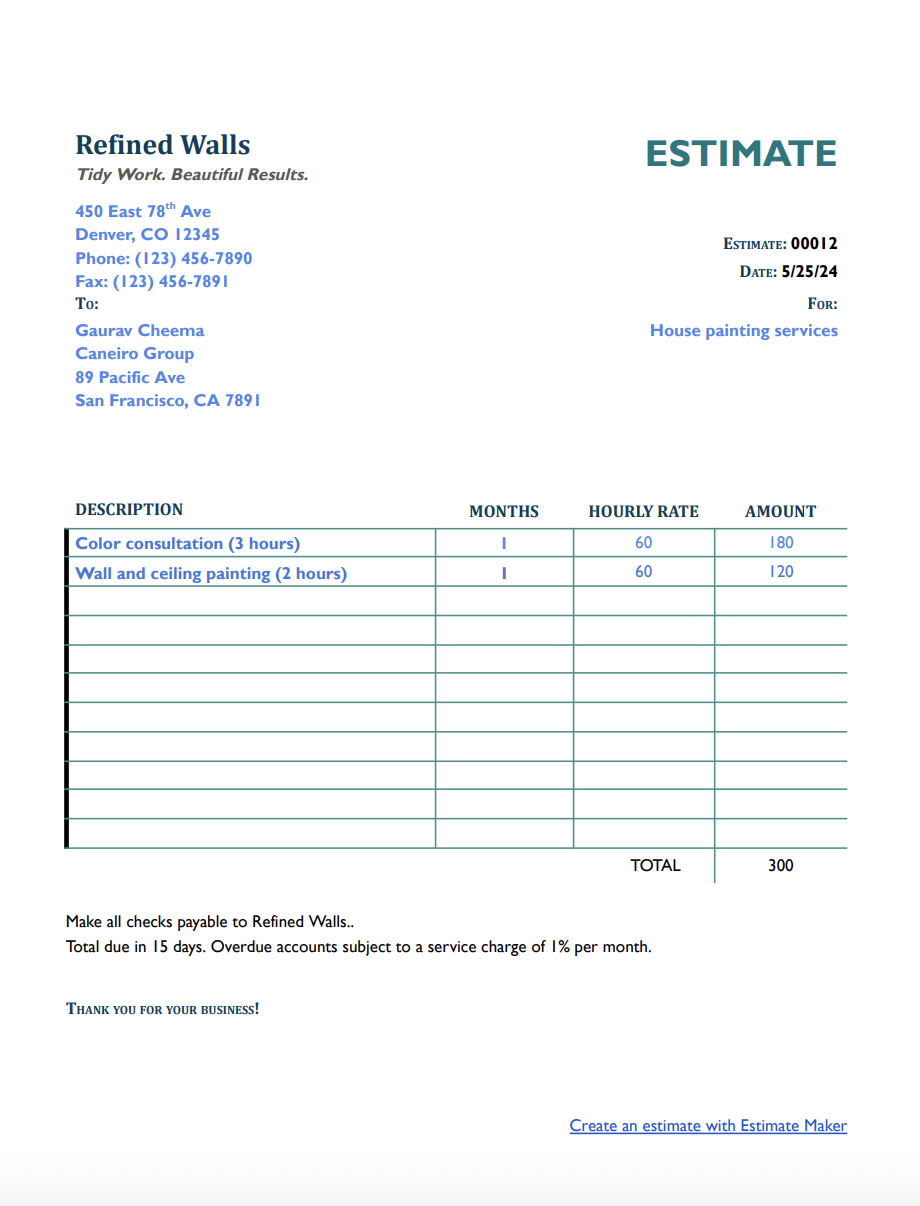
Or, send estimates to your clients with our free house painting estimate templates.
Download for Microsoft Word, Excel, Google Docs, Sheets, PDF, and OpenOffice formats:


.png)
Choose from a variety of designs.
Or, use Invoicer to easily create an estimate.

Easy and intuitive estimate generator. Create invoices from estimates in one click.

Clear and simple process for your clients to approve. Automatically create invoices from approved estimates.

Easily customize with your brand and colors.
Want to know how to quote your house painting services professionally? Learn everything you need to know about creating clear, accurate house painting estimates, and discover a better alternative to traditional templates.
A house painting estimate is more than just a number on a page. It sets the tone for your relationship with the client. A strong estimate describes what the job involves, how much it will cost, how long it will take, and what the homeowner needs to know before work begins.
Every house painting job is different. One client might need extensive surface repair and two coats of high-end paint in multiple rooms. Another might want a fast refresh using the paint they already have. Without a detailed estimate, it’s easy for confusion or scope creep to derail the project and hurt your bottom line.
Clients also value clarity. When they see a professional, itemized estimate, they’re more likely to trust you, move forward quickly, and stick with the agreed scope. And when you have a template that walks through every detail, it not only looks more professional, but also ensures you're charging appropriately for all the work involved.
This guide will show you exactly what to include in your house painting estimate, how to tailor it to different types of jobs, and which mistakes to avoid. You'll also see how switching to estimate software can make the whole process even more efficient for you.
A house painting estimate template is a structured document that describes the expected scope of work, timeline, pricing, materials, and conditions for a house painting project. It’s designed to be customized per job while giving you a consistent framework to build from.
Instead of scrambling to remember all the details for each client, your template ensures you always include key items: surface prep, paint type, labor costs, optional services, payment terms, and timelines. That kind of clarity helps prevent misunderstandings and shows the client exactly what they’re paying for.
A professional estimate also helps you stand out. If a homeowner is comparing multiple quotes, the contractor with the clearest, most transparent breakdown is more likely to win the job. It communicates attention to detail and a sense of preparedness that clients really notice.
Many homeowners don’t realize how many steps are involved in a quality house painting job. There’s cleaning, sanding, patching, caulking, priming, applying multiple coats, and protecting surrounding areas. If you don’t explain it in writing, they may assume your price includes everything, or worse, nothing special.
A detailed house painting estimate educates your client and shows you’ve thought through their project. It creates a shared understanding of the scope, eliminates gray areas, and protects you from unpaid extras. With a signed estimate in place, you have a written record of what was promised, how it was priced, and what the timeline was. That’s valuable if there’s ever a dispute or a change order mid-project.
Painting jobs can also be emotional investments for clients. They’re changing their home environment, and they want reassurance. A professional estimate gives them that sense of confidence, because they know you’ve planned the job out carefully and won’t be making things up as you go.
The way you structure your house painting estimate should depend on the type of project, your pricing model, and what the client needs to feel confident moving forward. Here are the most common formats:
Perfect for interior jobs where each room is quoted individually. It lets you adjust pricing based on ceiling height, surface condition, or whether trim and doors are included. It’s also helpful for partial jobs where the client isn’t repainting the whole house.
Common for both interior and exterior full-house repaints. You measure total paintable surface area and apply a consistent per-square-foot rate, factoring in prep and finish type. This approach helps standardize pricing across different home sizes.
Best for small jobs, tricky conditions, or projects where the scope may change. It gives the client a clear idea of labor costs while listing materials separately. You can also include a range based on estimated hours to manage expectations.
Useful for standard projects like “repaint three bedrooms” or “refresh entire living area.” Packages can simplify pricing and make quoting faster, but you still need to define what’s included to avoid assumptions about add-ons.
Quote a base project, then list additional services like ceiling painting, baseboards, closets, or premium finishes.
A strong house painting estimate should be clear, comprehensive, and professional. Here's what every estimate should include:
Include your business name, logo, address, phone number, email, license numbers, and insurance details.
List the client’s name, job site address, phone number, and email.
Assign a unique estimate number and add the issue date.
Start with a short overview of the job. For example: “Interior repaint of living room, hallway, and two bedrooms, including walls, ceilings, and baseboards. Includes prep, two coats, and cleanup.”
List all the work you're going to do:
Include brand and finish of paint, estimated quantity, primer, tape, drop cloths, ladders, and any specialized tools. If the client is supplying materials, note that explicitly.
Explain your labor charges. You can quote a flat rate per room, per square foot, or by the hour. If your team includes multiple painters, show the rate breakdown or total estimated hours.
Call out extras like:
Include the proposed start date, how many days the job will take, and any key scheduling requirements.
Outline when payments are due, what deposit is required, and what methods you accept. Be clear about late fees or staged payments for multi-phase jobs.
State what's included, what's excluded, how change orders are handled, and what warranty or touch-up guarantees you offer. Also mention if the client is responsible for clearing furniture, scheduling access, or choosing colors in advance.
Include a “valid until” date, usually 15 to 30 days after issue.
Leave space for both parties to sign and date the estimate. A signed estimate helps solidify the agreement and builds trust from the start.
Estimate templates are a practical and efficient tool for any house painting business because they save time, reduce errors, and can be fully customized to match specific needs.
The easiest way to create a professional house painting estimate is by using a pre-made estimate template. Ready-to-use templates help professionals include all necessary project details without the hassle of building an estimate from scratch every time.
All they need to do is download an estimate template for house painting services, fill it out, customize it with company branding, and send it to the client.
A solid house painting estimate template saves time, improves clarity, and makes your proposals look more professional. Here's how to create one that works.
1. Find a Reliable Estimate Template – Look for an estimate template that suits your needs. You can find free house painting templates in Word, Google Docs, Excel, or Google Sheets.
2. Select the Right Template – Choose a project template that allows you to include all necessary details, such as labor, materials, and project timelines.
3. Fill in Basic Information – Enter essential details like your company name, logo, contact information, and project description.
4. Customize and Brand Your Estimate – Adjust the template's color scheme, fonts, and layout to match your company's branding. Add your website URL, business license number, and any other relevant details.
5. Fine-Tune the Cost Breakdown – Make sure the itemized list includes all necessary categories, such as labor costs, paint, primer, tape, drop cloths, equipment, surface prep, repairs, cleanup, travel, and optional add-ons.
6. Review the Format and Layout – Before sending the house painting estimate to your client, double-check for accuracy by:
These platforms offer customizable project estimate templates that professionals can quickly adjust to meet the needs of different projects.
With estimating software, all you need to do is enter business details, adjust the layout, and input the required cost breakdown.
Once the estimate template is set up, it can be saved for future use, allowing house painting estimates to be generated in just a few clicks.
Using estimate templates or our Estimate Maker speeds up the process and assures that every project estimate is professional, accurate, and easy to understand.
Even with a good house painting template, you’ll want to tailor it to each project. Here’s how to do that without losing efficiency:
Don’t just say “bedroom repaint.” Instead, write something like: “Paint 12x14 bedroom walls and ceiling with two coats of low-VOC satin finish. Includes minor patching, sanding, and white baseboard touch-up.”
Transparency goes a long way. List your labor, materials, optional upgrades, and special charges clearly so clients know how the price was calculated.
If you usually price by the room, don’t switch to hourly for one job unless the situation calls for it.
If ceiling painting isn’t included, say so if the quote doesn’t include moving furniture, list that. It’s better to over-communicate than leave clients guessing.
Your estimate should look as professional as your finished paint job. Use your logo, consistent fonts, clean spacing, and section headers. It makes a difference.
Timing your estimate properly helps improve your close rate. Here’s when to send it:
Never quote blindly. Inspect the space or ask for detailed photos to understand the layout and surface conditions.
Clarify which rooms, surfaces, and materials are involved before building your estimate. Ask if the client wants ceilings, closets, or accent walls included.
Only book a time once the estimate is approved. That protects you from starting a job with unclear expectations.
Reply promptly. If you need more time, acknowledge their request and provide a realistic timeline.
Clients in a rush will go with whoever responds first and professionally. Send your estimate quickly, because it’s often the deciding factor.
Mistakes in your estimate can lead to confusion, lost revenue, or damaged client relationships. Watch out for these common problems:
Saying “paint the living room” doesn’t explain what’s actually being painted. Specify walls, ceilings, trim, and number of coats.
Prep work takes time and effort. Don’t forget to list sanding, caulking, or wall repair in your quote.
Clients may push back if they don’t understand how you got your number. Break it down and explain it clearly.
If something’s not included, say so. Clients may expect it otherwise, leading to awkward conversations mid-project.
A clear payment schedule protects both sides. Don’t leave it out.
Your schedule and material costs can change. Set a 15- to 30-day validity window for your quote.
An estimate with misspellings, inconsistent formatting, or missing info can cost you the job. Always keep it clean and professional.
While estimate templates are very helpful, Estimate Maker offers a more efficient and accurate way to create estimates for house painting projects. Instead of manually entering details into a template, it automates the process, saving time and reducing errors.
1. Faster and More Efficient – Pre-built templates require manual entry, while an estimate maker allows you to generate estimates with just a few clicks.
2. Automated Calculations – Reduces human error by automatically applying tax rates, labor costs, and material pricing.
3. Customization Without Hassle – Easily adjust branding, payment terms, and cost breakdowns without needing to modify a static template.
4. Better Organization – Stores past estimates in one place, making it easy to track and update them when needed.
5. Quicker Conversions to Invoices – Convert approved estimates into invoices instantly, reducing the time between estimation and payment.
6. Professional Appearance – Generates polished, client-ready estimates that look more professional than a basic house painting estimate template.
7. Time-Saving Templates – Save custom estimate formats and reuse them without starting from scratch each time.
Clear and accurate house painting estimates help set expectations, prevent disputes, and keep projects on track.
For a faster, more automated approach, Estimate Maker offers built-in calculations, easy adjustments, professional estimate templates, and much more! Plus, you can try it free for 14 days.