If you're running a small business or working as a contractor, you already know that getting paid on time is very important. Yet many business owners still piece together invoices in Word docs or send informal payment requests that don't look professional. A proper invoice template changes that.
An invoice template makes billing a lot easier. It helps you look polished, send invoices faster, and get paid sooner, without spending your day on admin taks. Because the format stays consistent, you’re less likely to miss important details like payment terms, invoice numbers, or a clear description of what’s due.
Plus, when clients see an invoice that’s clean and easy to understand, they’re more likely to pay on time and treat you like the professional you are.
Beyond professionalism, invoice templates help you stay organized for tax season. When every invoice follows the same format with consistent numbering and detailed line items, tracking income and expenses becomes straightforward instead of a last-minute scramble through scattered documents.
Creating an invoice template doesn't require design skills or expensive software. Here's how to build one that works:
Step 1: Choose Your Tool
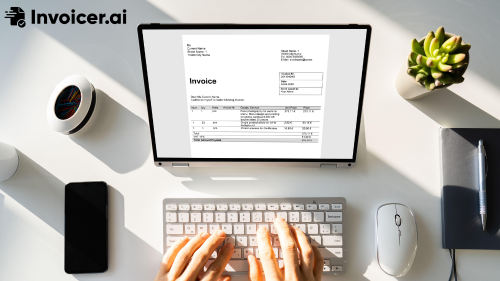
Start with software you're comfortable with. Microsoft Word, Google Docs, Excel, or Google Sheets all work fine for basic templates. For more polish and automation, consider dedicated invoicing tools like Invoicer.ai, QuickBooks, or FreshBooks.
Step 2: Set Up Your Header
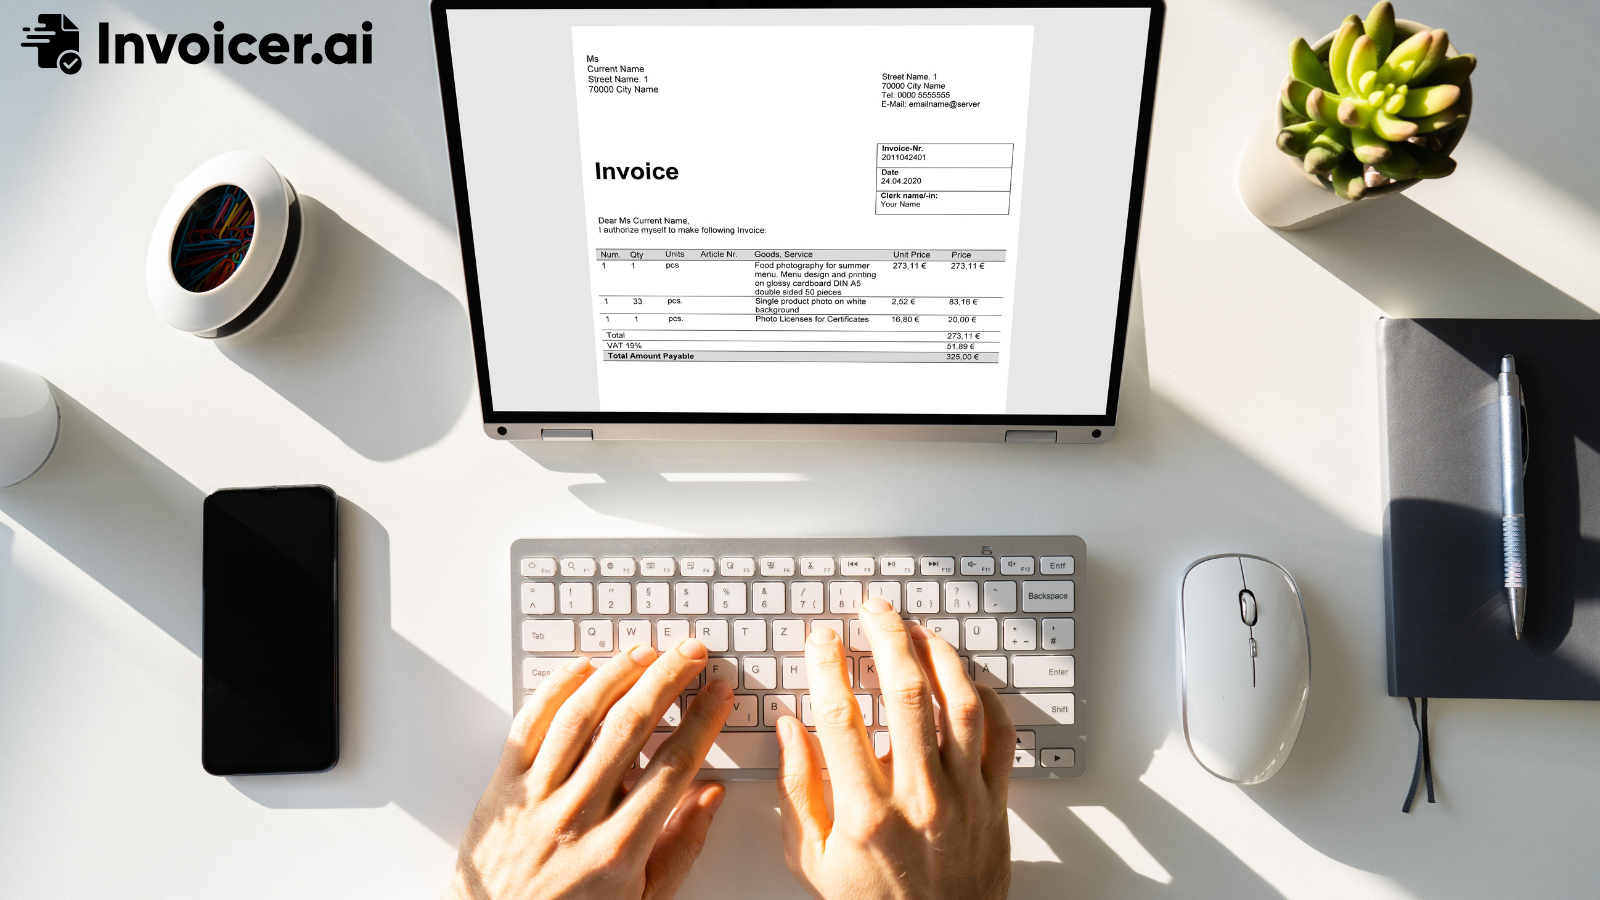
Your header should prominently display your business name, logo (if you have one), and contact information. Include your business address, phone number, email, and website. This information should be at the top where clients see it immediately.
Step 3: Add Invoice Details Section
Create a clear area for invoice-specific information: invoice number, invoice date, and due date. These details help both you and your client track payments and avoid confusion about when payment is expected.
Step 4: Build the Client Information Section
Include fields for your client's name, company name (if applicable), billing address, and contact information. Having this information on every invoice creates a paper trail and ensures the invoice reaches the right person.
Step 5: Create the Line Items Table
This is the core of your invoice. Set up columns for: description of services or products, quantity, unit price, and total price. Include enough rows for multiple items, and add a subtotal at the bottom.
Step 6: Add Payment Details
Below the line items, include: subtotal, any applicable taxes, discounts, and the final total amount due. Be crystal clear about the bottom-line number your client needs to pay.
Step 7: Include Payment Terms and Methods
Specify your payment terms (Net 30, due upon receipt, etc.) and list accepted payment methods. Include bank details for wire transfers, PayPal email, or instructions for checks. The easier you make it to pay, the faster you'll receive payment.
Step 8: Add Notes or Terms Section
Include a space for additional notes, late payment penalties, or terms and conditions. This protects you legally and sets clear expectations.
A complete invoice template should include these important details:
Your Business Information: Company name, address, phone, email, website, and tax ID number if applicable. This identifies you as the service provider and ensures legal compliance.
Client Details: Client name, company, billing address, and contact information. This specifies who owes the payment and where correspondence should go.
Invoice Identification: A unique invoice number and issue date. Sequential numbering (INV-001, INV-002) helps you track invoices and looks professional. The date establishes when the payment period begins.
Itemized Services or Products: Clear descriptions, quantities, rates, and totals for each line item. Vague descriptions can cause payment disputes. So, be specific about what you delivered.
Payment Calculations: Subtotal, tax, discounts, and final total. Show your math so clients understand exactly what they're paying for.
Due Date and Payment Terms: When payment is expected and any penalties for late payment. Net 30 means payment within 30 days, Net 15 means 15 days, and "Due Upon Receipt" means immediate payment.
Payment Methods: How clients can pay you—bank transfer, check, PayPal, credit card, etc. Include all necessary details like account numbers or payment links.
Additional Terms: Space for project-specific notes, thank you messages, or legal terms. This personalizes the invoice and clarifies any special arrangements.
Different businesses have different invoicing needs. Here's how to adapt your template:
For Contractors and Construction: Add fields for project location, permit numbers, and progress billing milestones. Break down materials separately from labor costs, and include fields for retention amounts if applicable.
For Freelancers and Consultants: Focus on hourly rates or project-based pricing. Include date ranges for the billing period and detailed task descriptions. Consider adding fields for billable hours versus total hours worked.
For Product-Based Businesses: Emphasize product SKUs, quantities, and unit pricing. Include columns for product codes and shipping charges. If you offer bulk discounts, build that into your pricing structure.
For Service Businesses: Detail service packages, subscription periods, or recurring charges. If you bill monthly for ongoing services, make that clear in the payment terms.
For Creative Professionals: Include revision rounds, usage rights, or licensing terms directly on the invoice. This prevents scope creep disputes and clarifies what's included in the price.
The goal here is making your invoice match how you actually work. Don't force your business into a generic template. Instead, adapt the template to fit your workflow.
While you can create invoice templates manually, modern tools save time and reduce errors. Invoicer.ai improves the entire process by offering pre-built, professionally designed templates that you can customize in minutes.
Instead of starting from scratch, you select a template that fits your industry, add your business details once, and the system handles the rest. Automatic invoice numbering, built-in tax calculations, and payment tracking eliminate manual work and reduce mistakes.
The platform also remembers client information, so you're not retyping addresses with every invoice. Payment reminders go out automatically when invoices are overdue, helping you get paid without awkward follow-up emails. And because everything is cloud-based, you can create and send invoices from anywhere, like your office, a job site, or your phone.
For businesses that invoice frequently, the time savings add up quickly. What used to take 15-20 minutes per invoice now takes 2-3 minutes. That efficiency means you spend less time on paperwork and more time on billable work.
What's the difference between an invoice and a receipt?
An invoice requests payment for goods or services provided, while a receipt confirms that payment has been received. You send an invoice before payment, and provide a receipt after payment.
Do I need different invoice numbers for each client?
No. Invoice numbers should be sequential across all clients to maintain a clear record of all invoices issued by your business. Use a format like INV-0001, INV-0002, etc.
How long should I keep invoice records?
Keep invoice records for at least seven years for tax purposes. Many businesses keep them longer for reference, especially for ongoing client relationships.
Can I use the same invoice template for all my clients?
Yes, using a consistent template is actually beneficial. It maintains your brand identity and streamlines your process. Just customize the client details and line items for each invoice.
What if a client disputes an invoice?
A detailed invoice template helps prevent disputes. If one occurs, refer back to your original quote or contract, and clarify exactly what services were delivered. Clear line item descriptions make these conversations much easier.
Should I send invoices as PDFs or in the email body?
PDF attachments are standard because they look professional, can't be easily edited, and maintain formatting across devices. Name your PDF clearly with the invoice number and your business name.
Creating a professional invoice template is one of the smartest investments you can make in your business operations. Whether you build one yourself or use a tool like Invoicer.ai, having a consistent, comprehensive template helps you get paid faster and spend less time on administrative tasks.
Try Invoicer.ai free for 14 days and see for yourself.