"With Invoicer, it's so fast and easy I never have to worry about how I'd like it to feel. Rather, it does the job I need it to do and I love it!"
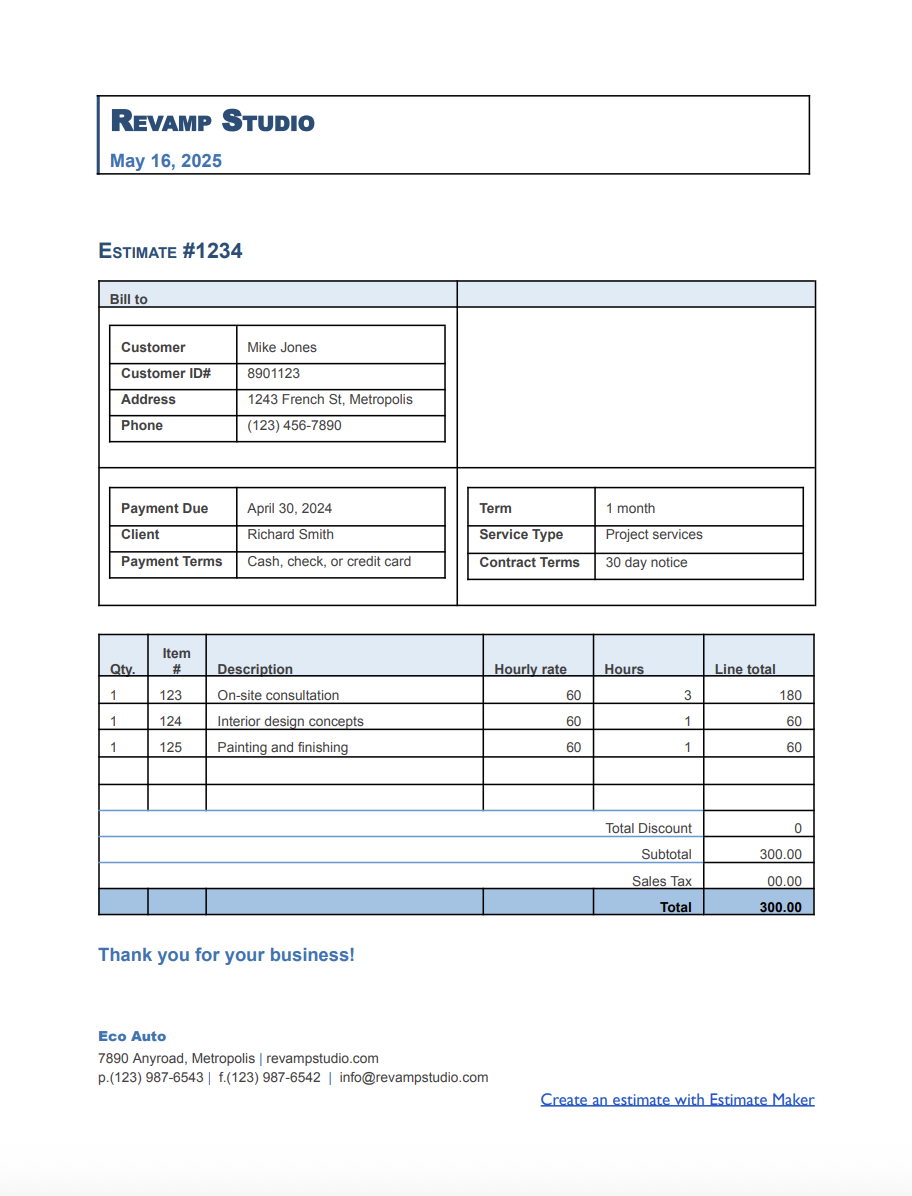
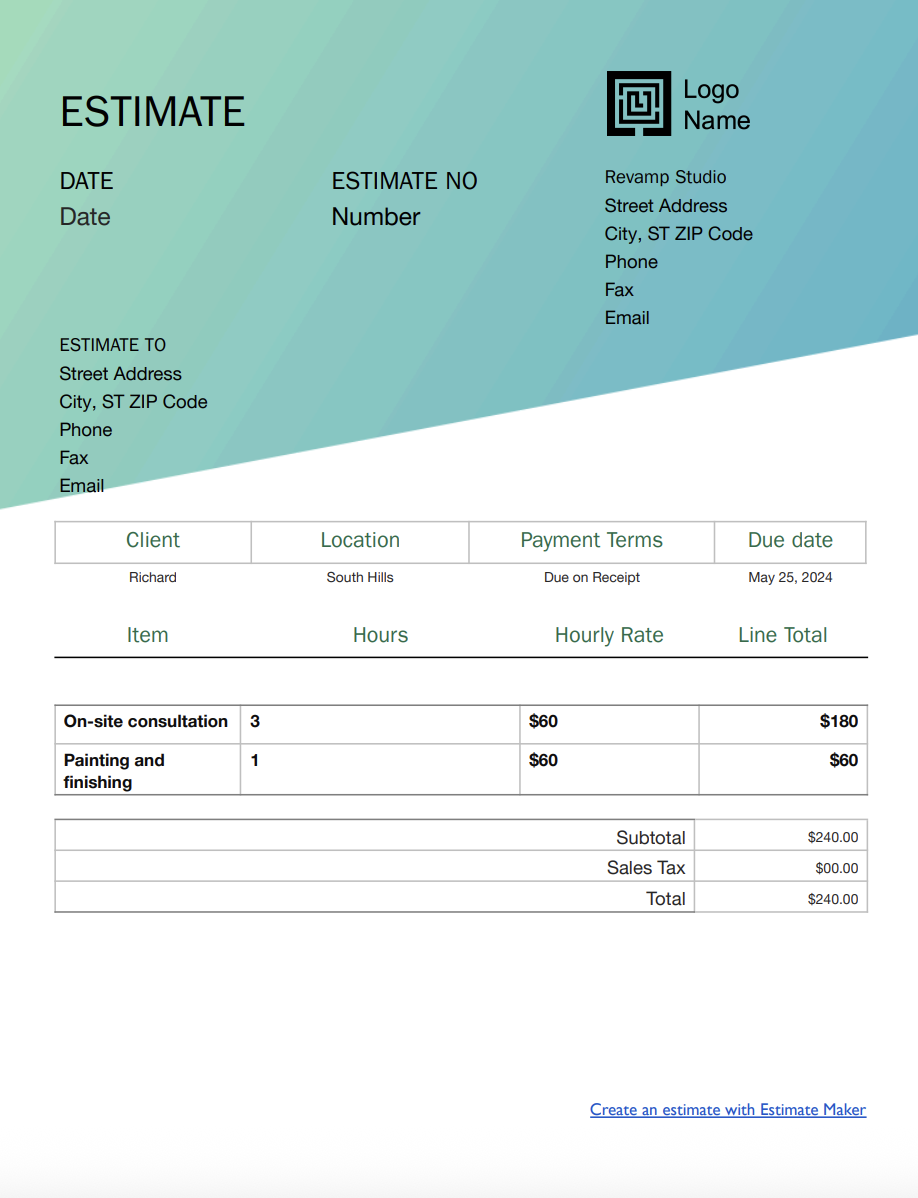
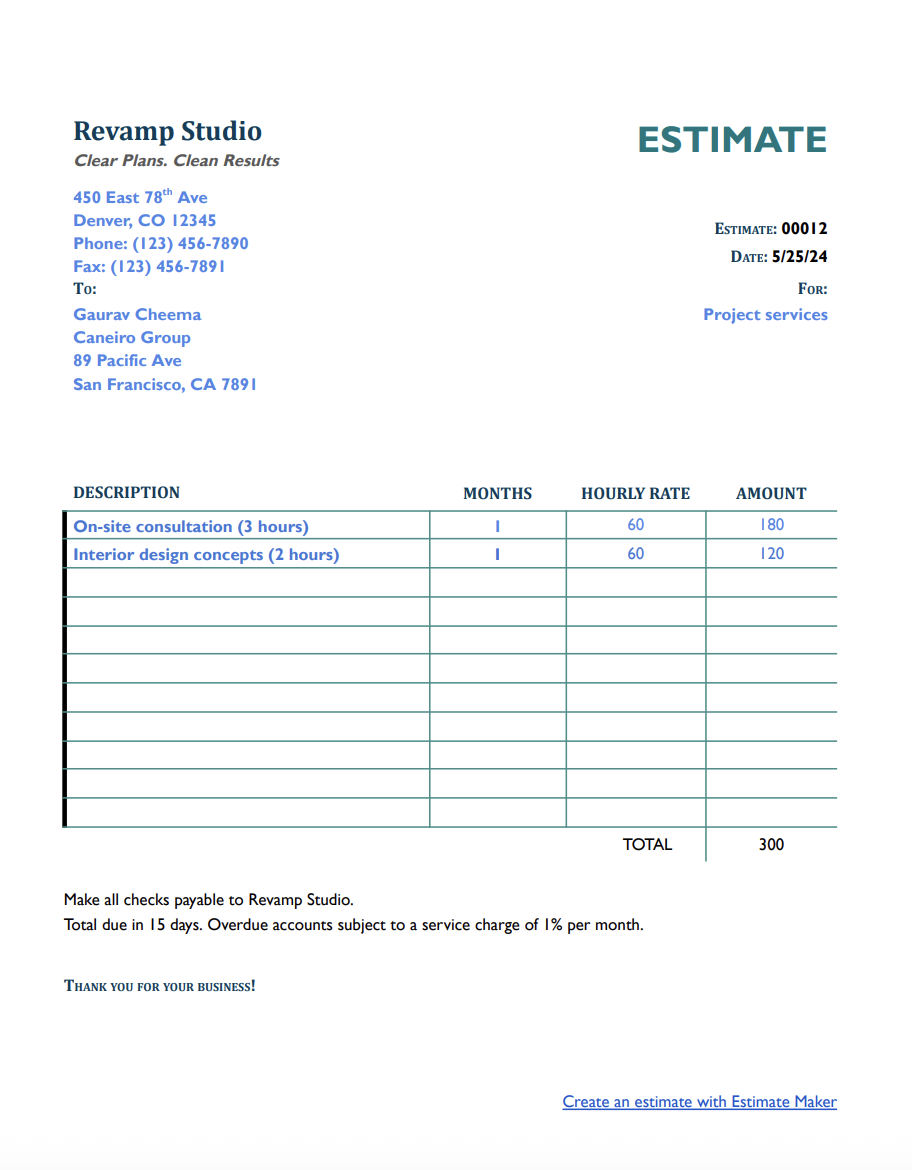
Or, send estimates to your clients with our free project estimate templates.
Download for Microsoft Word, Excel, Google Docs, Sheets, PDF, and OpenOffice formats:


.png)
Choose from a variety of designs.
Or, use Invoicer to easily create an estimate.

Easy and intuitive estimate generator. Create invoices from estimates in one click.

Clear and simple process for your clients to approve. Automatically create invoices from approved estimates.

Easily customize with your brand and colors.
Want to know how to quote your project services professionally? Learn everything you need to know about creating clear, accurate project estimates, and discover a better alternative to traditional templates.
In order to quote for a project, you need to understand what exactly needs to be done, how long it will take, which materials or resources are required, and what falls outside the agreement.
Clarity is also crucial, from deliverables and timelines to how revisions or client approvals will be handled. A well-crafted estimate isn't just about cost; it's a signal that you've grasped the client's needs, anticipated potential challenges, and developed a plan to deliver results.
It lays the groundwork for a successful project and establishes trust from the start. No matter if you're competing for a commercial contract or responding to a public tender, a clear, thorough estimate shows your commitment to quality and your readiness to follow through.
A project estimate template is a structured document used to calculate and present the expected cost, timeline, and scope of a project.
It includes clear sections for labor, materials, subcontractors, equipment, software tools, deliverables, risks, and payment terms.
This kind of template is useful across a wide range of industries, from construction and engineering to marketing, design, software, and consulting.
The format varies depending on the job, but the purpose is always the same: provide a clear, itemized overview of what the client will receive, when they'll receive it, and how much it will cost.
Instead of starting from scratch each time, a well-designed template gives you a reliable framework for quoting work consistently. It helps reduce errors, speeds up the proposal process, and reinforces your credibility with clients and project stakeholders.
If you need a more flexible format for general service work outside project-based jobs, our business estimate templates may be a better fit.
No project ever goes exactly according to plan. However, a professional estimate gives you and your client something to align around before work begins.
A vague or incomplete estimate makes you look unprepared. A detailed one shows you've done your homework. It gives clients confidence that you understand the job and can deliver what you promise.
By listing the workload in detail, you create boundaries. If a client requests additional work down the line, you can refer back to the estimate and discuss change orders or pricing adjustments based on the original agreement.
Missed line items can eat into your margin. A comprehensive estimate helps you account for all costs, so your pricing is accurate. It also gives you a reference when tracking actual vs. estimated costs during the project.
Depending on the nature of your work, you may need different formats for different kinds of jobs. Here are the most common types of project estimate templates:
Best for consulting, design, software development, and other service-based work. These break down the project by task or phase and estimate hours for each, multiplied by an hourly rate. Useful when the scope is fluid or the deliverables depend on discovery or client feedback.
Often used for turnkey or outcome-based projects where deliverables and deadlines are clearly defined. These include a single, fixed price for the entire project, often based on a detailed internal breakdown that is not always shown to the client. Simpler for clients to understand, but riskier if the scope is not tightly defined.
Ideal for projects where you're delivering work in measured units, like pages, products, square feet, or test cases. You quote a per-unit price and provide quantity estimates. This model works well for content creation, construction, printing, or manufacturing work.
For projects priced by square footage, volume, or specific site work items, our concrete estimate templates are a useful option for quoting concrete jobs more accurately.
Used when projects span multiple phases, such as planning, design, implementation, and testing. Each phase is estimated separately and may be approved or invoiced at different stages. This method makes it easy to track progress, manage risks, and segment costs.
Some jobs require a combination of models, like a fixed fee for design and hourly rates for ongoing maintenance. A hybrid estimate gives you flexibility while still showing a clear pricing structure.
The more complex the job, the more critical it is to cover every base. Here's what a complete project estimate should include:
Include your company name, logo, address, phone, email, and relevant licenses or certifications. If you're a vendor, add your registration number or procurement details for verification.
List the client's name, company, contact person, address, phone, and email. Also, be sure it matches the project name or ID, especially for enterprise jobs.
Every estimate should be uniquely numbered and dated for tracking purposes. Include an expiration date to protect yourself from price fluctuations or scope changes.
Provide a clear, one-paragraph summary of the project's goals and outcomes. Example: "Website redesign project including UX research, visual design, content migration, and launch support. Target platform is WordPress with custom theme development."
This is the heart of your estimate. Spell out exactly what tasks will be completed, who is responsible for each, and what deliverables will be produced. For example:
You can also include bullet points for exclusions, such as "copywriting not included" or "hosting costs billed separately."
Provide estimated start and end dates and break the job into phases with their own timelines if needed. Include notes on dependencies, like client approvals or third-party assets, that could affect timing.
List team members, roles, or subcontractors assigned to the job and their hourly rates or fixed pricing.
If your work includes physical materials, like hardware, tools, or supplies, list them with costs and quantities. For software projects, this might include licensing fees or third-party plugins.
Include estimated travel time, per diem, lodging, or mileage if applicable. This section is especially important for off-site work or long-term engagements.
Spell out what you are assuming about the project to keep the estimate valid. For example: "This estimate assumes the client will provide final logo files and hosting access before development begins."
Clearly define how and when payment is expected. Options include:
Also include your accepted payment methods, late fee policies, and refund rules.
List subtotals by category (labor, materials, expenses), apply tax if needed, and provide a final estimated total. Make it easy for clients to understand exactly what they'll be paying for and when.
Leave space for client signatures or digital approval. Include a line for the date and printed name to make it legally valid.
Estimate templates are a practical and efficient tool for any business because they save time, reduce errors, and can be fully customized to match specific needs.
If your projects involve hands-on construction, repair, or installation work, our contractor estimate templates offer a more specialized option.
The easiest way to create a professional project estimate is by using a pre-made estimate template. Ready-to-use templates help professionals include all necessary project details without the hassle of building an estimate from scratch every time.
All they need to do is download an estimate template for project services, fill it out, customize it with company branding, and send it to the client.
A solid project estimate template saves time, improves clarity, and makes your proposals look more professional. Here's how to create one that works.
1. Find a Reliable Estimate Template – Look for an estimate template that suits your needs. You can find free project estimate templates in Word, Google Docs, Excel, or Google Sheets.
2. Select the Right Template – Choose a project template that allows you to include all necessary details, such as labor, materials, and project timelines.
3. Fill in Basic Information – Enter essential details like your company name, logo, contact information, and project description.
4. Customize and Brand Your Estimate – Adjust the template's color scheme, fonts, and layout to match your company's branding. Add your website URL, business license number, and any other relevant details.
5. Fine-Tune the Cost Breakdown – Make sure the itemized list includes all necessary categories, such as labor or service fees, materials or software costs, subcontractor/vendor fees, travel, expenses, permits if applicable, and contingency costs.
6. Review the Format and Layout – Before sending the project estimate to your client, double-check for accuracy by:
These platforms offer customizable project estimate templates that professionals can quickly adjust to meet the needs of different projects.
With estimating software, all you need to do is enter business details, adjust the layout, and input the required cost breakdown.
Once the estimate template is set up, it can be saved for future use, allowing project estimates to be generated in just a few clicks.
Using estimate templates or our Estimate Maker speeds up the process and assures that every project estimate is professional, accurate, and easy to understand.
Templates create consistency, but personalization helps you get the job. Below is how you can customize your project estimate the right way:
Before preparing the estimate, ask about pain points, success metrics, decision-making processes, and internal deadlines. These insights will help you shape your scope and language so your estimate speaks to what matters most to the client.
If the client uses Agile sprints, segment your estimate by sprint. If they require weekly status reports, include that in the scope. Remember, the more your estimate fits their workflow, the less friction there will be during execution, and the more likely they are to trust you with the project.
If the client has shared a budget range, build your estimate around it. Offer multiple options if needed—a base version, a premium version with extra features, or an à la carte menu of services.
Use the client's terminology where appropriate. For example, if they refer to "user onboarding," mirror that instead of saying "registration process." It helps the estimate feel more familiar and collaborative, not generic.
The timing of your estimate matters just as much as the content. The goal is to strike while the project is top of mind and show that you're responsive, capable, and ready to move forward.
Ideally, send your estimate while your conversations with the client are still fresh. Waiting too long can make you seem disorganized or unmotivated. A prompt, well-created estimate sets you apart from slower competitors.
Don't rush to send a quote after your first conversation. Take the time to understand the project's requirements, deliverables, and constraints. An estimate based on solid information is more likely to get approved and less likely to cause issues later.
Clients may need your estimate to secure funding, finalize internal approvals, or evaluate competing bids. If you can be the first to deliver a complete, thoughtful proposal, you'll gain an advantage over others who are still drafting numbers.
Even experienced professionals can lose credibility, or even money, by overlooking critical details in their estimates. Be mindful of the following pitfalls:
An estimate that's too optimistic or lacks specifics can backfire fast. Be realistic about what you can deliver within the proposed timeline and budget. If clients misunderstand your scope, you'll be forced into unpaid work later.
If the client has responsibilities, such as providing content, approving designs, or coordinating with third parties, make these visible in the estimate. Include a note that delays in these areas may impact the project schedule.
Always expect the unexpected. Regardless of whether it's material cost increases, technical hurdles, or changing priorities, include a clause that explains how changes will be handled and billed. Without this information, you may be stuck absorbing those costs.
Prices change. Vendor rates go up. Your availability may shift. Always include a validity window, such as "This estimate is valid for 30 days from the issue date", to give yourself flexibility.
Clients don't just want a price. They also want to know why you're worth it. Use your estimate to briefly highlight your experience, your track record, or your unique advantages. Even a short paragraph can help justify your rates.
While estimate templates are very helpful, Estimate Maker offers a more efficient and accurate way to create estimates for projects. Instead of manually entering details into a template, it automates the process, saving time and reducing errors.
1. Faster and More Efficient – Pre-built templates require manual entry, while an estimate maker allows you to generate estimates with just a few clicks.
2. Automated Calculations – Reduces human error by automatically applying tax rates, labor costs, and material pricing.
3. Customization Without Hassle – Easily adjust branding, payment terms, and cost breakdowns without needing to modify a static template.
4. Better Organization – Stores past estimates in one place, making it easy to track and update them when needed.
5. Quicker Conversions to Invoices – Convert approved estimates into invoices instantly, reducing the time between estimation and payment.
6. Professional Appearance – Generates polished, client-ready estimates that look more professional than a basic project estimate template.
7. Time-Saving Templates – Save custom estimate formats and reuse them without starting from scratch each time.
Clear and accurate project estimates help set expectations, prevent disputes, and keep projects on track.
For a faster, more automated approach, Estimate Maker offers built-in calculations, easy adjustments, professional estimate templates, and much more! Plus, you can try it free for 14 days.